Free Shipping on Domestic Orders $75+

Nikon Coolpix L810 Motherboard Replacement

What you need

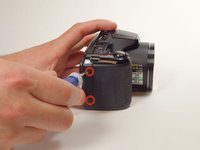
    1. Nikon Coolpix L810 Motherboard Replacement, LCD: step 1, image 1 of 2 Nikon Coolpix L810 Motherboard Replacement, LCD: step 1, image 2 of 2
      Tool used on this step:
      Tweezers
      $4.99
      Buy
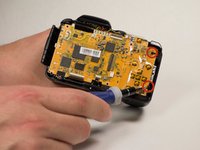
      • Remove two 5 mm Phillips #000 screws on the right hand side of the camera located near the power button.

      • Use of precision tweezers to help remove loosened screws is suggested.

      Ask FixBot

      Add Comment

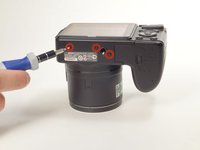
    2. Nikon Coolpix L810 Motherboard Replacement: step 2, image 1 of 2 Nikon Coolpix L810 Motherboard Replacement: step 2, image 2 of 2
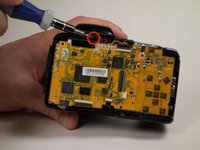
      • Remove two 5 mm Phillips #000 screws near the audio/video inputs on the opposite side near the flash component.

      Ask FixBot

      Add Comment

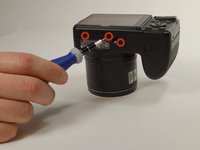
    3. Nikon Coolpix L810 Motherboard Replacement: step 3, image 1 of 2 Nikon Coolpix L810 Motherboard Replacement: step 3, image 2 of 2
      • Remove three 5 mm Phillips #000 screws on the bottom end of the camera.

      Ask FixBot

      Add Comment

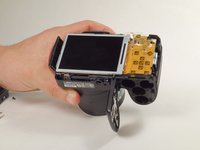
    4. Nikon Coolpix L810 Motherboard Replacement: step 4, image 1 of 1
      • Carefully detach the back side of the camera by lifting both ends, with moderate force wobble until loosened enough to remove.

      Ask FixBot

      Add Comment

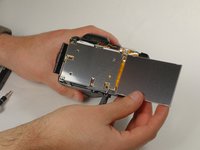
    5. Nikon Coolpix L810 Motherboard Replacement: step 5, image 1 of 2 Nikon Coolpix L810 Motherboard Replacement: step 5, image 2 of 2
      • With the LCD screen facing towards you, flip the screen to the right.

      Ask FixBot

      Add Comment

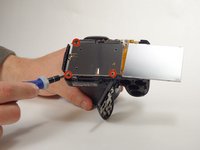
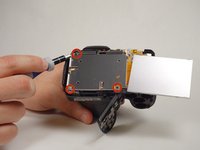
    6. Nikon Coolpix L810 Motherboard Replacement: step 6, image 1 of 3 Nikon Coolpix L810 Motherboard Replacement: step 6, image 2 of 3 Nikon Coolpix L810 Motherboard Replacement: step 6, image 3 of 3
      • Remove three 5 mm Phillips #000 screws located on the bracket.

      • Hold the camera with the lens facing downward to prevent the bracket from falling off once all screws are removed.

      Ask FixBot

      Add Comment

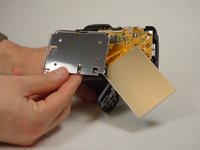
    7. Nikon Coolpix L810 Motherboard Replacement: step 7, image 1 of 2 Nikon Coolpix L810 Motherboard Replacement: step 7, image 2 of 2
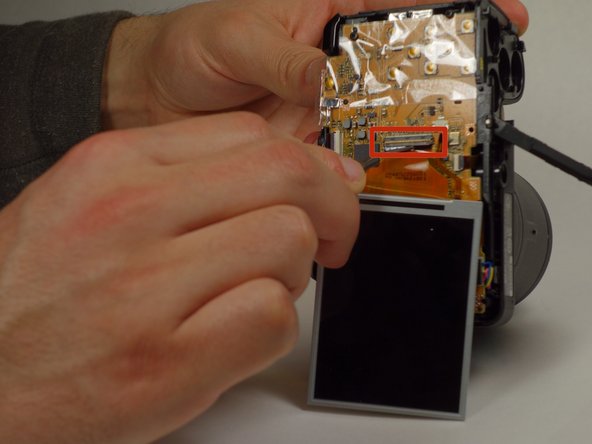
      • Disconnect the ribbons that connect the LCD screen to the camera gently using precision tweezers or fingers.

      Ask FixBot

      Add Comment

    1. Nikon Coolpix L810 Motherboard Replacement, Motherboard: step 8, image 1 of 3 Nikon Coolpix L810 Motherboard Replacement, Motherboard: step 8, image 2 of 3 Nikon Coolpix L810 Motherboard Replacement, Motherboard: step 8, image 3 of 3
      • Remove three 5 mm Phillips #000 screws bordering the motherboard.

      Ask FixBot

      Add Comment

    2. Nikon Coolpix L810 Motherboard Replacement: step 9, image 1 of 1
      • Remove the plastic component located directly behind the flash from its rubberized holder.

      Ask FixBot

      Add Comment

    3. Nikon Coolpix L810 Motherboard Replacement: step 10, image 1 of 1
      • Remove the electric tape covering the wires.

      Ask FixBot

      Add Comment

    4. Nikon Coolpix L810 Motherboard Replacement: step 11, image 1 of 3 Nikon Coolpix L810 Motherboard Replacement: step 11, image 2 of 3 Nikon Coolpix L810 Motherboard Replacement: step 11, image 3 of 3
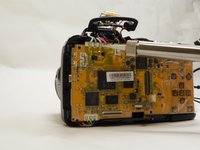
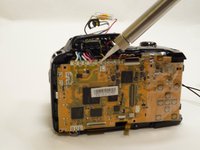
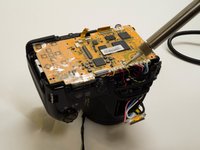
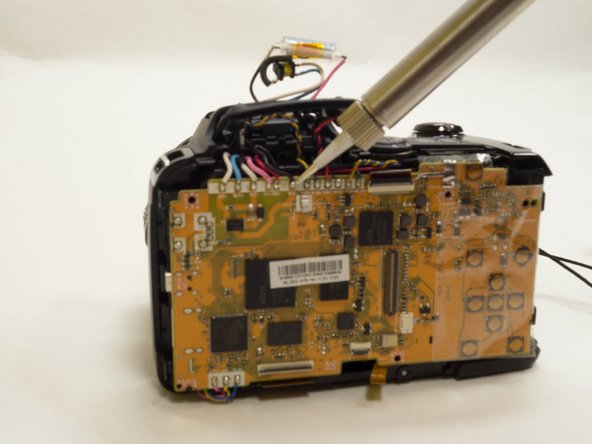
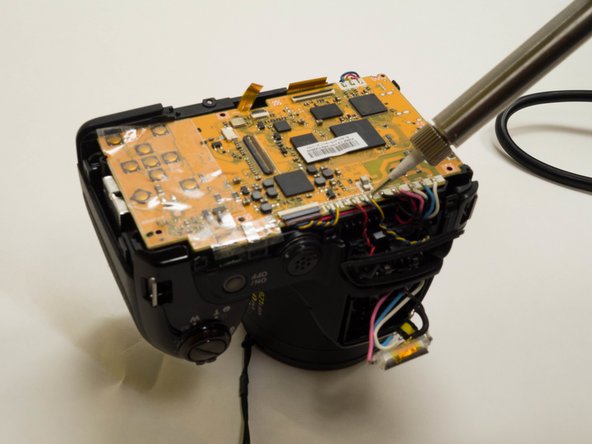
      • Unsolder all the wires that are on the top of the motherboard near the flash component.

      Ask FixBot

      Add Comment

    5. Nikon Coolpix L810 Motherboard Replacement: step 12, image 1 of 1
      • Unsolder the wires on the bottom end of the motherboard.

      Ask FixBot

      Add Comment

Conclusion

To reassemble your device, follow these instructions in reverse order.

Cancel: I did not complete this guide.

2 other people completed this guide.

Emilio Mena

Member since: 01/14/15

800 Reputation

4 Guides authored

Team

UW Tacoma, Team 3-1, Rose Winter 2015 Member of UW Tacoma, Team 3-1, Rose Winter 2015

UWT-ROSE-W15S3G1

4 Members

8 Guides authored

4 Guide Comments

The guide is incomplete! Do not try to remove the mobo for it is soldered to some other tiny board under the on/off switch. Trying to remove the mobo after just unscrewing it, may guide to certain and permanent destruction of both PCBs!!!

symeonleriou - Reply Share
any clue how to get tiny mobo out with mobo after taking screw out of tiny one at on/off switch?

jon baker - Reply Share
This guide should be for beginners, Mr. Symeon Leriou, and you will not only write "Mobo", but also motherboard or Mainboard or Hauptplatine (deutsch)

But I agree with you that it is not complete.

The motherboard is soldered to the on / off board (power supply for the batteries).

Soldering again is almost impossible ...

lothar4460 - Reply Share

Exactly! The guide is GOOD but it is incomplete!

The solder removal is insufficient to release de motherboard.

How to do it?

ramos.eng - Reply Share

Add Comment

View Statistics:

Past 24 Hours: 1

Past 7 Days: 11

Past 30 Days: 52

All Time: 4,061