Free Shipping on Domestic Orders $75+

Nikon Coolpix L26 Camera Front Cover Replacement

What you need

  1. Nikon Coolpix L26 Camera Front Cover Replacement, Back Cover: step 1, image 1 of 3 Nikon Coolpix L26 Camera Front Cover Replacement, Back Cover: step 1, image 2 of 3 Nikon Coolpix L26 Camera Front Cover Replacement, Back Cover: step 1, image 3 of 3
    • Remove the batteries from the battery compartment by sliding the white battery compartment switch up and then move the panel toward the right.

    Ask FixBot

    Add Comment

  2. Nikon Coolpix L26 Camera Front Cover Replacement: step 2, image 1 of 1
    • Using the Phillips #000 screwdriver, unscrew the two 2mm screws next to the battery compartment on the right side of the camera.

    Ask FixBot

    Add Comment

  3. Nikon Coolpix L26 Camera Front Cover Replacement: step 3, image 1 of 1
    • Unscrew the two 2mm screws on the opposite side.

    Ask FixBot

    Add Comment

  4. Nikon Coolpix L26 Camera Front Cover Replacement: step 4, image 1 of 1
    • Flip over the rubber AV cover at the bottom of the camera. Unscrew the last two 2mm screws on the bottom of the camera.

    Ask FixBot

    Add Comment

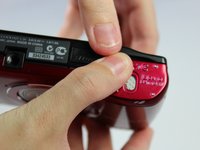
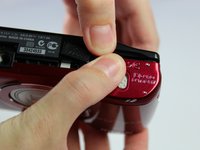
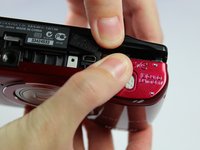
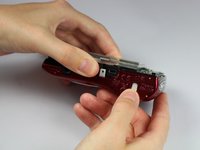
  5. Nikon Coolpix L26 Camera Front Cover Replacement: step 5, image 1 of 3 Nikon Coolpix L26 Camera Front Cover Replacement: step 5, image 2 of 3 Nikon Coolpix L26 Camera Front Cover Replacement: step 5, image 3 of 3
    • Using your hands, open the camera slightly by using the indentation above the camera compartment.

    Ask FixBot

    Add Comment

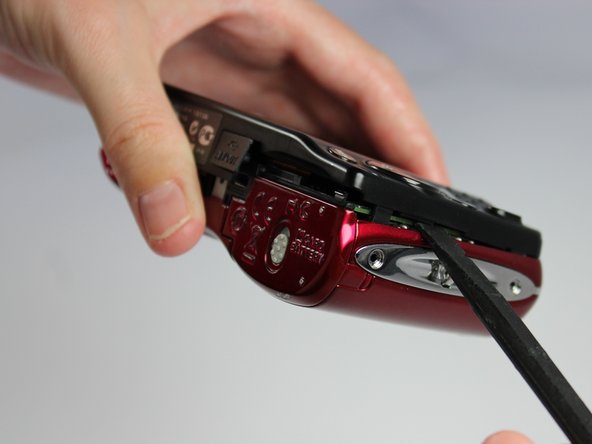
  6. Nikon Coolpix L26 Camera Front Cover Replacement: step 6, image 1 of 2 Nikon Coolpix L26 Camera Front Cover Replacement: step 6, image 2 of 2
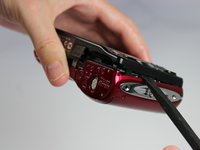
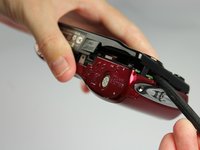
    • Wedge the flat end of the spudger in between the front and back cover. Carefully push the spudger downward, which will lift the back cover off the camera.

    Ask FixBot

    Add Comment

  7. Nikon Coolpix L26 Camera Front Cover Replacement: step 7, image 1 of 1
    • Gently pull the cover off the camera.

    Ask FixBot

    Add Comment

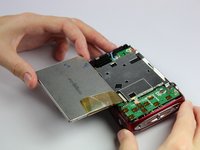
  8. Nikon Coolpix L26 Camera Front Cover Replacement, LCD Screen: step 8, image 1 of 3 Nikon Coolpix L26 Camera Front Cover Replacement, LCD Screen: step 8, image 2 of 3 Nikon Coolpix L26 Camera Front Cover Replacement, LCD Screen: step 8, image 3 of 3
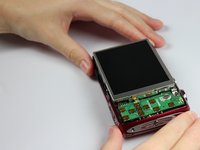
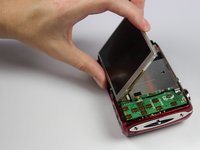
    • Carefully flip over the LCD screen onto its front. Pull the top of the LCD screen toward you keeping the bottom of it inside the camera.

    • Do not pull on the LCD screen; there is a ribbon of circuitry that is connected to the motherboard.

    Ask FixBot

    Add Comment

  9. Nikon Coolpix L26 Camera Front Cover Replacement: step 9, image 1 of 1
    • Gently hold the LCD screen down, so the ribbon lays flat against the back of the camera.

    Ask FixBot

    Add Comment

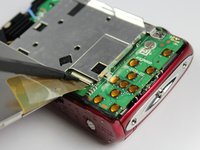
  10. Nikon Coolpix L26 Camera Front Cover Replacement: step 10, image 1 of 1
    • Gently wedge the spudger underneath the white latch and lift the latch open.

    Ask FixBot

    Add Comment

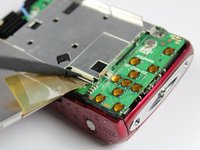
  11. Nikon Coolpix L26 Camera Front Cover Replacement: step 11, image 1 of 2 Nikon Coolpix L26 Camera Front Cover Replacement: step 11, image 2 of 2
    • Use the flat side of the spudger to flip the white switch on the motherboard. You should hear a light click.

    Ask FixBot

    Add Comment

  12. Nikon Coolpix L26 Camera Front Cover Replacement: step 12, image 1 of 1
    • Gently pull the ribbon out of the switch.

    Ask FixBot

    Add Comment

  13. Nikon Coolpix L26 Camera Front Cover Replacement, Front Cover: step 13, image 1 of 2 Nikon Coolpix L26 Camera Front Cover Replacement, Front Cover: step 13, image 2 of 2
    • Open the battery compartment door by sliding the white switch upwards. Push the door towards the right of the camera.

    Ask FixBot

    Add Comment

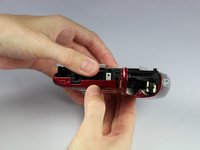
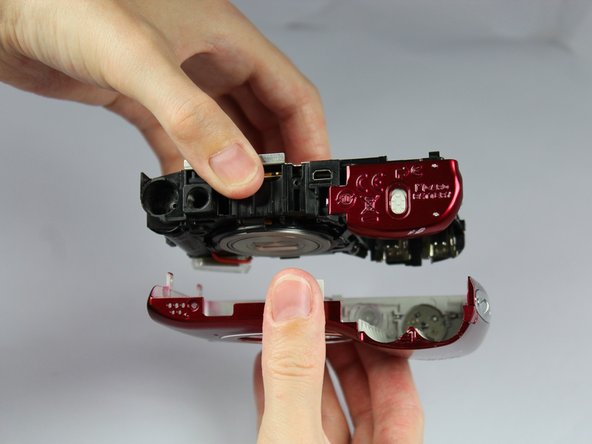
  14. Nikon Coolpix L26 Camera Front Cover Replacement: step 14, image 1 of 3 Nikon Coolpix L26 Camera Front Cover Replacement: step 14, image 2 of 3 Nikon Coolpix L26 Camera Front Cover Replacement: step 14, image 3 of 3
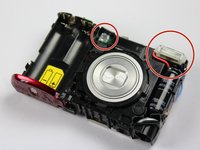
    • Hold the camera with the lens face down to prevent the plastic covers of the warning light and the flash bulb from falling out.

    • Take a firm hold of the black inner casing of the top and bottom of internal camera. With your other hand, take a hold of the red front case.

    • With slight force, pull the internal camera upwards and out of the front case.

    Ask FixBot

    Add Comment

Conclusion

To reassemble your device, follow these instructions in reverse order.

Cancel: I did not complete this guide.

One other person completed this guide.

Sadie

Member since: 02/16/15

439 Reputation

3 Guides authored

Team

0 Guide Comments

Add Comment

View Statistics:

Past 24 Hours: 3

Past 7 Days: 20

Past 30 Days: 65

All Time: 3,413