Free Shipping on Domestic Orders $75+

Nikon Coolpix 775 Screen Replacement

What you need

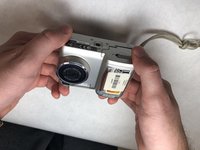
    1. Nikon Coolpix 775 Screen Replacement, Battery: step 1, image 1 of 3 Nikon Coolpix 775 Screen Replacement, Battery: step 1, image 2 of 3 Nikon Coolpix 775 Screen Replacement, Battery: step 1, image 3 of 3
      • Flip the camera, so the bottom is facing up.

      Ask FixBot

      Add Comment

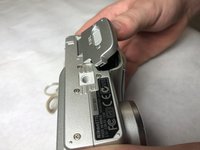
    2. Nikon Coolpix 775 Screen Replacement: step 2, image 1 of 2 Nikon Coolpix 775 Screen Replacement: step 2, image 2 of 2
      • Slide the gray latch to the open "pac-man" symbol.

      Ask FixBot
      Add Comment

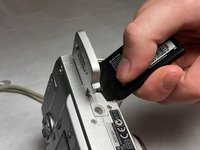
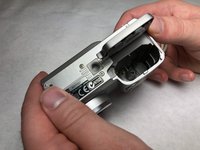
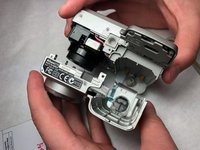
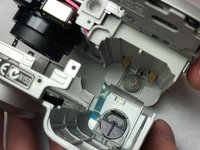
    3. Nikon Coolpix 775 Screen Replacement: step 3, image 1 of 3 Nikon Coolpix 775 Screen Replacement: step 3, image 2 of 3 Nikon Coolpix 775 Screen Replacement: step 3, image 3 of 3
      • Flip up the cover and remove the battery inside the slot.

      Ask FixBot
      Add Comment

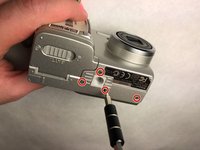
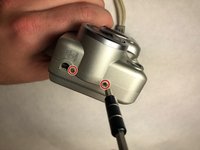
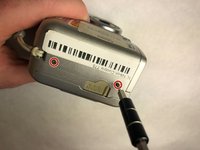
    1. Nikon Coolpix 775 Screen Replacement, Motherboard: step 4, image 1 of 3 Nikon Coolpix 775 Screen Replacement, Motherboard: step 4, image 2 of 3 Nikon Coolpix 775 Screen Replacement, Motherboard: step 4, image 3 of 3
      • Unscrew the eight 4mm long JIS #00 screws from the bottom, right side, and the left side.

      Ask FixBot
      Add Comment

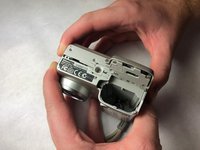
    2. Nikon Coolpix 775 Screen Replacement: step 5, image 1 of 3 Nikon Coolpix 775 Screen Replacement: step 5, image 2 of 3 Nikon Coolpix 775 Screen Replacement: step 5, image 3 of 3
      • Grab the camera with both your hand from the front and the back.

      • Pull the two parts apart.

      • You may have to pull at different angles to get the two parts to separate, but make sure you don't pull too hard because there is a wire connection on the inside.

      Ask FixBot
      Add Comment

    3. Nikon Coolpix 775 Screen Replacement: step 6, image 1 of 3 Nikon Coolpix 775 Screen Replacement: step 6, image 2 of 3 Nikon Coolpix 775 Screen Replacement: step 6, image 3 of 3
      Tool used on this step:
      Tweezers
      $4.99
      Buy
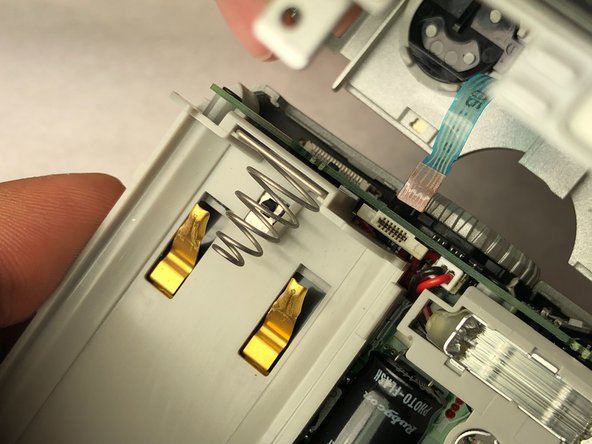
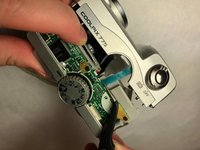
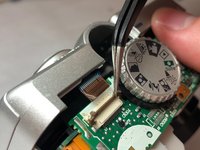
      • Flip the camera back so you can see the top.

      • Pull the ribbon cable out of the socket connecting to the motherboard by using your hands or tweezers.

      • Be careful not to puncture or rip the ribbon cable.

      Ask FixBot
      Add Comment

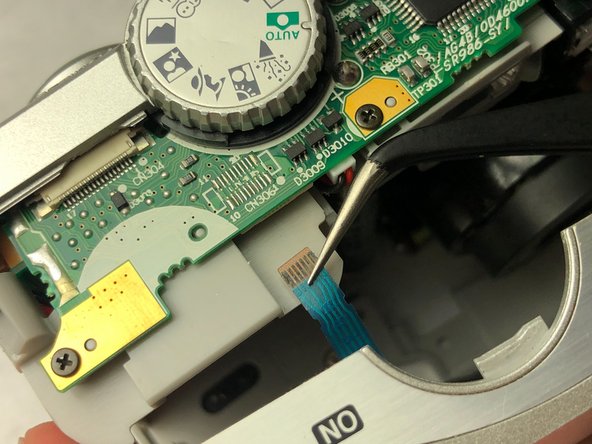
    4. Nikon Coolpix 775 Screen Replacement: step 7, image 1 of 3 Nikon Coolpix 775 Screen Replacement: step 7, image 2 of 3 Nikon Coolpix 775 Screen Replacement: step 7, image 3 of 3
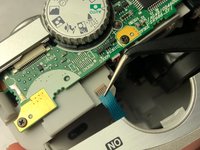
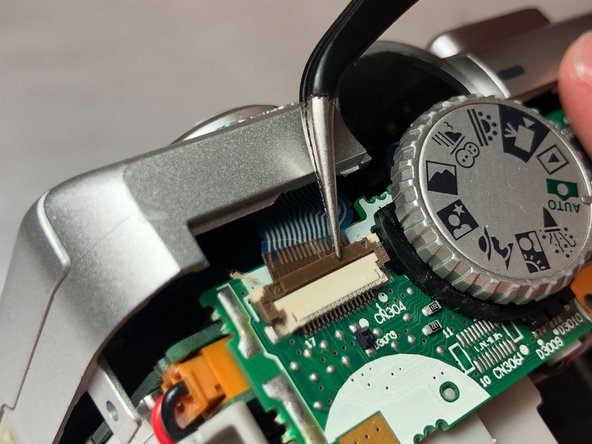
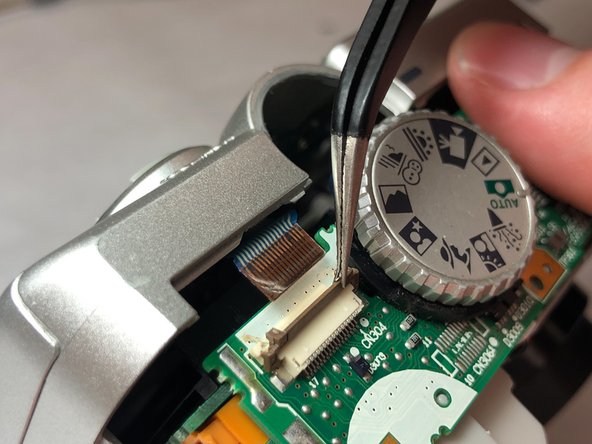
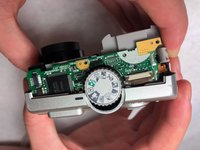
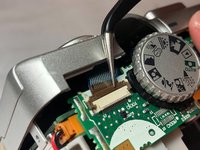
      • Look back to the top of the camera.

      • Flip up the tab that is exposed right by the dial using tweezers.

      • Release the ribbon to be able to separate the top part of the back of the camera.

      • Be careful not to rip the ribbon cable.

      Ask FixBot

      Add Comment

    5. Nikon Coolpix 775 Screen Replacement: step 8, image 1 of 3 Nikon Coolpix 775 Screen Replacement: step 8, image 2 of 3 Nikon Coolpix 775 Screen Replacement: step 8, image 3 of 3
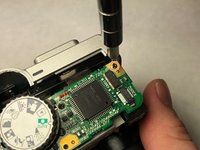
      • Look at the top side of the camera.

      • Unscrew the two 4mm Phillips #00 screws.

      • Unscrew the 2mm JIS #00 screw as well.

      Ask FixBot

      Add Comment

    6. Nikon Coolpix 775 Screen Replacement: step 9, image 1 of 3 Nikon Coolpix 775 Screen Replacement: step 9, image 2 of 3 Nikon Coolpix 775 Screen Replacement: step 9, image 3 of 3
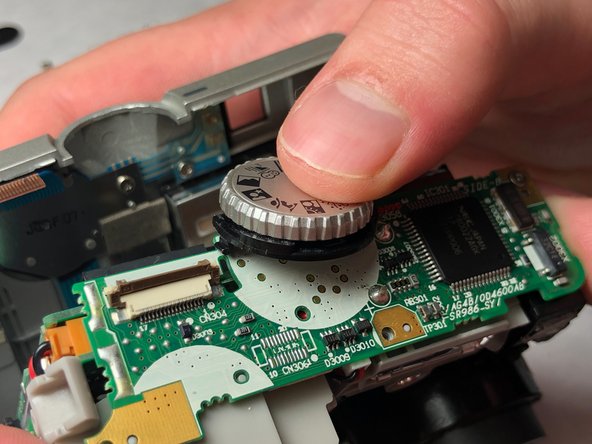
      • Push or slide the the top dial toward the backside of the camera to unclip from the motherboard.

      Ask FixBot

      Add Comment

    7. Nikon Coolpix 775 Screen Replacement: step 10, image 1 of 2 Nikon Coolpix 775 Screen Replacement: step 10, image 2 of 2
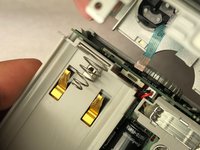
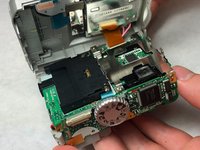
      • Pull the red and black wire out of the socket on the motherboard.

      • Pull motherboard up out of camera.

      Ask FixBot
      Add Comment
    8. Nikon Coolpix 775 Screen Replacement: step 11, image 1 of 3 Nikon Coolpix 775 Screen Replacement: step 11, image 2 of 3 Nikon Coolpix 775 Screen Replacement: step 11, image 3 of 3
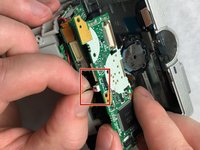
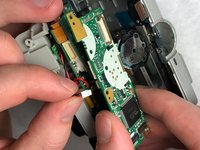
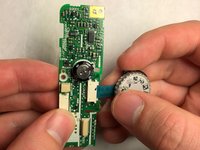
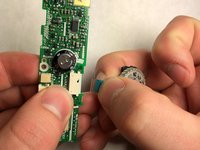
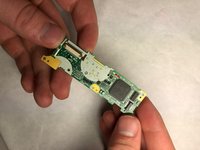
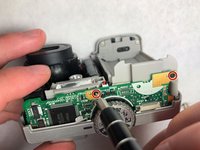
      • Pull the ribbon connected to the dial off the motherboard.

      • Be careful not to rip the ribbon cable.

      Ask FixBot

      Add Comment

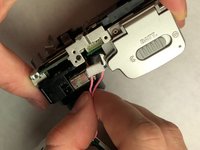
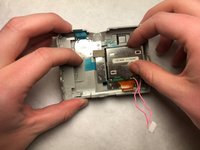
    1. Nikon Coolpix 775 Screen Replacement, Screen: step 12, image 1 of 2 Nikon Coolpix 775 Screen Replacement, Screen: step 12, image 2 of 2
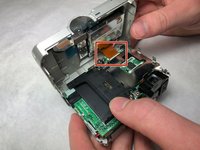
      • Remove the orange ribbon cable from its connector by firmly but gently pulling it.

      Ask FixBot

      Add Comment

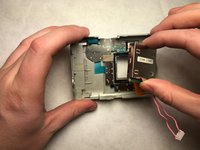
    2. Nikon Coolpix 775 Screen Replacement: step 13, image 1 of 2 Nikon Coolpix 775 Screen Replacement: step 13, image 2 of 2
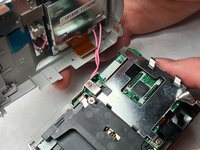
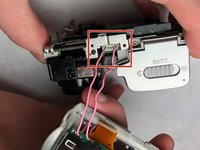
      • Pull out the pink cable connector.

      • If it's not coming loose, use a pair of needle nose pliers to get a good grip on the connector.

      Ask FixBot

      Add Comment

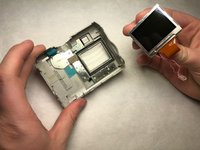
    3. Nikon Coolpix 775 Screen Replacement: step 14, image 1 of 3 Nikon Coolpix 775 Screen Replacement: step 14, image 2 of 3 Nikon Coolpix 775 Screen Replacement: step 14, image 3 of 3
      • Grab the back of the screen and gently lift up.

      • It is only held on by adhesive so it should come out relatively easy.

      Ask FixBot

      Add Comment

Conclusion

To reassemble your device, follow these instructions in reverse order.

Cancel: I did not complete this guide.

Nick Meador

Member since: 11/05/18

97 Reputation

1 Guide authored

Team

IUPUI, Team S2-G3, Baechle Fall 2018 Member of IUPUI, Team S2-G3, Baechle Fall 2018

IUPUI-BAECHLE-F18S2G3

3 Members

36 Guides authored

0 Guide Comments

Add Comment

View Statistics:

Past 24 Hours: 0

Past 7 Days: 9

Past 30 Days: 23

All Time: 614