Free Shipping on Domestic Orders $75+

Nikon COOLPIX P7700 Focusing Screen Replacement

Views: 3K

View statistics:

Past 24 Hours:
3
Past 7 Days:
22
Past 30 Days:
88
All Time:
2,970
Comments: 12

10 comments on steps, 2 guide comments.

Go to guide comments
Completed: 2

2 people have marked this guide "completed." Will you be next?

Favorites: 3

3 people have favorited (and subscribed to) this guide. Will you be next?

Time Required: 30 - 45 minutes
Difficulty: Moderate
Nikon COOLPIX P7700 Focusing Screen Replacement

Introduction

Go to step 1 ↓

This guide showcases how to replace the focusing screen on the Nikon COOLPIX p7700 camera. Follow these 18 steps to ensure proper replacement of the camera's focusing lens.

What you need

Tools

    1. Nikon COOLPIX P7700 Focusing Screen Replacement, Back Casing: step 1, image 1 of 2 Nikon COOLPIX P7700 Focusing Screen Replacement, Back Casing: step 1, image 2 of 2
      • Turn camera to the left side and remove the two 4.3 mm black side screws using the Phillips #00 screwdriver.

      • Remove the side panel.

      Ask FixBot

      Add Comment

    2. Nikon COOLPIX P7700 Focusing Screen Replacement: step 2, image 1 of 1
      • Open the touch screen, and remove the three 4.3 mm black screws inside using the Phillips #00 screwdriver.

      Ask FixBot

      Add Comment

    3. Nikon COOLPIX P7700 Focusing Screen Replacement: step 3, image 1 of 1
      • Remove the 4.3 mm black screw on top of the camera, right above where the screen folds out. Use the Phillips #00 screwdriver.

      Ask FixBot

      Add Comment

    4. Nikon COOLPIX P7700 Focusing Screen Replacement: step 4, image 1 of 1
      • Remove the two 4.3 mm black screws on the right side of the camera using the Phillips #00 screwdriver.

      Ask FixBot

      Add Comment

    5. Nikon COOLPIX P7700 Focusing Screen Replacement: step 5, image 1 of 1
      • Remove the 4.3 mm black screws on the bottom of the camera using the Phillips #00 screwdriver.

      Ask FixBot

      Add Comment

    6. Nikon COOLPIX P7700 Focusing Screen Replacement: step 6, image 1 of 2 Nikon COOLPIX P7700 Focusing Screen Replacement: step 6, image 2 of 2
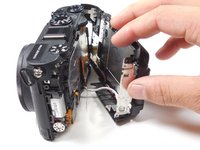
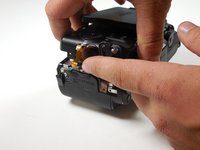
      • Begin separating the camera into two parts.

      • It is okay to remove the orange ribbon. This will be easily put back into place when re-assembling.

      Ask FixBot

      Add Comment

    7. Nikon COOLPIX P7700 Focusing Screen Replacement: step 7, image 1 of 1
      • Remove the back casing.

      Ask FixBot

      Add Comment

    1. Nikon COOLPIX P7700 Focusing Screen Replacement, Focusing Screen: step 8, image 1 of 1
      • Once the back casing is off, locate the 4.3 mm silver screw near the top of the camera and remove it using the Phillips #00 screwdriver.

      Ask FixBot

      Add Comment

    2. Nikon COOLPIX P7700 Focusing Screen Replacement: step 9, image 1 of 1
      • Remove the metal sheet from the camera.

      • It is okay to remove the orange ribbon from the camera.

      Ask FixBot

      Add Comment

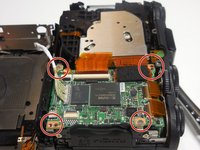
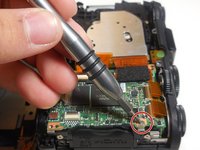
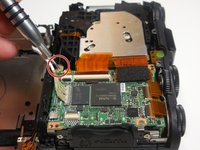
    3. Nikon COOLPIX P7700 Focusing Screen Replacement: step 10, image 1 of 3 Nikon COOLPIX P7700 Focusing Screen Replacement: step 10, image 2 of 3 Nikon COOLPIX P7700 Focusing Screen Replacement: step 10, image 3 of 3
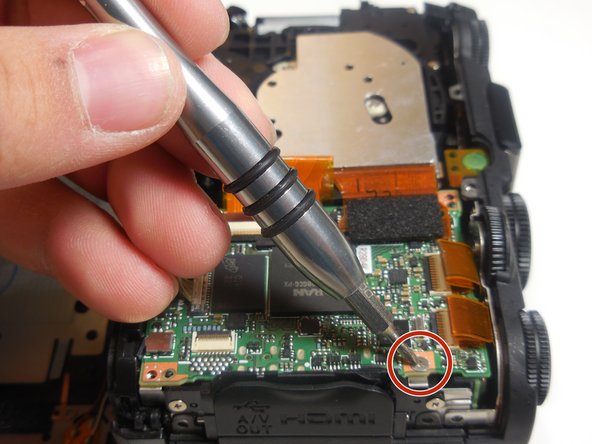
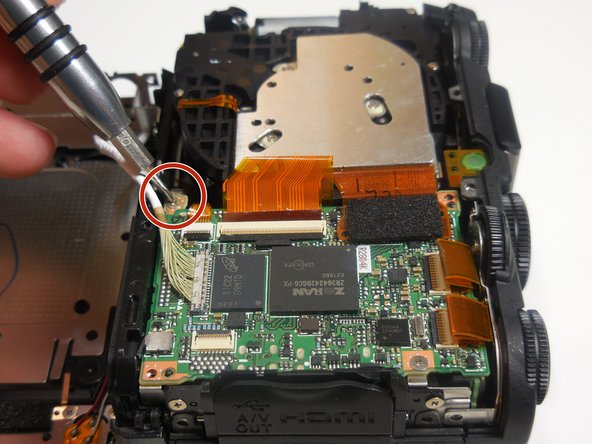
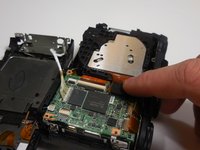
      • Remove the four 4.3 mm silver screws located on the ends of the chip using the Phillips #00 screwdriver.

      Ask FixBot

      Add Comment

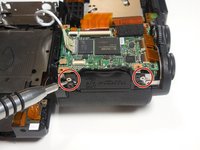
    4. Nikon COOLPIX P7700 Focusing Screen Replacement: step 11, image 1 of 2 Nikon COOLPIX P7700 Focusing Screen Replacement: step 11, image 2 of 2
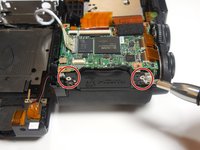
      • Remove the two 4.3 mm silver screws on the far right side of the camera using the Phillips #00 screwdriver.

      Ask FixBot

      Add Comment

    5. Nikon COOLPIX P7700 Focusing Screen Replacement: step 12, image 1 of 2 Nikon COOLPIX P7700 Focusing Screen Replacement: step 12, image 2 of 2
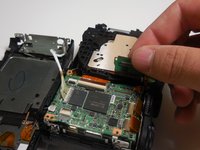
      • Lift and detach connector from board as shown.

      Ask FixBot

      Add Comment

    6. Nikon COOLPIX P7700 Focusing Screen Replacement: step 13, image 1 of 1
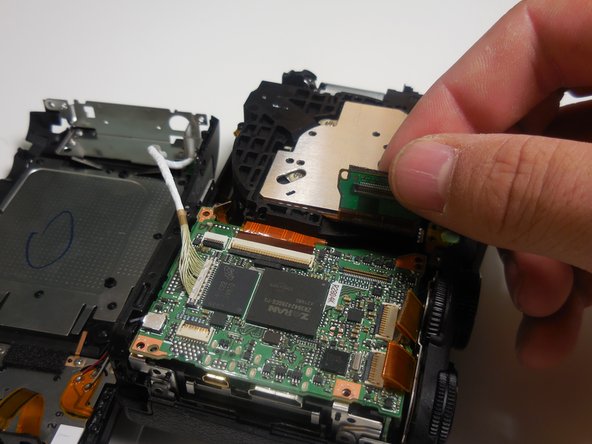
      • Remove the board from the camera to locate lens opening

      Ask FixBot

      Add Comment

    7. Nikon COOLPIX P7700 Focusing Screen Replacement: step 14, image 1 of 1
      • Remove the 4.3 mm screws from the metal sheet using the Phillips #00 screwdriver.

      Ask FixBot

      Add Comment

    8. Nikon COOLPIX P7700 Focusing Screen Replacement: step 15, image 1 of 1
      • Lift the metal sheet up and out of the camera.

      Ask FixBot

      Add Comment

    9. Nikon COOLPIX P7700 Focusing Screen Replacement: step 16, image 1 of 1
      • Locate the reflective lens.

      Ask FixBot

      Add Comment

    10. Nikon COOLPIX P7700 Focusing Screen Replacement: step 17, image 1 of 1
      • Remove the lens from the camera.

      Ask FixBot

      Add Comment

Conclusion

To reassemble your device, follow these instructions in reverse order.

Cancel: I did not complete this guide.

2 other people completed this guide.

Dustin Wahl

Member since: 03/11/15

808 Reputation

4 Guides authored

Team

2 Guide Comments

Hey I have a P7700 that shows a lens error and focusing doesn't work.

I took it apart and removed the focus motor and it seems that the focus lens moves as it should but when turning it on the picture will be blurry for a second until the lens error comes up.

What issue is fixed by replacing this focus lens?

Dominik Bessler - Reply Share

Hello.

Do you have a service procedure to fix the exposure dial in this camera?

Hugo - Reply Share

Add Comment

View Statistics:

Past 24 Hours: 3

Past 7 Days: 22

Past 30 Days: 88

All Time: 2,970