Free Shipping on Domestic Orders $75+

Nikon 1 AW 1 LCD Screen Replacement

What you need

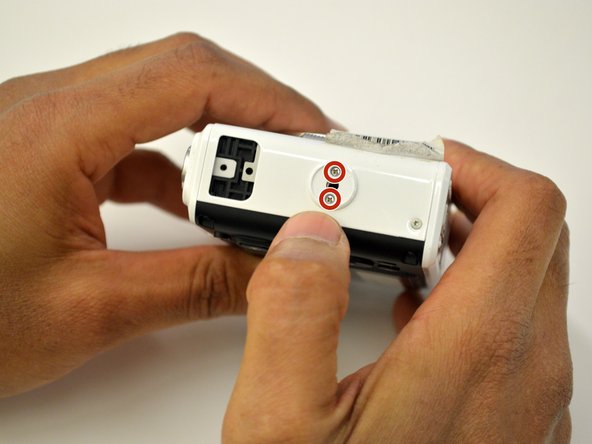
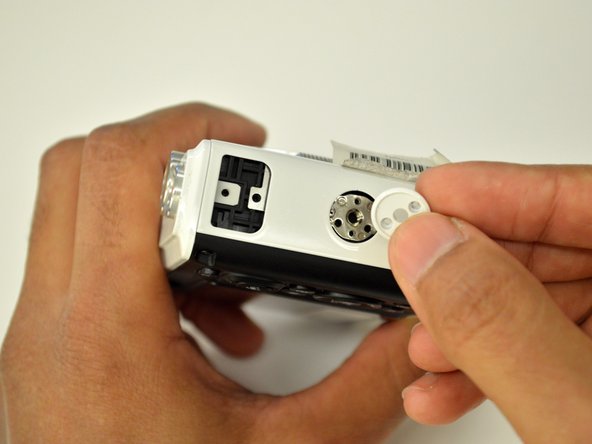
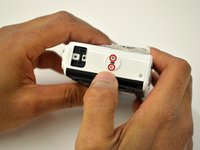
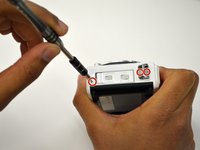
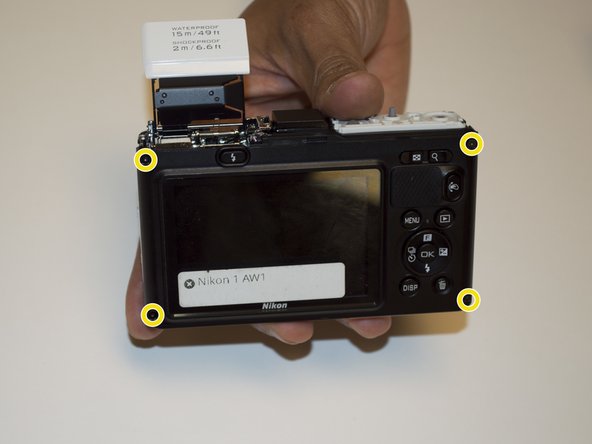
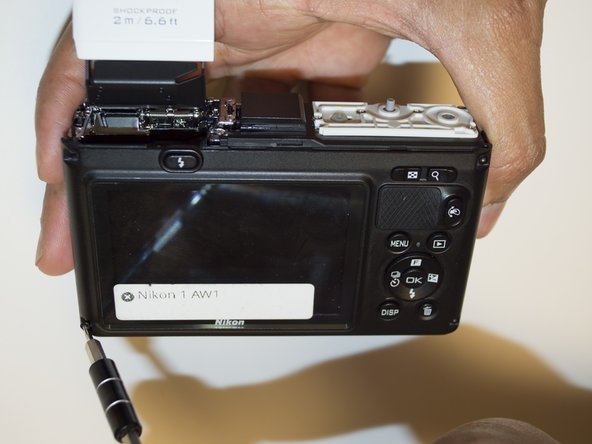
  1. Nikon 1 AW 1 LCD Screen Replacement, Buttons: step 1, image 1 of 3 Nikon 1 AW 1 LCD Screen Replacement, Buttons: step 1, image 2 of 3 Nikon 1 AW 1 LCD Screen Replacement, Buttons: step 1, image 3 of 3
    • Using the Phillips PH00 screwdriver, remove the six 4.0mm screws marked in red. Then remove the panel cover by lightly pulling it off.

    Ask FixBot

    Add Comment

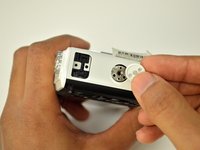
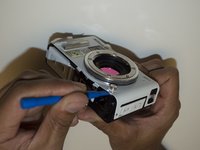
  2. Nikon 1 AW 1 LCD Screen Replacement: step 2, image 1 of 3 Nikon 1 AW 1 LCD Screen Replacement: step 2, image 2 of 3 Nikon 1 AW 1 LCD Screen Replacement: step 2, image 3 of 3
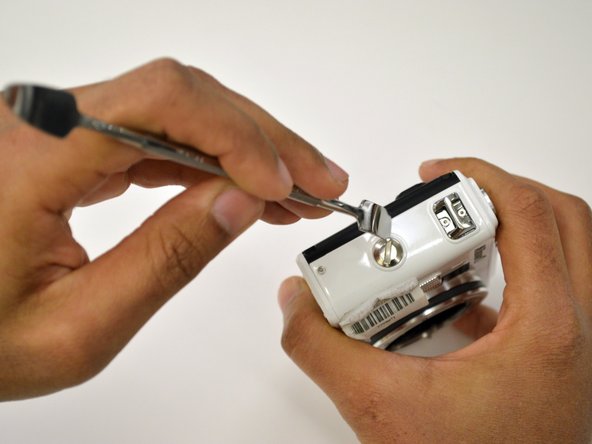
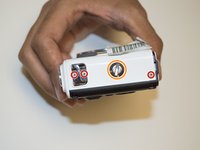
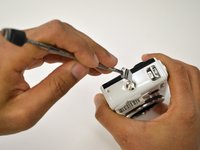
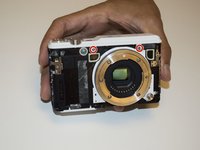
    • Using the Phillips PH00 screwdriver, remove the four 5.5mm screws in the red circles. Then use a plastic opening tool to pry off the tripod socket.

    • Remove the metal plate to have access to the 4.9mm screw under the orange circle, use the Phillips PH00 screwdriver to remove it.

    Ask FixBot

    Add Comment

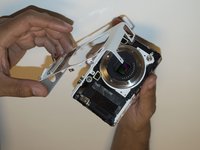
  3. Nikon 1 AW 1 LCD Screen Replacement: step 3, image 1 of 3 Nikon 1 AW 1 LCD Screen Replacement: step 3, image 2 of 3 Nikon 1 AW 1 LCD Screen Replacement: step 3, image 3 of 3
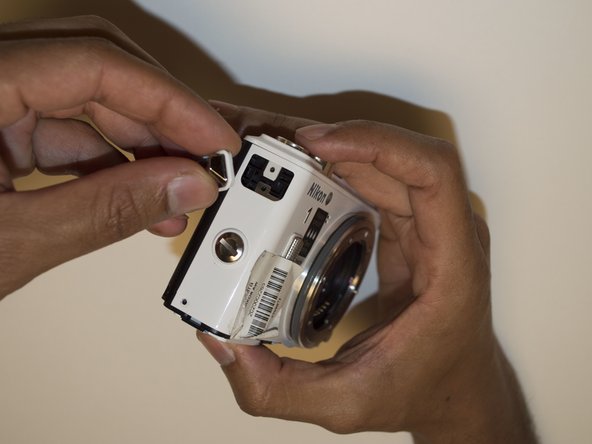
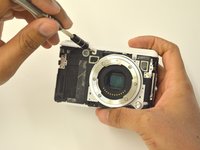
    • Using a T4 head screwdriver remove the three 5.4mm screws marked with the red circles.

    • Use a 1/4" flathead screwdriver or a flat head tool to release the grip attachment screw.

    • Remove the camera strap eyelet.

    Ask FixBot

    Add Comment

  4. Nikon 1 AW 1 LCD Screen Replacement: step 4, image 1 of 3 Nikon 1 AW 1 LCD Screen Replacement: step 4, image 2 of 3 Nikon 1 AW 1 LCD Screen Replacement: step 4, image 3 of 3
    • Remove the grip attachment screw.

    • Use a Phillips PH00 to remove the two 2.4mm screws on the grip attachment slot, then remove the slot.

    Ask FixBot

    Add Comment

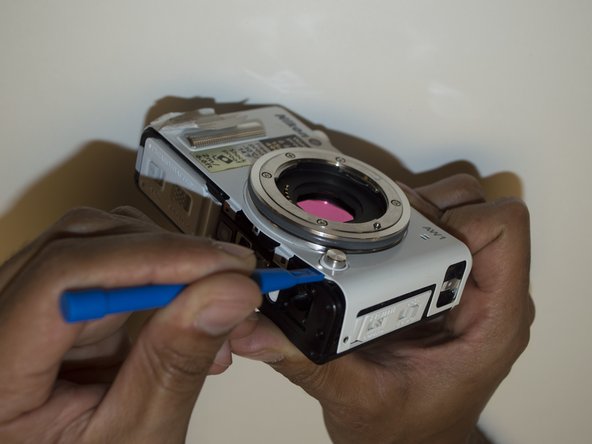
  5. Nikon 1 AW 1 LCD Screen Replacement: step 5, image 1 of 3 Nikon 1 AW 1 LCD Screen Replacement: step 5, image 2 of 3 Nikon 1 AW 1 LCD Screen Replacement: step 5, image 3 of 3
    • Use a T4 screwdriver to remove the three 5.4mm screw marked with the red circles and the eyelet strap.

    • Use a plastic opening tool to lift the front camera cover off.

    Ask FixBot

    Add Comment

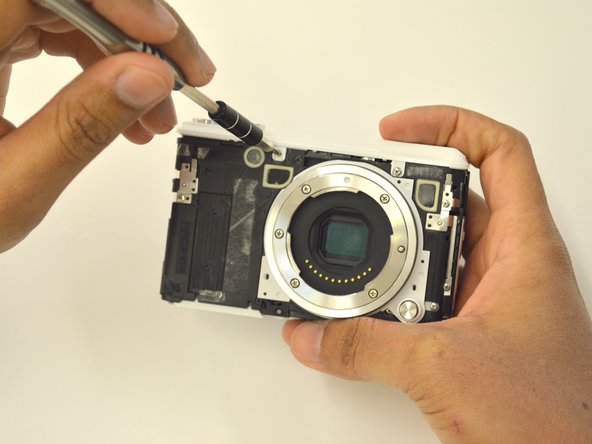
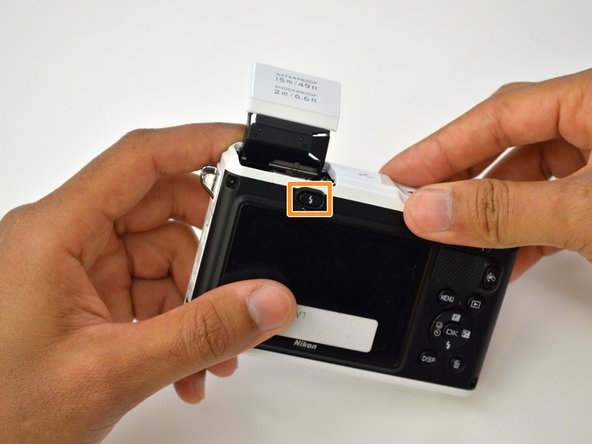
  6. Nikon 1 AW 1 LCD Screen Replacement: step 6, image 1 of 3 Nikon 1 AW 1 LCD Screen Replacement: step 6, image 2 of 3 Nikon 1 AW 1 LCD Screen Replacement: step 6, image 3 of 3
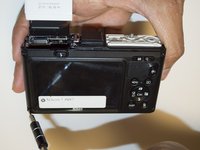
    • Use a Phillips PH00 to unscrew the two 3.5mm screws in red.

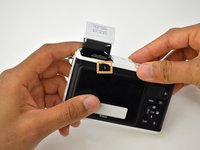
    • Press the flash pop-up button in the orange rectangle to be able to remove top cover of the camera.

    Ask FixBot

    Add Comment

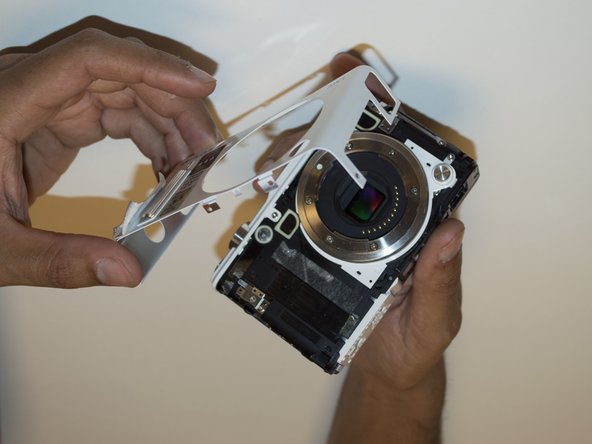
  7. Nikon 1 AW 1 LCD Screen Replacement: step 7, image 1 of 3 Nikon 1 AW 1 LCD Screen Replacement: step 7, image 2 of 3 Nikon 1 AW 1 LCD Screen Replacement: step 7, image 3 of 3
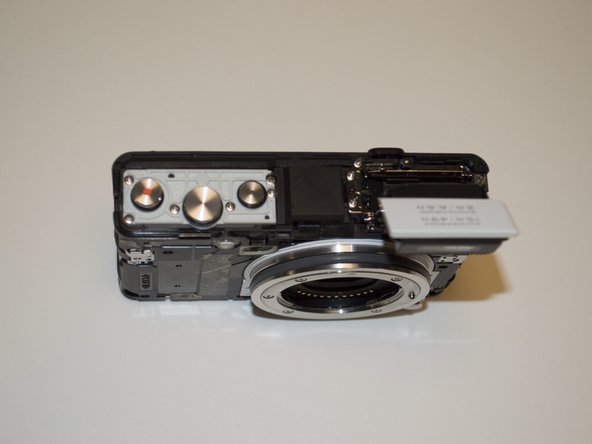
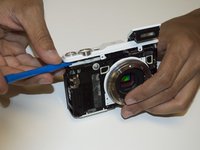
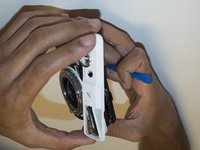
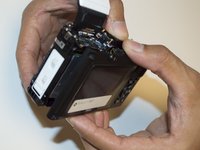
    • Use a plastic opening tool to lift off the top panel.

    Ask FixBot

    Add Comment

  8. Nikon 1 AW 1 LCD Screen Replacement: step 8, image 1 of 1
    • If you needed to replace any buttons, you may now do so by pulling them off.

    Ask FixBot

    Add Comment

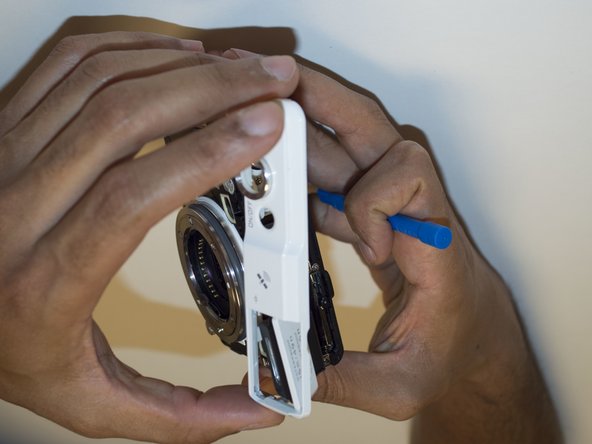
  9. Nikon 1 AW 1 LCD Screen Replacement, Internal Body Seal: step 9, image 1 of 3 Nikon 1 AW 1 LCD Screen Replacement, Internal Body Seal: step 9, image 2 of 3 Nikon 1 AW 1 LCD Screen Replacement, Internal Body Seal: step 9, image 3 of 3
    • Use a Phillips PH00 screwdriver to remove the 3.8mm screw in red.

    • Use a Phillips PH00 screwdriver to remove the 4.9mm screw in orange.

    • Use a Torx T4 screwdriver to remove the four 5.5mm screws in yellow.

    Ask FixBot

    Add Comment

  10. Nikon 1 AW 1 LCD Screen Replacement: step 10, image 1 of 3 Nikon 1 AW 1 LCD Screen Replacement: step 10, image 2 of 3 Nikon 1 AW 1 LCD Screen Replacement: step 10, image 3 of 3
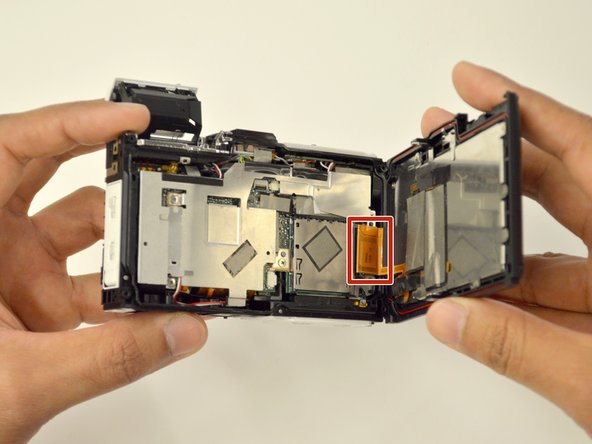
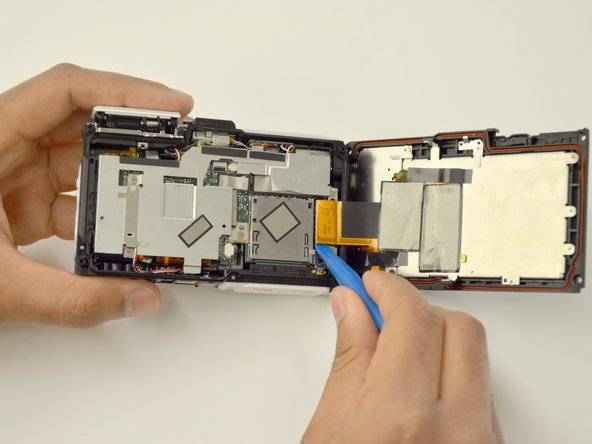
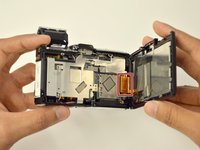
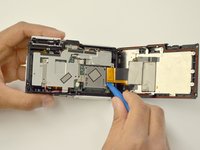
    • Separate rear panel from the camera main body, starting from the HDMI and USB connector side. Do NOT pull the rear panel completely off of the camera yet.

    • Use a plastic opening tool to pry out the connector marked in red.

    Ask FixBot

    Add Comment

  11. Nikon 1 AW 1 LCD Screen Replacement: step 11, image 1 of 2 Nikon 1 AW 1 LCD Screen Replacement: step 11, image 2 of 2
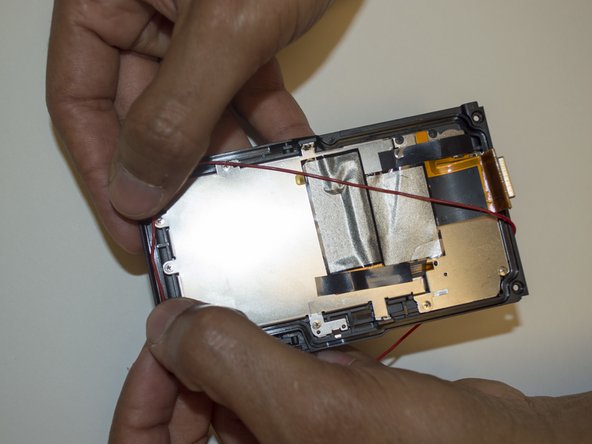
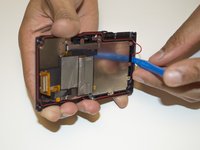
    • Use the plastic opening tool to pull out the old seal from the groove in the rear panel.

    • If you needed to replace the seal, you may now do so.

    Ask FixBot

    Add Comment

  12. Nikon 1 AW 1 LCD Screen Replacement, Rear Panel: step 12, image 1 of 3 Nikon 1 AW 1 LCD Screen Replacement, Rear Panel: step 12, image 2 of 3 Nikon 1 AW 1 LCD Screen Replacement, Rear Panel: step 12, image 3 of 3
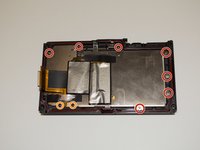
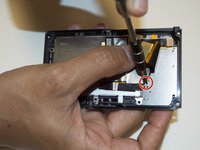
    • Use a Phillips PH00 screwdriver to remove the seven 3.1mm screws marked in red.

    • Use a Phillips PH00 screwdriver to remove the two 3.6mm screws marked in orange.

    • Lift off the small plate as shown.

    Ask FixBot

    Add Comment

  13. Nikon 1 AW 1 LCD Screen Replacement: step 13, image 1 of 3 Nikon 1 AW 1 LCD Screen Replacement: step 13, image 2 of 3 Nikon 1 AW 1 LCD Screen Replacement: step 13, image 3 of 3
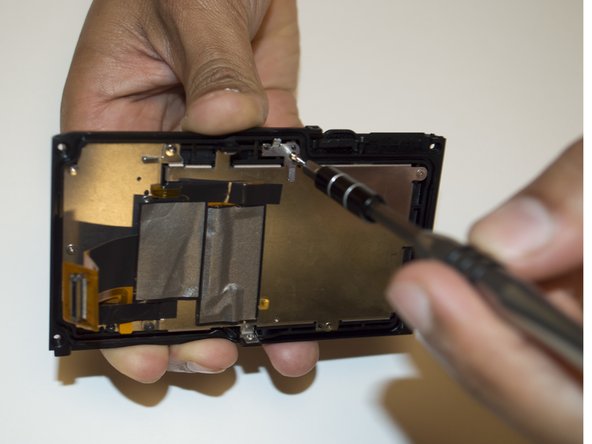
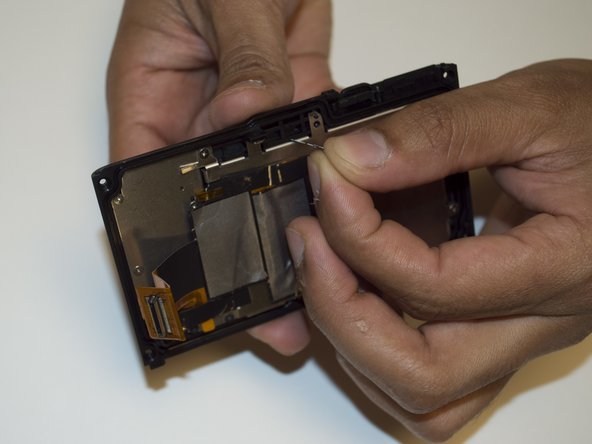
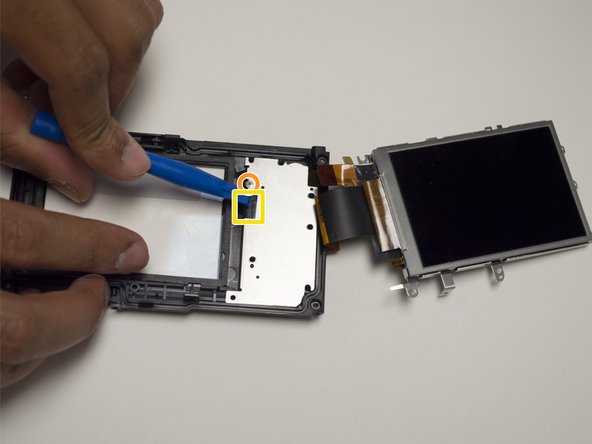
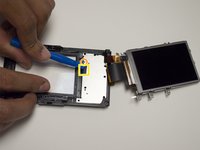
    • Lift the rainbow cable to have access to the 3.1mm screw beneath it and unscrew it with a Phillips PH00 screwdriver.

    • Turn aside the LCD screen but do not completely remove it yet.

    • You will need to lift the sticky patch inside the the yellow rectangle, to access the 3.1mm screw marked in orange, remove it with Phillips PH00 screwdriver, then you will be able to separate the LCD screen from the rear panel.

    Ask FixBot

    Add Comment

  14. Nikon 1 AW 1 LCD Screen Replacement: step 14, image 1 of 3 Nikon 1 AW 1 LCD Screen Replacement: step 14, image 2 of 3 Nikon 1 AW 1 LCD Screen Replacement: step 14, image 3 of 3
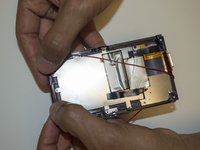
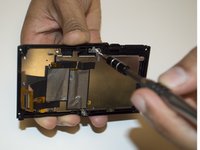
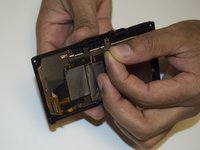
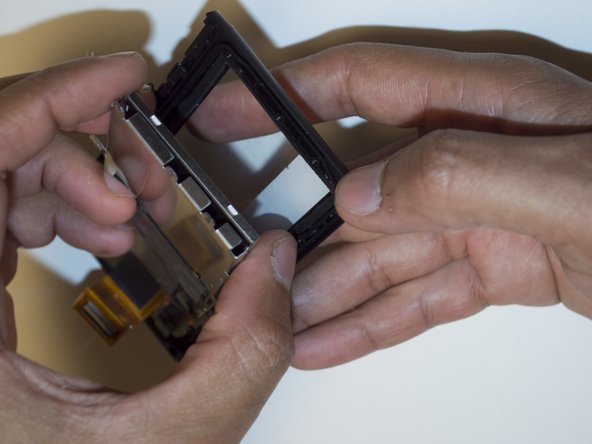
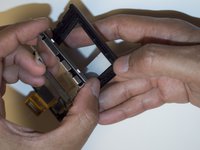
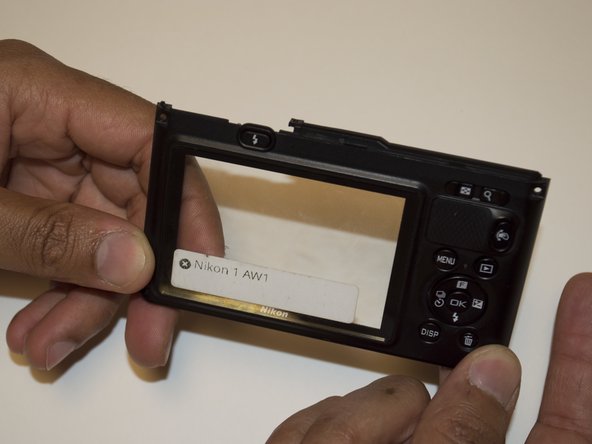
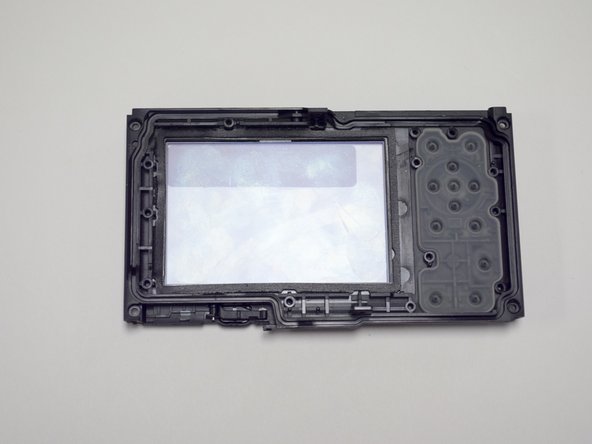
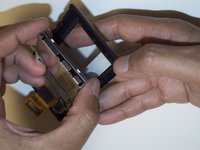
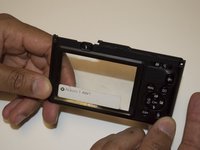
    • Remove the back panel apart from LCD screen.

    Ask FixBot

    Add Comment

Conclusion

To reassemble your device, follow these instructions in reverse order.

Cancel: I did not complete this guide.

3 other people completed this guide.

Daniel Heshmaty

Member since: 10/04/16

397 Reputation

3 Guides authored

Team

USF Tampa, Team 3-4, Sullivan Fall 2016 Member of USF Tampa, Team 3-4, Sullivan Fall 2016

USFT-SULLIVAN-F16S3G4

4 Members

6 Guides authored

1 Guide Comment

Great thanks! Where can I order the screen?

terrykosick - Reply Share
Add Comment

View Statistics:

Past 24 Hours: 0

Past 7 Days: 6

Past 30 Days: 37

All Time: 1,240