Free Shipping on Domestic Orders $75+

Nexus 4 Camera Replacement

What you need

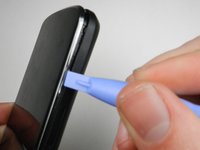
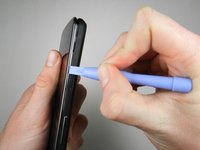
    1. Nexus 4 Camera Replacement, Back Cover: step 1, image 1 of 2 Nexus 4 Camera Replacement, Back Cover: step 1, image 2 of 2
      Tool used on this step:
      SIM Card Eject Tool
      $2.99
      Buy
      • Power off the phone, by long-pressing the power button and touching Power off.

      • Remove the SIM tray using the SIM Card Eject Tool.

      • This step is required in order to remove the back case.

      Ask FixBot

      Add Comment

    2. Nexus 4 Camera Replacement: step 2, image 1 of 1
      Tool used on this step:
      T5 Torx Screwdriver
      $5.49
      Buy
      Ask FixBot

      Add Comment

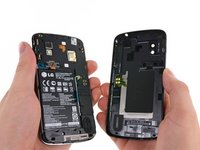
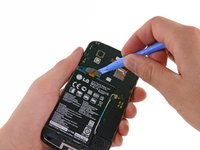
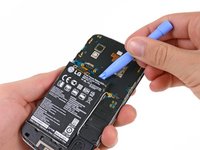
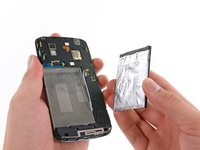
    3. Nexus 4 Camera Replacement: step 3, image 1 of 3 Nexus 4 Camera Replacement: step 3, image 2 of 3 Nexus 4 Camera Replacement: step 3, image 3 of 3
      • Gently open the back case by prying along the edge of the cover, starting at a corner of the phone and circling around the phone using a plastic opening tool.

      • The opening process may take a few minutes. The plastic will make a light snapping noise as the back cover separates from the rest of the phone.

      Ask FixBot

      Add Comment

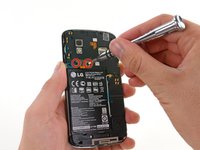
    1. Nexus 4 Camera Replacement, Battery: step 4, image 1 of 2 Nexus 4 Camera Replacement, Battery: step 4, image 2 of 2
      • Remove the two 1.8 mm Phillips screws holding down the battery connector.

      • Using a plastic opening tool, disconnect the battery cable from its socket on the motherboard.

      Ask FixBot

      Add Comment

    2. Nexus 4 Camera Replacement, Battery removal: step 5, image 1 of 2 Nexus 4 Camera Replacement, Battery removal: step 5, image 2 of 2
      Tool used on this step:
      Plastic Cards
      $2.99
      Buy
      • Remove the blue tape that secures the white antenna cable to the battery.

      • Using a spudger, carefully disconnect the white antenna cable.

      • Carefully pry the battery out with a Plastic Opening Tool, starting at the top left-hand corner and working down towards the bottom right-hand corner.

      • If necessary, you can also use a plastic card to separate the battery from the metal midframe.

      • The battery is securely glued to the phone. When reinstalling the battery, press the battery firmly against the adhesive strip.

      Ask FixBot

      Add Comment

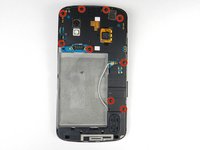
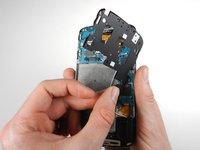
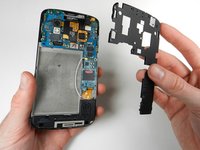
    1. Nexus 4 Camera Replacement, Plastic Midframe: step 6, image 1 of 3 Nexus 4 Camera Replacement, Plastic Midframe: step 6, image 2 of 3 Nexus 4 Camera Replacement, Plastic Midframe: step 6, image 3 of 3
      • Remove the nine 4.6 mm Phillips #000 screws. Gently lift out the plastic cover.

      • The midframe is held in with two clips, one at either side. Use a plastic spudger to release each side and gently lift up and away.

      Ask FixBot

      Add Comment

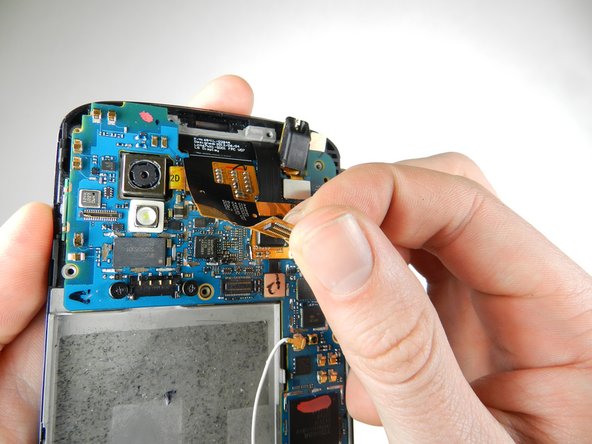
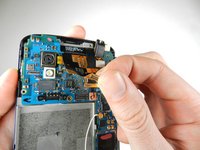
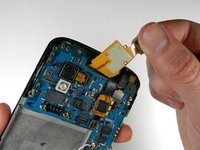
    1. Nexus 4 Camera Replacement, Camera: step 7, image 1 of 3 Nexus 4 Camera Replacement, Camera: step 7, image 2 of 3 Nexus 4 Camera Replacement, Camera: step 7, image 3 of 3
      • Gently pry the metal tab up using a spudger, and lift up the disconnected black flap.

      Ask FixBot

      Add Comment

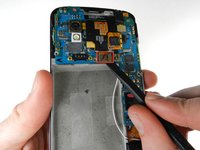
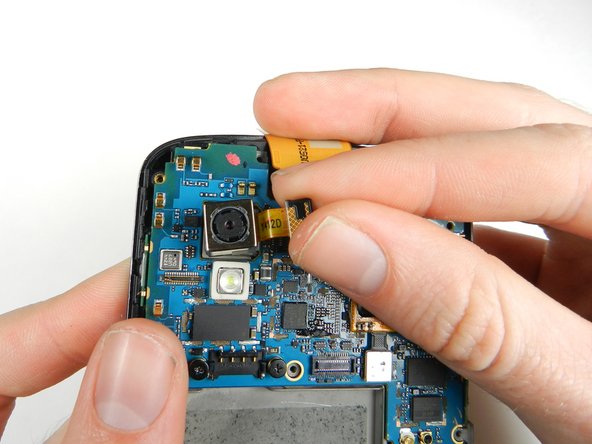
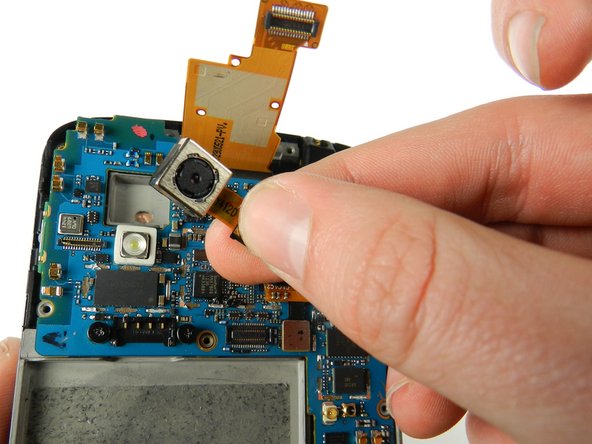
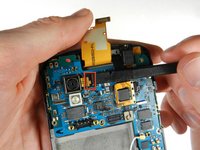
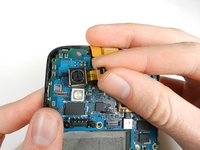
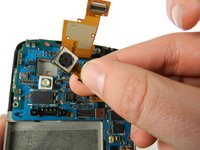
    2. Nexus 4 Camera Replacement: step 8, image 1 of 3 Nexus 4 Camera Replacement: step 8, image 2 of 3 Nexus 4 Camera Replacement: step 8, image 3 of 3
      • With a spudger, carefully pry up the black tab connecting the camera to the motherboard.

      • Lift up the camera from the socket.

      Ask FixBot

      Add Comment

Conclusion

To reassemble your device, follow these instructions in reverse order.

Cancel: I did not complete this guide.

8 other people completed this guide.

Kaitlyn Jones

Member since: 01/27/13

4,964 Reputation

8 Guides authored

Team

Cal Poly, Team 3-32, Amido Winter 2013 Member of Cal Poly, Team 3-32, Amido Winter 2013

CPSU-AMIDO-W13S3G32

4 Members

96 Guides authored

0 Guide Comments

Add Comment

View Statistics:

Past 24 Hours: 1

Past 7 Days: 13

Past 30 Days: 41

All Time: 8,458