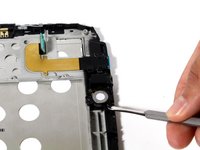
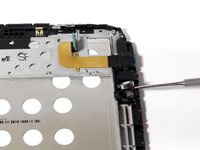
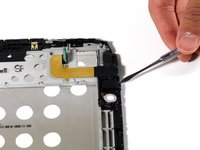
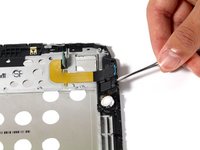
Free Shipping on Domestic Orders $75+

Nexus 10 Headphone Jack Replacement

Views: 1.4K

View statistics:

Past 24 Hours:
1
Past 7 Days:
17
Past 30 Days:
100
All Time:
1,411
Comments: 9

9 comments on steps.

Completed: 0

No one has marked this guide "completed." Will you be the first?

Favorites: 1

1 person has favorited (and subscribed to) this guide. Will you be next?

Time Required: No estimate
Difficulty: Moderate
Better Introduction

Improve this guide by completing or revising its introduction.

Nexus 10 Headphone Jack Replacement

What you need

Parts

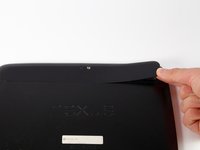
    1. Nexus 10 Headphone Jack Replacement, Battery: step 1, image 1 of 3 Nexus 10 Headphone Jack Replacement, Battery: step 1, image 2 of 3 Nexus 10 Headphone Jack Replacement, Battery: step 1, image 3 of 3
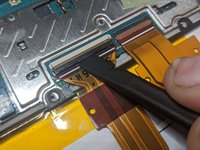
      • Using a plastic opening tool, remove the thin plastic cover from back of the tablet by prying up from its small tab.

      Ask FixBot

      Add Comment

    2. Nexus 10 Headphone Jack Replacement: step 2, image 1 of 1
      • Remove the five 2mm screws on the back of the device using a PH00 screwdriver.

      Ask FixBot

      Add Comment

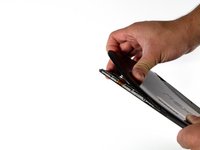
    3. Nexus 10 Headphone Jack Replacement: step 3, image 1 of 3 Nexus 10 Headphone Jack Replacement: step 3, image 2 of 3 Nexus 10 Headphone Jack Replacement: step 3, image 3 of 3
      • Pry the device apart by inserting a plastic opening tool in the seam between the plastic backing and display assembly. Use the tool to unclip the plastic tabs in between the backing and the display.

      • Pull the the plastic backing off the display assembly using your hands.

      • Do not do this step with only your hands. You will require a significant amount of force to separate the device.

      Ask FixBot

      Add Comment

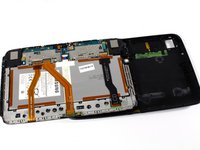
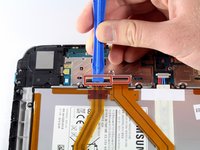
    4. Nexus 10 Headphone Jack Replacement: step 4, image 1 of 3 Nexus 10 Headphone Jack Replacement: step 4, image 2 of 3 Nexus 10 Headphone Jack Replacement: step 4, image 3 of 3
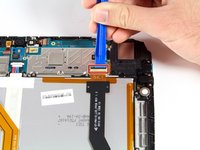
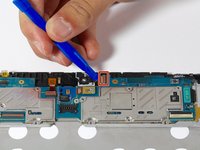
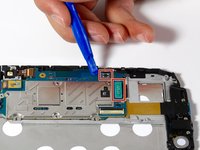
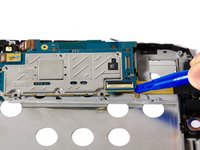
      • Detach the three connector ribbons passing over the battery using the plastic opening tool.

      Ask FixBot

      Add Comment

    5. Nexus 10 Headphone Jack Replacement: step 5, image 1 of 1
      • Remove the twelve 2mm screws around the perimeter of the battery with a PH00 screwdriver.

      Ask FixBot

      Add Comment

    6. Nexus 10 Headphone Jack Replacement: step 6, image 1 of 2 Nexus 10 Headphone Jack Replacement: step 6, image 2 of 2
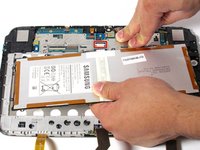
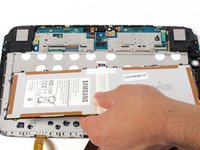
      • Disconnect the battery by lifting it upward and pulling it away from the connector.

      Ask FixBot

      Add Comment

    1. Nexus 10 Headphone Jack Replacement, Headphone Jack: step 7, image 1 of 1
      • Remove one screw on the logic board with a PH00 screwdriver.

      Ask FixBot

      Add Comment

    2. Nexus 10 Headphone Jack Replacement: step 8, image 1 of 3 Nexus 10 Headphone Jack Replacement: step 8, image 2 of 3 Nexus 10 Headphone Jack Replacement: step 8, image 3 of 3
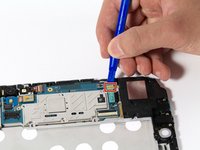
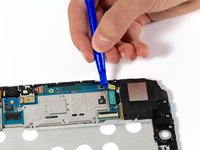
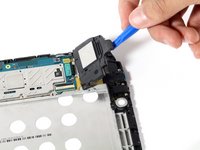
      • Disconnect right speaker connector ribbon from logic board.

      • Lift the speaker out by pulling up on its corner.

      Ask FixBot

      Add Comment

    3. Nexus 10 Headphone Jack Replacement: step 9, image 1 of 3 Nexus 10 Headphone Jack Replacement: step 9, image 2 of 3 Nexus 10 Headphone Jack Replacement: step 9, image 3 of 3
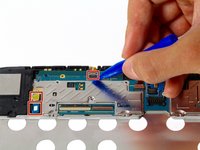
      • Disconnect connectors around the perimeter of the motherboard.

      Ask FixBot

      Add Comment

    4. Nexus 10 Headphone Jack Replacement: step 10, image 1 of 2 Nexus 10 Headphone Jack Replacement: step 10, image 2 of 2
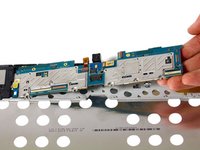
      • Remove motherboard by gently pulling upward under its corner.

      Ask FixBot

      Add Comment

    5. Nexus 10 Headphone Jack Replacement: step 11, image 1 of 1
      • Remove the three 2mm screws along the right side of the device using a PH00 screwdriver.

      Ask FixBot

      Add Comment

    6. Nexus 10 Headphone Jack Replacement: step 12, image 1 of 2 Nexus 10 Headphone Jack Replacement: step 12, image 2 of 2
      • Unseat the small vibrator motor by gently applying upward pressure with a spudger.

      Ask FixBot

      Add Comment

    7. Nexus 10 Headphone Jack Replacement: step 13, image 1 of 2 Nexus 10 Headphone Jack Replacement: step 13, image 2 of 2
      • Lift the assembly by gently applying upward pressure with the spudger on the assembly.

      Ask FixBot

      Add Comment

    8. Nexus 10 Headphone Jack Replacement: step 14, image 1 of 2 Nexus 10 Headphone Jack Replacement: step 14, image 2 of 2
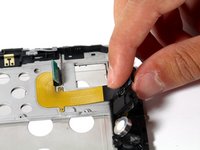
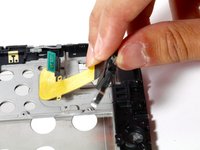
      • Gently pull battery-audio jack-USB assembly upward, detaching it from its adhesive.

      Ask FixBot

      Add Comment

Conclusion

To reassemble your device, follow these instructions in reverse order.

Cancel: I did not complete this guide.

Benjamin Troller

Member since: 04/11/16

2,239 Reputation

5 Guides authored

Team

Cal Poly, Team 34-18, Maness Spring 2016 Member of Cal Poly, Team 34-18, Maness Spring 2016

CPSU-MANESS-S16S34G18

4 Members

60 Guides authored

0 Guide Comments

Add Comment

View Statistics:

Past 24 Hours: 1

Past 7 Days: 17

Past 30 Days: 100

All Time: 1,411