Introduction
The Nextbook Ares 10A digitizer replacement is a fairly straightforward job, but a soldering iron will be required if you are to disconnect the battery.
What you need
-
-
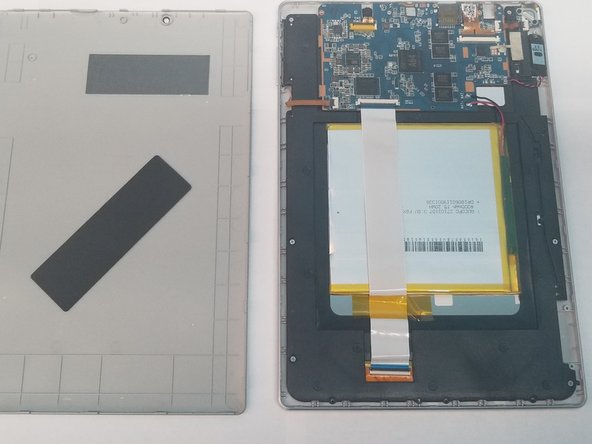
There are several retaining clips holding the back cover on the device.
-
Use a pry tool to seperate the back cover from the device.
 Ask FixBot
-
-
-
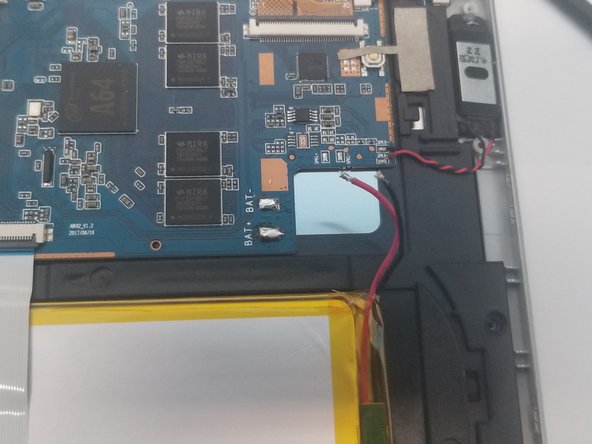
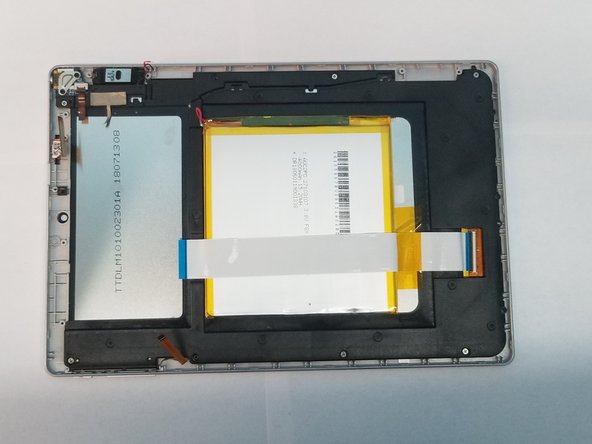
The battery is connected to the motherboard. We must disconnect it first before proceeding.
-
To disconnect the battery we must use a "soldering iron'' to disconnect the leads to the motherboard
-
With the battery successfully disconnected we can move on with the repair while also keeping us and the device safe
-
It's a good idea to put tape over the ends of the battery lead to protect it from touching anything.
-
-
-
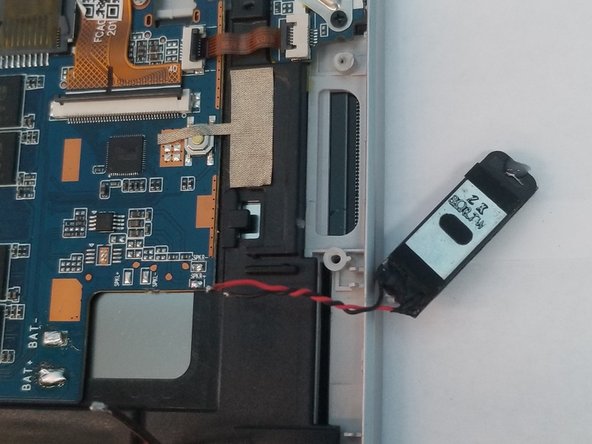
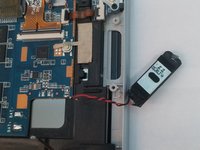
It may be a good idea to lift out the speaker at this point so the cables dont tear.
-
You will be moving the speaker over to the new digitizer and frame combo.
-
-
-
-
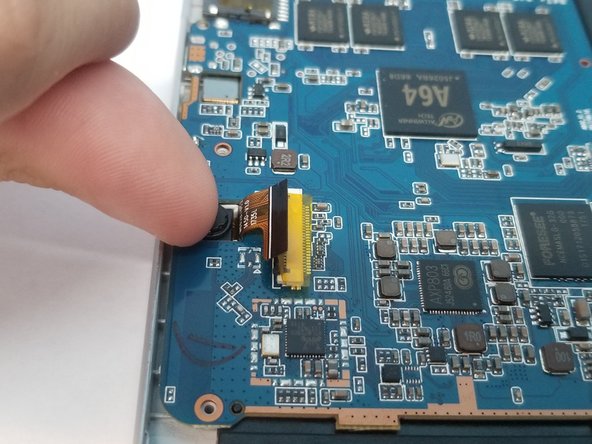
Flip up the five retaining flaps and pull out the fragile cables for the power and volume button, lcd, camera, digitizer, and daughter board holding the headphone jack.
-
It is not necessary to disconnect the camera but not doing so can risk tearing the fragile cable while removing the motherboard
-
-
-
Remove the 3 Philip's screws holding the motherboard in place along the top.
-
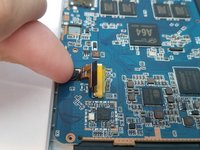
Use a finger to lift up the rear camera module from the device, there is a small amount of adhesive under it to keep it secure
-
Removing the camera will keep it from tearing when removing it from the motherboard.
-
-
-
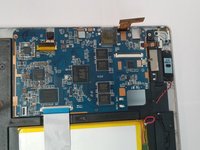
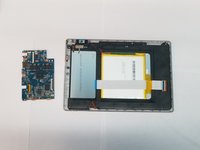
Lift up the motherboard to remove it from the device, being careful not to rip any cables in the process.
-
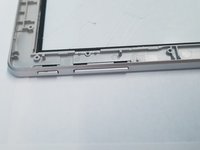
Remove the 6 silver colored philips screws holding the lcd to the digitizer frame.
-
Now remove the 2 black Philip's screws holding the headphone jack in place
-
-
-
Remove the silver plate over the headphone jack and lift up on the headphone jack to remove it.
-
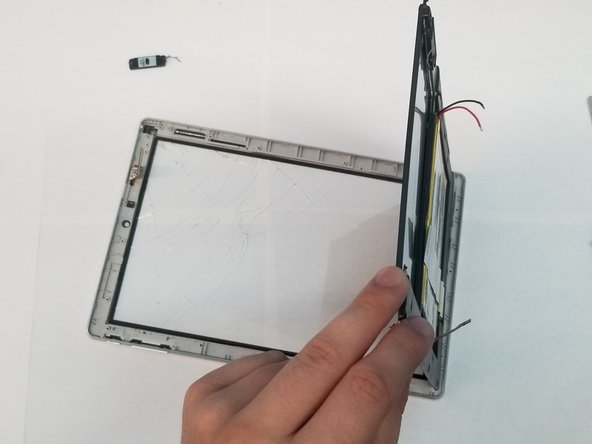
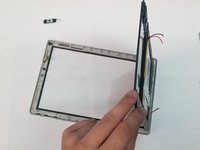
At this point, the lcd can be removed, the battery, power and volume control are both glued onto the assembly.
-
While lifting the lcd assembly out, ensure that you do not touch the screen on the other side and that the power controller stays attached to it.
-
-
-
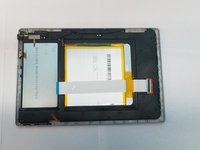
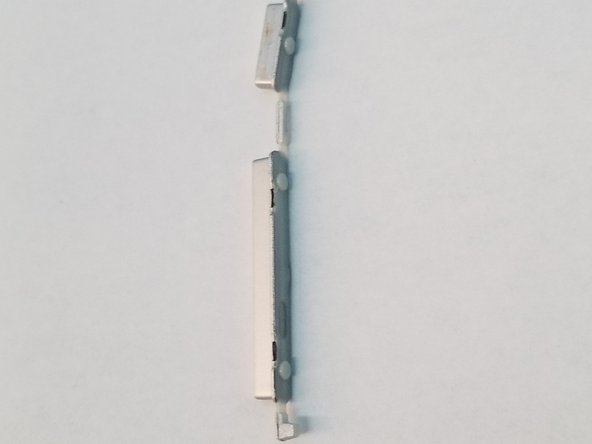
Lastly, the power and volume buttons need to be moved over to the new digitizer frame
-


To reassemble your device, follow these instructions in reverse order.
3 Guide Comments
Chris I can't give you 30 points because your info is not helpful in getting my code reset. I just open the box after 3 years
I’m going to be honest.
1 - I have no idea what you are talking about, no form of code reset is applicable, this was walking through replacing an lcd, that’s it.
2 - I honestly could care less, this was something I was trying to do for the community when things were slow at my old job. I did what I could at the time with what I could from over 6 years ago now.
3 - I did this while I was in community college with very little knowledge of electronics, couldn’t find any tear down at the time so figured someone may need it down the line for this old even back then hardware. I now have been working for 3 years as an Electrical Engineer and can break down most circuits and debug most things for anyone if it’s needed. My free time has all but disappeared though.
4 - Yes I saw your comment…today… 3 years later.
Did you get my message