
NexiGo NS32 Trigger Assembly Replacement

Gage_Atx and 2 other contributors
Last updated on Jun 19, 2024
Views: 440
View statistics:
- Past 24 Hours:
- 1
- Past 7 Days:
- 13
- Past 30 Days:
- 60
- All Time:
- 440
Comments: 3
3 comments on steps.
Completed: 0 1
No one has marked this guide "completed." Will you be the first?
1 person has marked this guide "completed." It's you — great job!
Favorites: 0 1
No one has favorited (and subscribed to) this guide. Will you be the first?
1 person has favorited (and subscribed to) this guide — and that's you!
Introduction
Go to step 1 ↓This is a guide on how to replace the trigger buttons from inside the NexiGo NS32. There are 10 specific steps in this guide that describe how to take the trigger buttons out of the controller. Be careful not to damage any of the internal components.
What you need
Tools


-
-
-
-
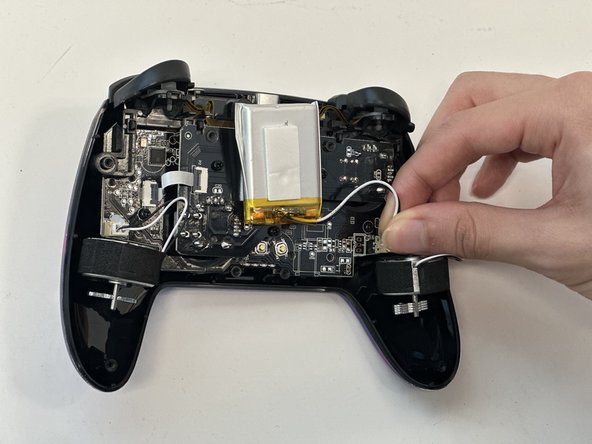
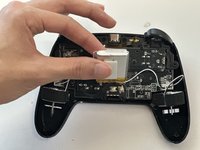
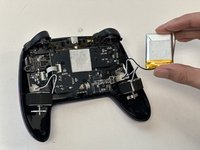
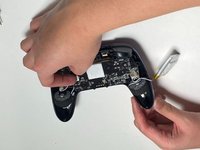
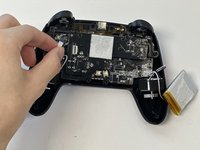
Grip the white battery connector and pull it directly out of its motherboard socket.
-
-
-
-
-
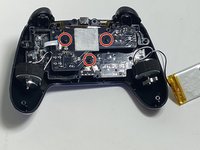
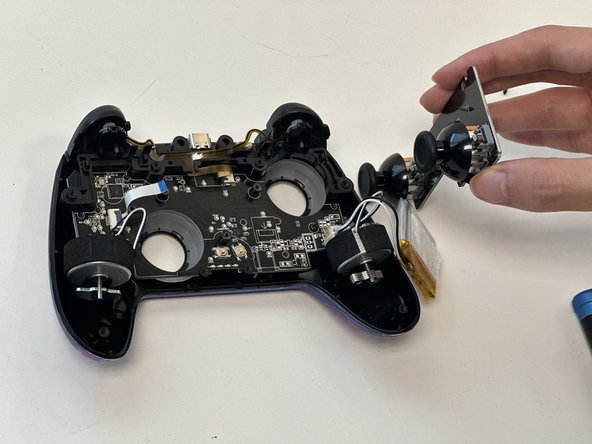
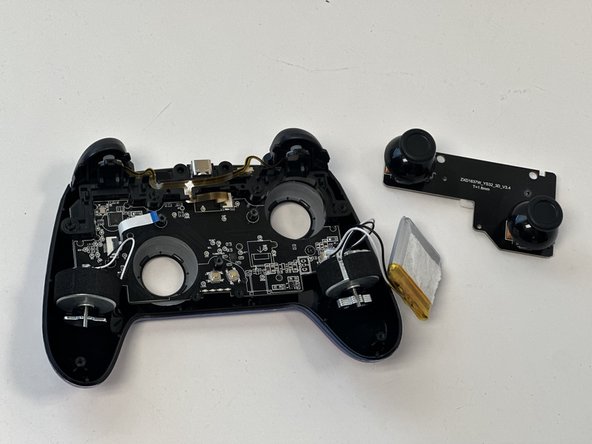
Remove the three 9 mm Phillips screws that secure the joystick PCB.
-
-
-
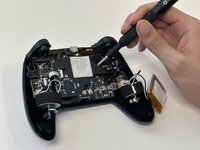
Flip up the black ZIF connector locking flap on the left side of the joystick PCB.
-
Pull the ribbon cable directly out of its socket.
-
-
-
-
-
-
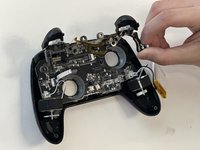
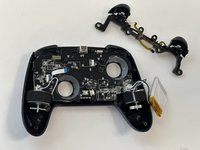
Flip up the black ZIF locking flap that secures the trigger assembly ribbon cable.
-
Disconnect the ribbon cable.
-
-

 Ask FixBot









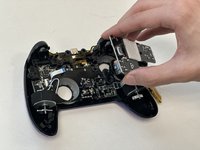
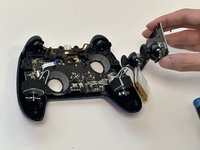
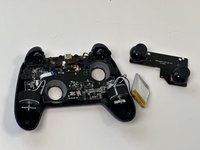


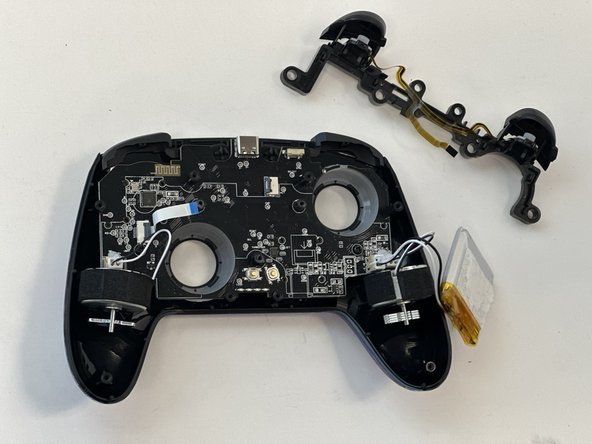
To reassemble your device, follow these instructions in reverse order.

Team

Austin Community College, Team 18-3, Watkins Spring 2024 Member of Austin Community College, Team 18-3, Watkins Spring 2024
AUSTINCC-WATKINS-S24S18G3
4 Members
72 Guides authored
