Free Shipping on Domestic Orders $75+

NexiGo NS32 Joystick PCB Replacement

What you need

  1. NexiGo NS32 Joystick PCB Replacement, Rear Case: step 1, image 1 of 1
    • Orient the controller so that it is face down.

    Ask FixBot
    Add Comment

  2. NexiGo NS32 Joystick PCB Replacement: step 2, image 1 of 2 NexiGo NS32 Joystick PCB Replacement: step 2, image 2 of 2
    • Remove the eight 9 mm Phillips screws that secure the rear case.

    Ask FixBot

    Add Comment

  3. NexiGo NS32 Joystick PCB Replacement: step 3, image 1 of 1
    • Lift the rear case up and off.

    • You may need to use an opening tool to help release the rear case, but avoid using excessive force so you don't damage the controller.

    Ask FixBot

    Add Comment

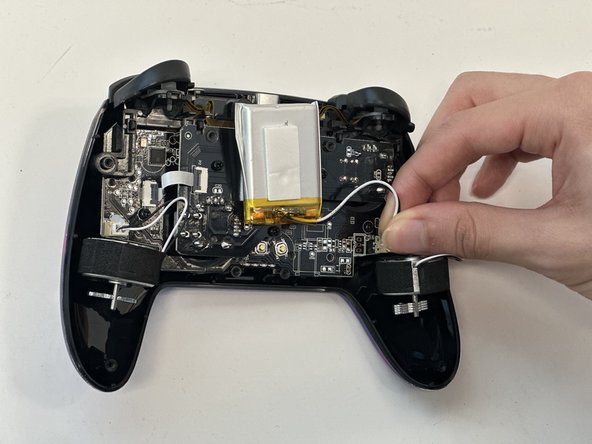
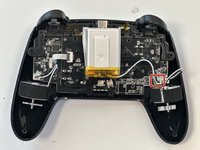
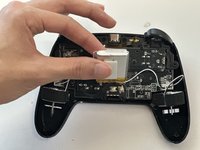
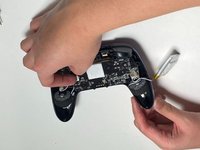
  4. NexiGo NS32 Joystick PCB Replacement, Battery: step 4, image 1 of 2 NexiGo NS32 Joystick PCB Replacement, Battery: step 4, image 2 of 2
    • Grip the white battery connector and pull it directly out of its motherboard socket.

    • This may require some force, as the connectors are secured with a bit of adhesive. If you're having trouble with disconnection, apply some high-concentration isopropyl alcohol to the adhesive to loosen it.

    • Do not pull on the wires.

    Ask FixBot

    Add Comment

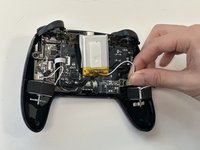
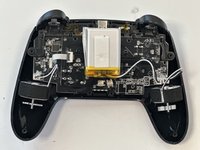
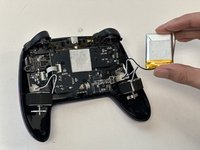
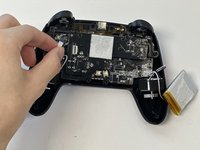
  5. NexiGo NS32 Joystick PCB Replacement: step 5, image 1 of 3 NexiGo NS32 Joystick PCB Replacement: step 5, image 2 of 3 NexiGo NS32 Joystick PCB Replacement: step 5, image 3 of 3
    • Lift the battery up and out.

    • Take care not to bend or puncture the battery as you remove it.

    Ask FixBot

    Add Comment

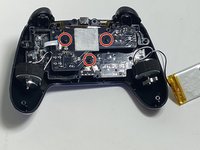
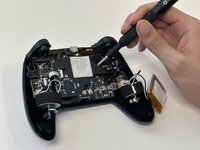
  6. NexiGo NS32 Joystick PCB Replacement, Joystick PCB: step 6, image 1 of 2 NexiGo NS32 Joystick PCB Replacement, Joystick PCB: step 6, image 2 of 2
    • Remove the three 9 mm Phillips screws that secure the joystick PCB.

    Ask FixBot

    Add Comment

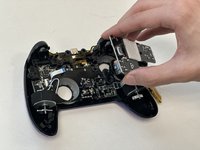
  7. NexiGo NS32 Joystick PCB Replacement: step 7, image 1 of 2 NexiGo NS32 Joystick PCB Replacement: step 7, image 2 of 2
    • Flip up the black ZIF connector locking flap on the left side of the joystick PCB.

    • Pull the ribbon cable directly out of its socket.

    Ask FixBot

    Add Comment

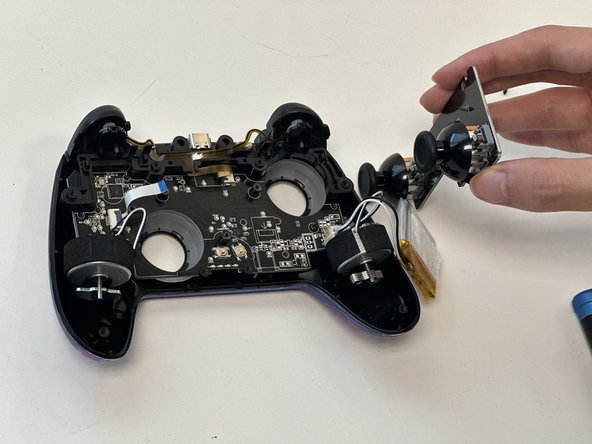
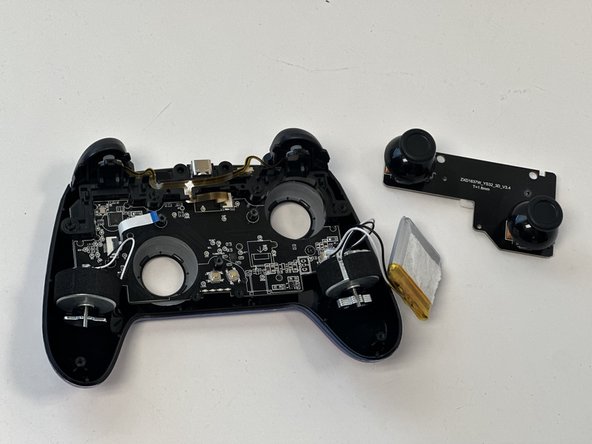
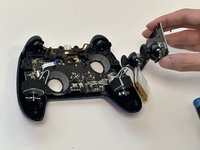
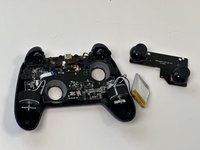
  8. NexiGo NS32 Joystick PCB Replacement: step 8, image 1 of 3 NexiGo NS32 Joystick PCB Replacement: step 8, image 2 of 3 NexiGo NS32 Joystick PCB Replacement: step 8, image 3 of 3
    • Lift out the joystick PCB.

    Ask FixBot

    Add Comment

Conclusion

To reassemble your device, follow these instructions in reverse order.

Cancel: I did not complete this guide.

0 Guide Comments

Add Comment

View Statistics:

Past 24 Hours: 1

Past 7 Days: 5

Past 30 Days: 25

All Time: 360