Introduction
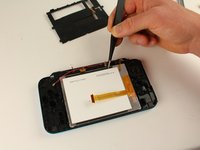
This guide outlines instructions for replacing a broken front screen . The touchscreen is the most buried component in the device, and lots of important cables need to be removed to access the screen. If the steps in this guide are followed, no damage is expected to come to the device. For more information, refer to our troubleshooting page.
What you need
-
-
-
Before you begin, power off the console and remove:
-
The stylus
-
Any game cartridge
-
The microSD card
 Ask FixBot
-
-
-
Use a tri‑point Y00 screwdriver to remove the four 6 mm‑long screws located at the four corners of the bottom panel.
-
-
-
Use a spudger to gently pry around the two short edges and front edge (with the stylus cut‑out) to release the clips securing the back cover.
-
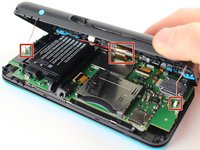
Swing the back cover open from its front edge to release the clips along the hinge edge. Don't remove it fully—three cables are connecting it to the motherboard (two on each side and one in the rear).
-
-
Tool used on this step:Tweezers$4.99
-
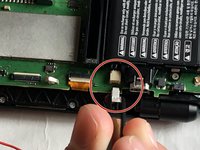
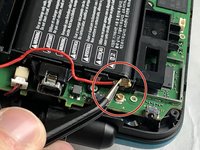
Use tweezers to disconnect the two cables that connect the rear buttons on either side to the motherboard by gently pulling them upwards.
-
Fold the back cover over the hinge edge, keeping the cable connected. Don't strain the cable.
-
-
-
-
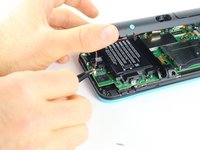
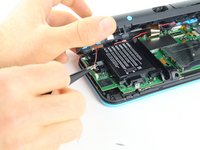
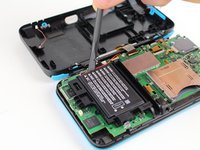
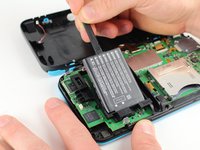
Use the flat end of a spudger to gently pry the battery out of its plastic enclosure.
-
-
-
-
Tool used on this step:Tweezers$4.99
-
There are 8 ribbon cables that need to be removed as shown in the picture.
-
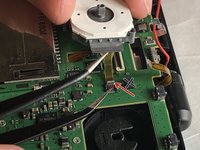
For the remaining 6 (in red), use a pair of tweezers to flip the latches up and pull the ribbon cable out.
-
Note that the second picture shows a broken ribbon connector next to the joystick ribbon connector (to the right of the red arrow). Do not attempt to unlatch this connector as shown in the picture!
-
-
-
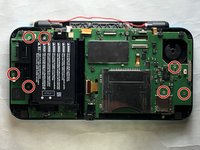
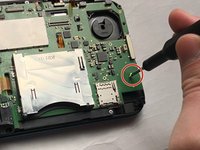
Remove the seven 4.4 mm screws using a J00 (or iFixit's Phillips #00) screwdriver bit.
-
Remove the motherboard from the device.
-
-
-
-
Tool used on this step:Tweezers$4.99
-
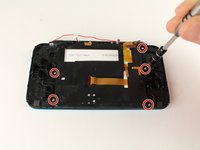
Remove the five 7.5mm phillips screws using a PH000 screwdriver.
-
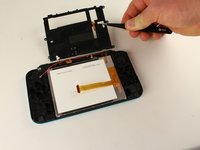
Using tweezers, pull up the plate covering the touchpad. The center ribbon cable will slide through this plate.
-
-

















To reassemble your device, follow these instructions in reverse order.
Cancel: I did not complete this guide.
19 other people completed this guide.

Team

Cal Poly, Team S18-G6, Forte Fall 2017 Member of Cal Poly, Team S18-G6, Forte Fall 2017
CPSU-FORTE-F17S18G6
5 Members
48 Guides authored
12 Guide Comments
Please do top screen next, that’s what I need, but still +30 points :)
Hi Bud
Great instructions, but where do you buy 2ds xl replacement screens. I’ve looked everywhere. I only see 2ds and 3dsxl replacements for sale
Thanks
John
Where can you find the screen replacements?
Where can you find the screen replacements? This is a great guide but I can't find the screen replacements anywhere.
