Free Shipping on Domestic Orders $75+

Netgear Arlo Charging Port Replacement

What you need

  1. Netgear Arlo Charging Port Replacement, Plastic Housing: step 1, image 1 of 1
    • Remove the 2 (3.5mm) housing screws with a J0 screwdriver.

    Ask FixBot

    Add Comment

  2. Netgear Arlo Charging Port Replacement: step 2, image 1 of 2 Netgear Arlo Charging Port Replacement: step 2, image 2 of 2
    • Slide the unlocked battery cover forward to remove 2 (3.5mm) screws, that are behind the cover.

    Ask FixBot

    Add Comment

  3. Netgear Arlo Charging Port Replacement: step 3, image 1 of 1
    • Open the battery cover and remove the 2 (3.5mm") screws from under the cover.

    Ask FixBot

    Add Comment

  4. Netgear Arlo Charging Port Replacement: step 4, image 1 of 3 Netgear Arlo Charging Port Replacement: step 4, image 2 of 3 Netgear Arlo Charging Port Replacement: step 4, image 3 of 3
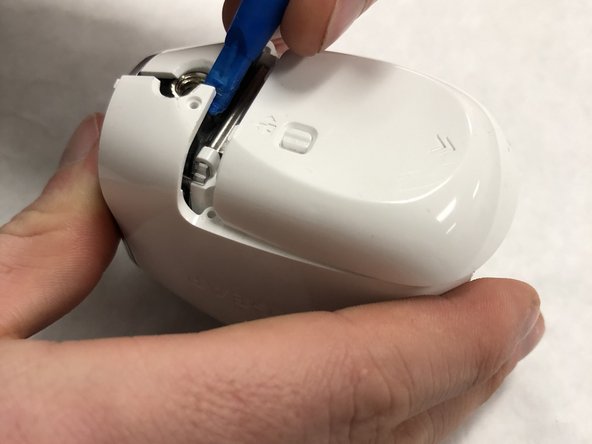
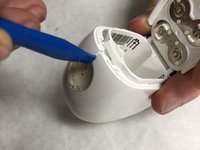
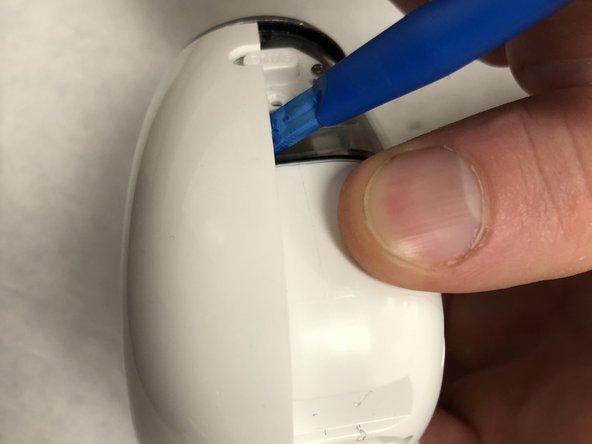
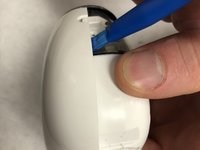
    • Use a plastic opening tool to start separating the plastic housing from the front side of the battery cover.

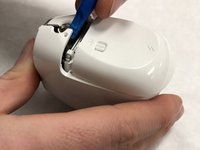
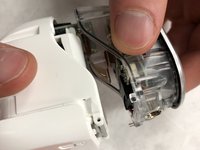
    • Next, start separating the plastic cover from the rear of the plastic housing, and work your way down the seam line.

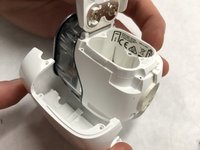
    • Make sure the plastics snaps on the front of the plastic get unhooked from the grey plastic ring around the front of the camera.

    Ask FixBot

    Add Comment

  5. Netgear Arlo Charging Port Replacement: step 5, image 1 of 3 Netgear Arlo Charging Port Replacement: step 5, image 2 of 3 Netgear Arlo Charging Port Replacement: step 5, image 3 of 3
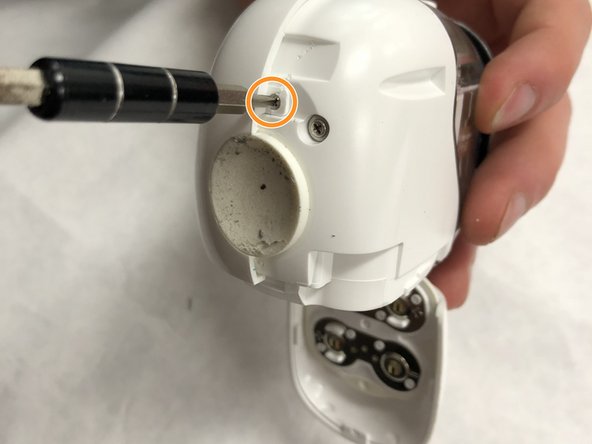
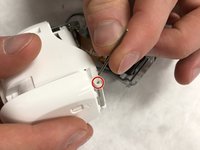
    • Remove the screw (3.5mm) near the sync button holding the opposite side of the camera on.

    • Remove the second screw (3.5mm) on the back of the camera to remove the second housing.

    • Once the screws are removed use an opening tool to pry back the second plastic mount.

    Ask FixBot

    Add Comment

  6. Netgear Arlo Charging Port Replacement, Lens Assembly: step 6, image 1 of 1
    • Remove 4 (6mm) large screws with a J00 screwdriver.

    • There are 2 on each side. This will allow you to remove the clear housing from the white housing.

    Ask FixBot

    Add Comment

  7. Netgear Arlo Charging Port Replacement: step 7, image 1 of 2 Netgear Arlo Charging Port Replacement: step 7, image 2 of 2
    • Once screws are removed, pull apart the clear housing.

    • Remove rod from camera cover.

    Ask FixBot

    Add Comment

  8. Netgear Arlo Charging Port Replacement: step 8, image 1 of 3 Netgear Arlo Charging Port Replacement: step 8, image 2 of 3 Netgear Arlo Charging Port Replacement: step 8, image 3 of 3
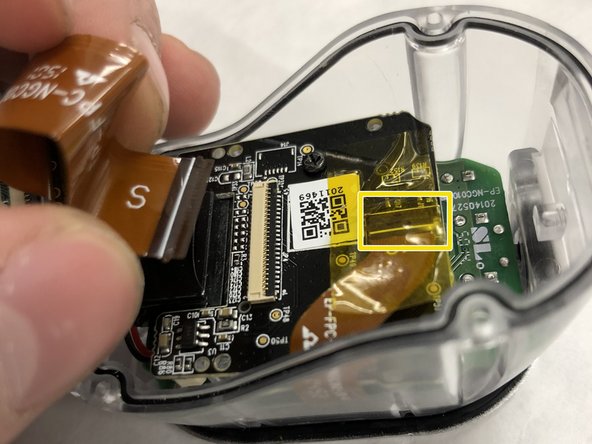
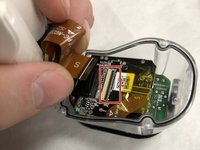
    • Remove Large ribbon cable first to disconnect front of camera from main body.

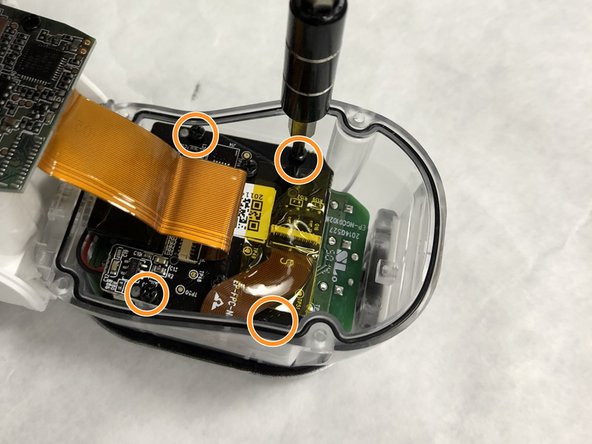
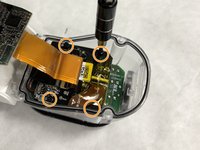
    • Remove 4 (3.5mm) small black screws from motherboard of the camera unit.

    • Remove smaller ribbon cable from underneath yellow tape.

    Ask FixBot

    Add Comment

  9. Netgear Arlo Charging Port Replacement: step 9, image 1 of 1
    • Once all ribbon cables are removed, remove the motherboard and camera assembly by pulling up on the black camera motherboard.

    Ask FixBot

    Add Comment

  10. Netgear Arlo Charging Port Replacement, Charging Port: step 10, image 1 of 1
    • Remove the 2 (.135") housing screws with a JIS00 screwdriver

    Ask FixBot

    Add Comment

  11. Netgear Arlo Charging Port Replacement: step 11, image 1 of 1
    • Remove 4 (.135") screws on the inside of the battery compartment using the JIS 00 screwdriver.

    Ask FixBot

    Add Comment

  12. Netgear Arlo Charging Port Replacement: step 12, image 1 of 1
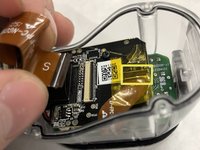
    • Slide the two halves apart

    Ask FixBot
    Add Comment

  13. Netgear Arlo Charging Port Replacement: step 13, image 1 of 1
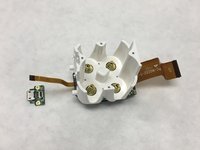
    • Remove the 2 (.135") screws holding the charging port on using the JIS 00 screwdriver.

    Ask FixBot

    Add Comment

  14. Netgear Arlo Charging Port Replacement: step 14, image 1 of 2 Netgear Arlo Charging Port Replacement: step 14, image 2 of 2
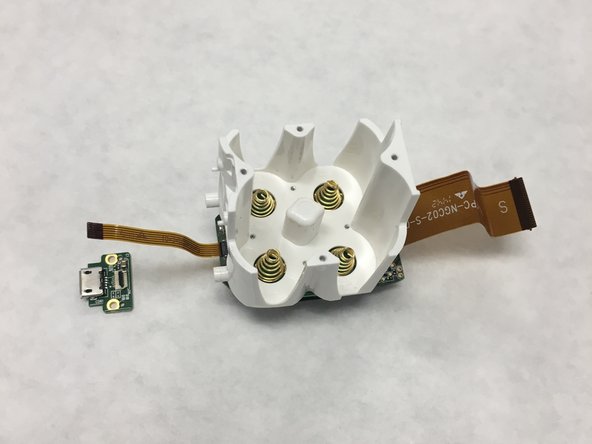
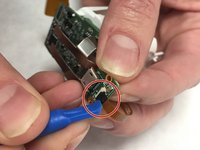
    • Remove the ribbon by prying the black ribbon holder up using the opening tool.

    • Pull the ribbon away from the charging port.

    Ask FixBot

    Add Comment

Conclusion

To reassemble your device, follow these instructions in reverse order.

Cancel: I did not complete this guide.

2 other people completed this guide.

Brian Johnson

Member since: 03/21/18

187 Reputation

1 Guide authored

Team

IUPUI, Team S2-G1, Freund Spring 2018 Member of IUPUI, Team S2-G1, Freund Spring 2018

IUPUI-FREUND-S18S2G1

2 Members

4 Guides authored

4 Guide Comments

Great Job, Thank you!

Bob Olive Sr - Reply Share

Great thanks where did you get the replacement cable please thanks Mike

mikewalters1951 - Reply Share

where did you get the replacement cable please thanks  BOB

robertwatkins61 - Reply Share

Any hints on where the new port came from? I have the baby monitor and the port is cheap rubbish and needs replacing. Thanks

David - Reply Share

Add Comment

View Statistics:

Past 24 Hours: 1

Past 7 Days: 5

Past 30 Days: 61

All Time: 5,987