Introduction
If your Nest x Yale Lock is related to any issues on the unresponsive section of our troubleshooting page, you may need to replace the motherboard. Use this guide to replace the motherboard properly.
The motherboard is located inside and responsible for the lights, locking the lock, connecting the keypad, and helping the whole lock function.
Before beginning the process, be sure the device is off and not connected to the keypad.
What you need
-
-
-
Before proceeding, make sure the batteries are removed to avoid being electrocuted and damage to the lock
 Ask FixBot
-
-
-
Remove 3 screws as shown to remove the first cover.
-
The 3 screws are 0.25 inches length
-
-
-
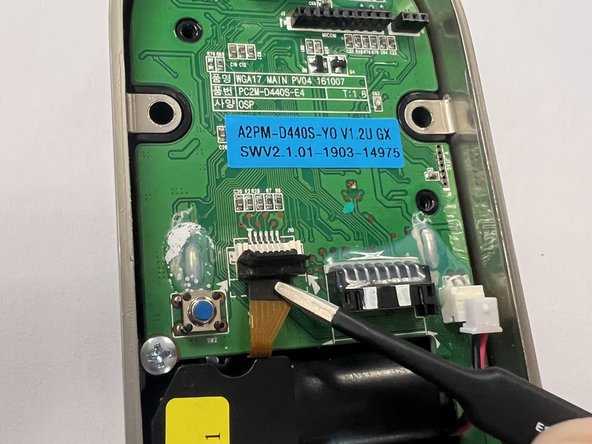
Using a pin to push down the knot holding the wire and the tweezer to safely remove the wire from the motherboard
-
-
-
Tool used on this step:Tweezers$4.99
-
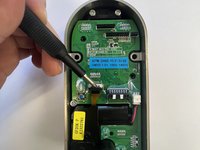
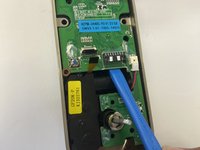
Use a spudger or plastic tool to lift the ZIF lock upward (as shown in the first picture).
-
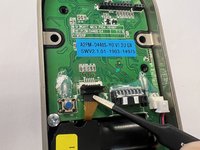
Use tweezers to remove the ribbon cable from the motherboard.
-
-
-
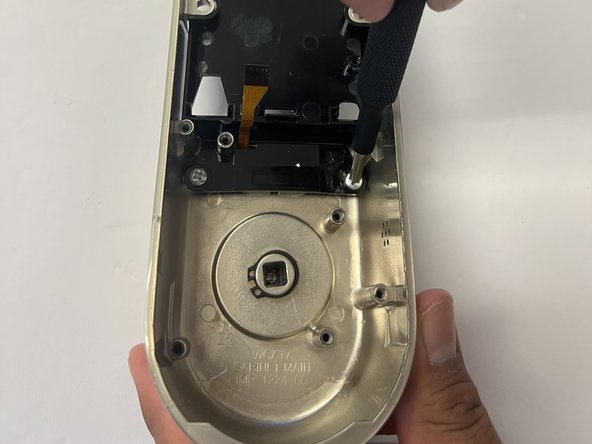
Continue to remove 2 screws holding the motherboard to the lock shell.
-
The screws are 0.20 inches in length.
-
-
-
-
-
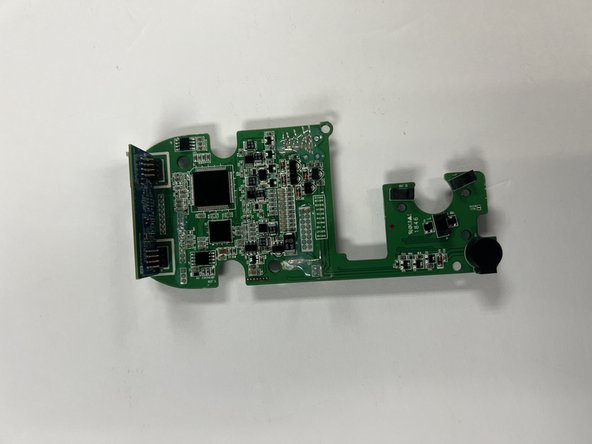
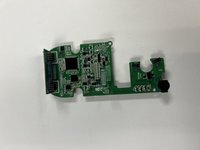
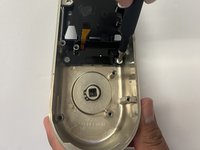
After, fully removing the motherboard.
-
Lastly, take out the lock as shown in the second picture.
-
-
-
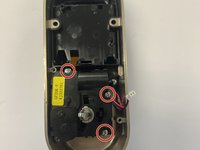
Move onto removing the .25 inches screws in red to take out the battery holder.
-
Remove the .15 inches screws in orange as well.
-
-
-
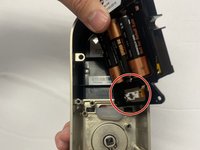
After unscrewing the battery holder you can now see the lights circled in red
-
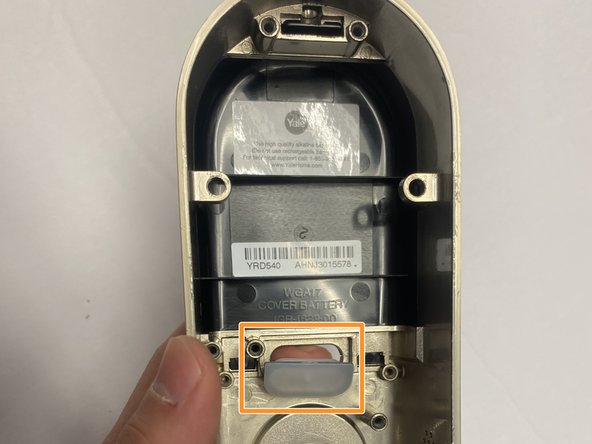
The part squared in orange is a rubber that reflects the light of the LED.
-
-








To reassemble your device, follow these instructions in reverse order.

Team

CSU Los Angeles, Team 5-3, Adachi Fall 2022 Member of CSU Los Angeles, Team 5-3, Adachi Fall 2022
CSULA-ADACHI-F22S5G3
5 Members
60 Guides authored
