Free Shipping on Domestic Orders $75+

Nest Learning Thermostat 2nd Generation Auto-Away Sensor Replacement

What you need

  1. Nest Learning Thermostat 2nd Generation Auto-Away Sensor Replacement, Removal from Wall: step 1, image 1 of 2 Nest Learning Thermostat 2nd Generation Auto-Away Sensor Replacement, Removal from Wall: step 1, image 2 of 2
    • Grasp the display's metal outer ring with your fingers and pull directly away from the wall.

    Ask FixBot

    Add Comment

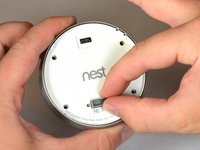
  2. Nest Learning Thermostat 2nd Generation Auto-Away Sensor Replacement, Open Display: step 2, image 1 of 1
    • Turn the display over.

    • Remove the four 6 mm screws from the back of the display using a Phillips #0 screwdriver.

    Ask FixBot

    Add Comment

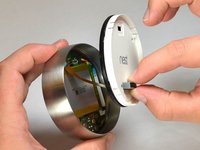
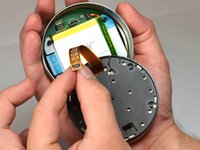
  3. Nest Learning Thermostat 2nd Generation Auto-Away Sensor Replacement, Remove the back of the display: step 3, image 1 of 2 Nest Learning Thermostat 2nd Generation Auto-Away Sensor Replacement, Remove the back of the display: step 3, image 2 of 2
    • Pinch the gray 20-pin connector with your fingers and pull directly away from the display.

    • Do NOT pull too far as there is a ribbon on the back panel connecting the 20-pin connector to the display.

    Ask FixBot

    Add Comment

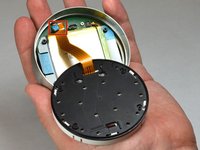
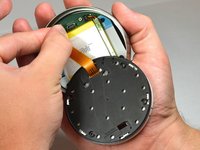
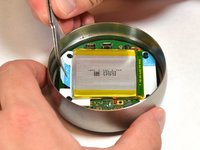
  4. Nest Learning Thermostat 2nd Generation Auto-Away Sensor Replacement, Disconnect the base connection ribbon cable.: step 4, image 1 of 3 Nest Learning Thermostat 2nd Generation Auto-Away Sensor Replacement, Disconnect the base connection ribbon cable.: step 4, image 2 of 3 Nest Learning Thermostat 2nd Generation Auto-Away Sensor Replacement, Disconnect the base connection ribbon cable.: step 4, image 3 of 3
    • Locate the blue pull tab at the end of the ribbon which says, "1. Pull".

    • Grasp the tab with your fingers and pull directly away from the motherboard.

    Ask FixBot

    Add Comment

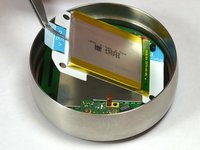
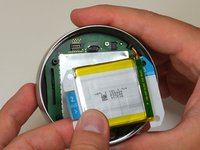
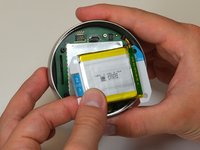
  5. Nest Learning Thermostat 2nd Generation Auto-Away Sensor Replacement, Lift battery from the base: step 5, image 1 of 2 Nest Learning Thermostat 2nd Generation Auto-Away Sensor Replacement, Lift battery from the base: step 5, image 2 of 2
    Tool used on this step:
    Tweezers
    $4.99
    Buy
    • Locate the blue tab which says, "2. Pull".

    • Use tweezers to pull the battery up and away from the display.

    • Do NOT pull too far, as the battery is still connected to the motherboard and must be unplugged.

    Ask FixBot

    Add Comment

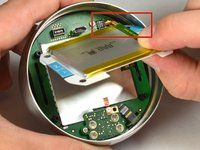
  6. Nest Learning Thermostat 2nd Generation Auto-Away Sensor Replacement, Disconnect the battery from the motherboard: step 6, image 1 of 2 Nest Learning Thermostat 2nd Generation Auto-Away Sensor Replacement, Disconnect the battery from the motherboard: step 6, image 2 of 2
    • Locate the blue tab which says "3 unplug".

    • Grasp the battery with your fingers. Pull gently directly away from the display to unplug the battery from the motherboard.

    Ask FixBot

    Add Comment

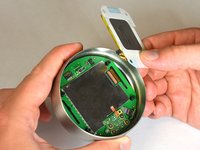
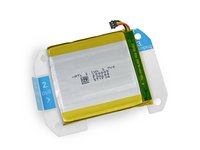
  7. Nest Learning Thermostat 2nd Generation Auto-Away Sensor Replacement, Remove battery from the display: step 7, image 1 of 3 Nest Learning Thermostat 2nd Generation Auto-Away Sensor Replacement, Remove battery from the display: step 7, image 2 of 3 Nest Learning Thermostat 2nd Generation Auto-Away Sensor Replacement, Remove battery from the display: step 7, image 3 of 3
    • Grasp the battery with your fingers and pull directly away from motherboard to separate the battery from the display.

    Ask FixBot

    Add Comment

  8. Nest Learning Thermostat 2nd Generation Auto-Away Sensor Replacement, Locate auto-away sensor: step 8, image 1 of 1
    • Locate the auto-away sensor.

    Ask FixBot

    Add Comment

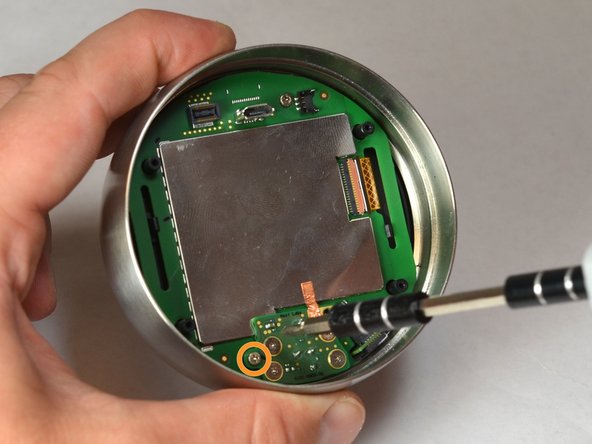
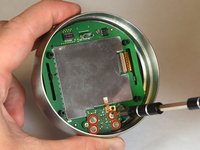
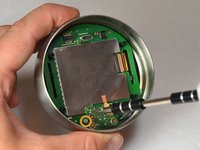
  9. Nest Learning Thermostat 2nd Generation Auto-Away Sensor Replacement, Remove screws: step 9, image 1 of 2 Nest Learning Thermostat 2nd Generation Auto-Away Sensor Replacement, Remove screws: step 9, image 2 of 2
    • Remove the four 3mm screws with a #0 Phillips screwdriver.

    • Remove the one 4mm screw located at the edge of the auto-away sensor. Use a #0 Phillips screwdriver.

    Ask FixBot

    Add Comment

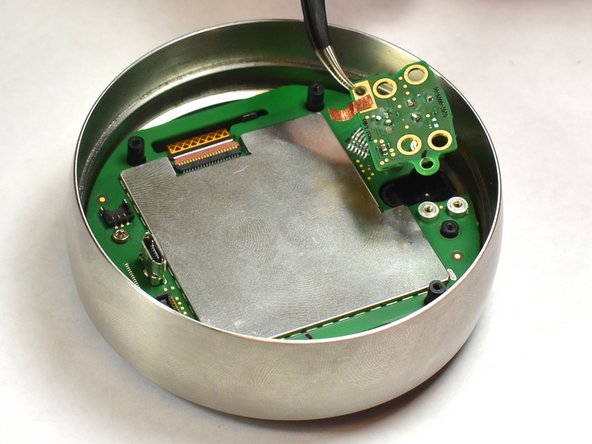
  10. Nest Learning Thermostat 2nd Generation Auto-Away Sensor Replacement, Remove auto-away sensor: step 10, image 1 of 3 Nest Learning Thermostat 2nd Generation Auto-Away Sensor Replacement, Remove auto-away sensor: step 10, image 2 of 3 Nest Learning Thermostat 2nd Generation Auto-Away Sensor Replacement, Remove auto-away sensor: step 10, image 3 of 3
    Tool used on this step:
    Tweezers
    $4.99
    Buy
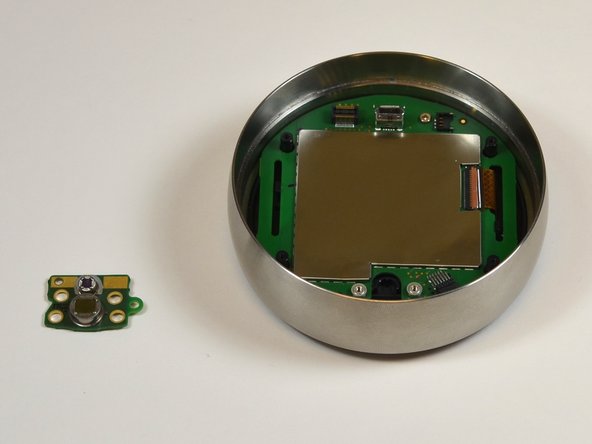
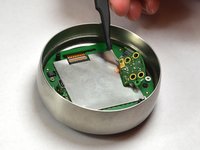
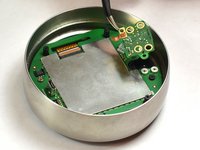
    • Lift the auto-away sensor from motherboard using tweezers.

    • Peel the copper foil gently from the EMI shield.

    Ask FixBot

    Add Comment

Conclusion

To reassemble your device, follow these instructions in reverse order.

Cancel: I did not complete this guide.

2 other people completed this guide.

Justin Curry

Member since: 09/23/14

264 Reputation

2 Guides authored

Team

USF Tampa, Team 11-5, Blackwell Fall 2014 Member of USF Tampa, Team 11-5, Blackwell Fall 2014

USFT-BLACKWELL-F14S11G5

5 Members

12 Guides authored

0 Guide Comments

Add Comment

View Statistics:

Past 24 Hours: 3

Past 7 Days: 10

Past 30 Days: 36

All Time: 2,571