Introduction
If your Nest Cam IQ camera has lost clear viability, you most likely have a cracked camera lens, which Requires replacement.
A functional camera provides a clear view. If you notice poor camera quality or lines when pulling up Nest Cam IQ recordings, consider changing out your camera.
What you need
-
-
-
To soften the adhesive holding the camera together, heat up the edges of the glass lens using a heated iOpener on the device. Alternatively, you can use a heat gun to loosen the adhesive.
-
Leave the iOpener on the glass lens for two minutes.
 Ask FixBot
-
-
-
Place a suction cup on the glass lens that you heated up with the iOpener.
-
Press down on the suction cup to create a seal, and pull up with force to create a separation between the glass lens and the body.
-
Pull off the glass lens using the suction cup.
-
-
-
-
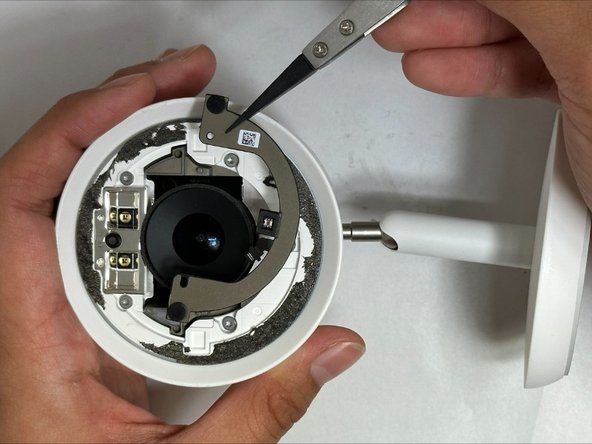
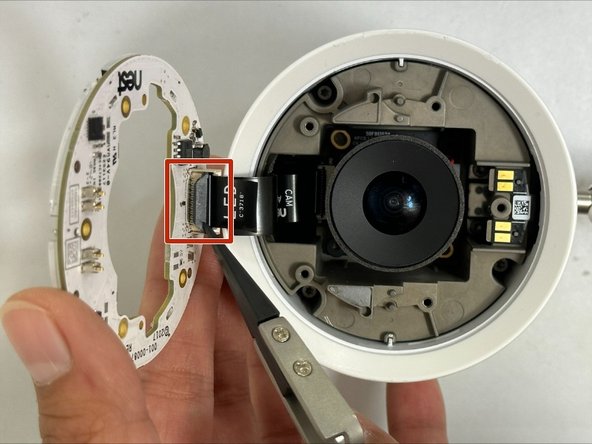
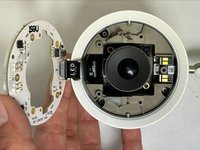
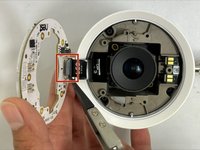
Carefully disconnect the flat black ribbon cable connecting the metal plate to the LED.
-
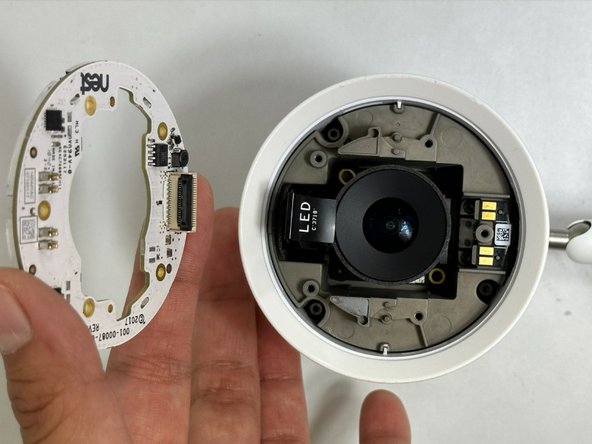
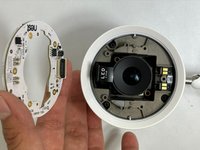
Remove the metal plate.
-
-
-
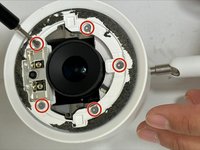
Remove the five 9 mm TR6 Torx screws from the LED cover.
-
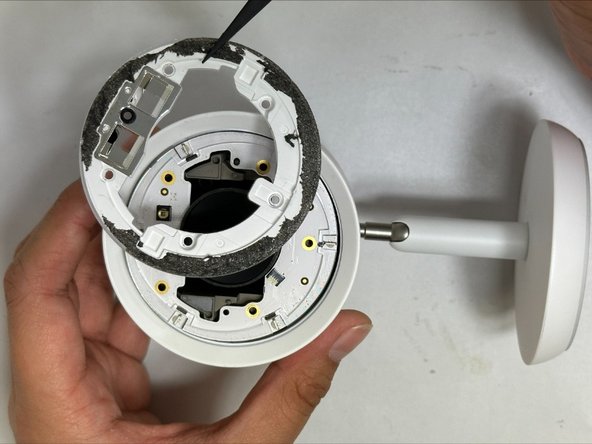
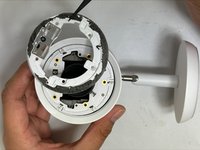
Pull off the LED cover.
-
-
-
Carefully disconnect the flat black ribbon cable connecting the LED to the motherboard.
-
Remove the LED cover.
-
-
-
Remove the two 7 mm TR6 Torx screws securing the camera.
-
Carefully pull out the camera.
-
-
-
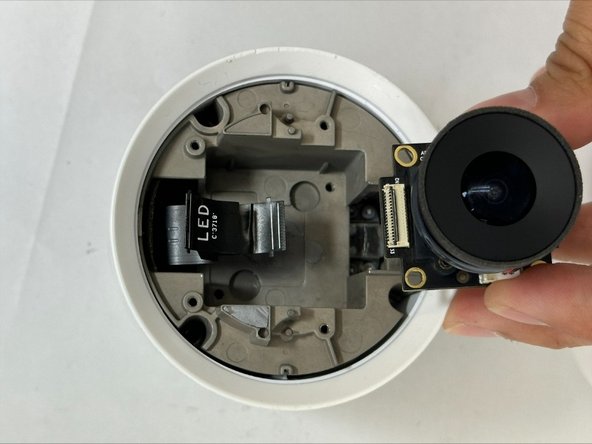
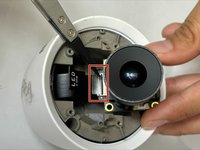
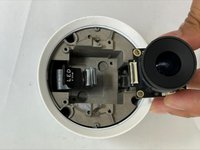
Carefully disconnect the flat black ribbon cable connecting the camera to the motherboard.
-
Remove the camera.
-
-






To reassemble your device, follow these instructions in reverse order.
Cancel: I did not complete this guide.
One other person completed this guide.

Team

University of New Orleans, Team 5-5, McDonald Fall 2023 Member of University of New Orleans, Team 5-5, McDonald Fall 2023
UNO-MCDONALD-F23S5G5
3 Members
48 Guides authored
