
Nespresso Vertuo Next Power Cord Replacement

Lucas Pimentel and 3 other contributors
Last updated on Jun 24, 2025
Views: 1.2K
View statistics:
- Past 24 Hours:
- 5
- Past 7 Days:
- 25
- Past 30 Days:
- 124
- All Time:
- 1,181
Comments: 3
2 comments on steps, 1 guide comment.
Go to guide commentsCompleted: 0 1
No one has marked this guide "completed." Will you be the first?
1 person has marked this guide "completed." It's you — great job!
Favorites: 0 1
No one has favorited (and subscribed to) this guide. Will you be the first?
1 person has favorited (and subscribed to) this guide — and that's you!
Introduction
Go to step 1 ↓Use this guide if you have a damaged or malfunctioning power cord in your Nespresso Vertuo Next. The power cord is what connects the machine to a direct power source such as your home outlets. Without this cord, your machine may not stay on or power on at all.
Before you remove and replace your power cord. Check to ensure that the outlet or power source that you are using is not the culprit. Try moving the device to another outlet, or test a different electronic device with the same outlet, to see if voltage is being generated by it. If the power source is not the problem then a problem is most likely occurring with your power cord and should be replaced Before replacing, make sure the device is fully unplugged.
What you need
Tools
-
Tweezers4.9
-


-
-
-
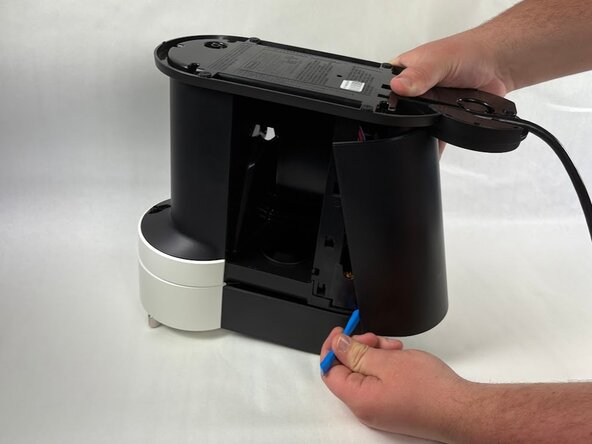
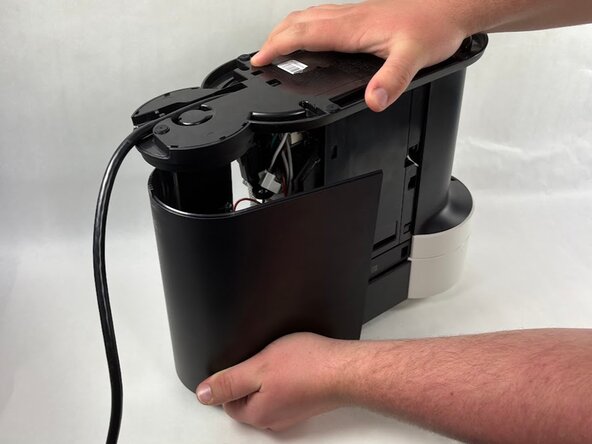
Insert an opening tool in the seams between the rear panel and chassis.
-
Pry off the rear panel.
 Ask FixBot
-
-
-
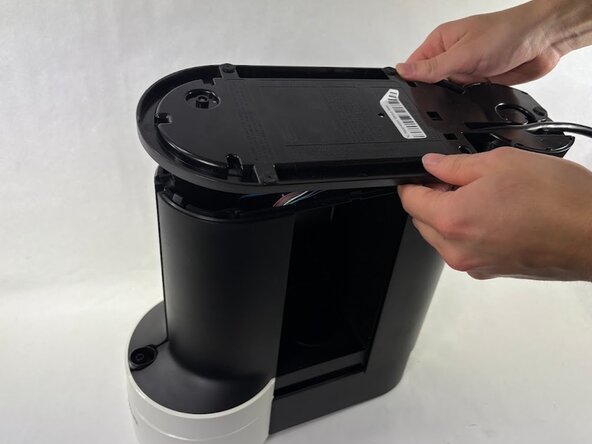
Remove the four 13.5 mm screws on the base plate using a T18 Torx screwdriver.
-
-
-
-
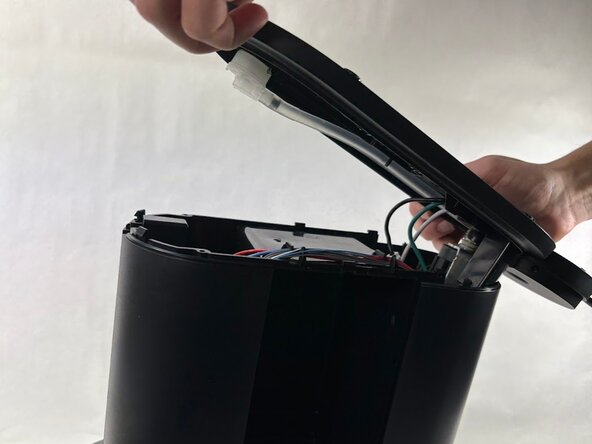
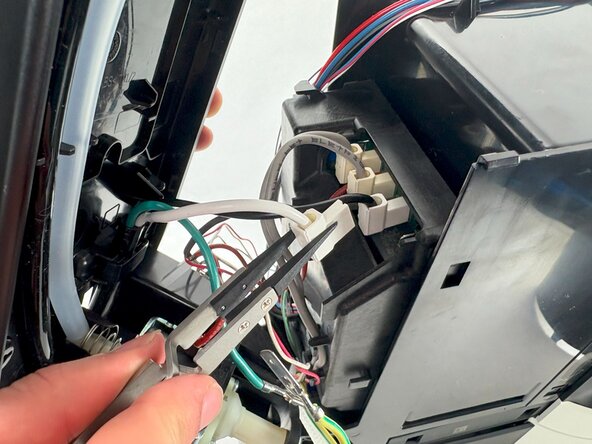
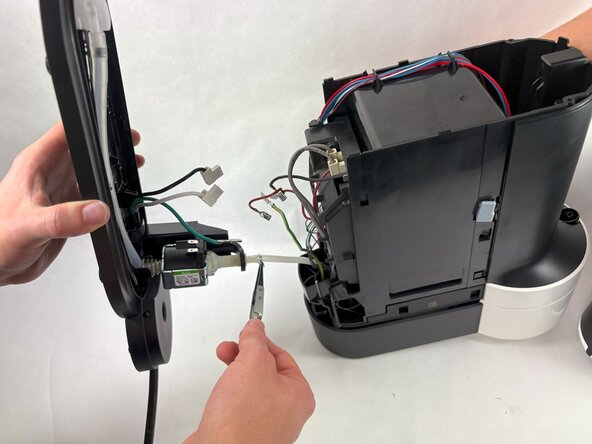
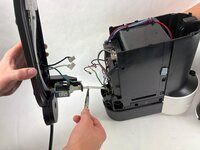
With tweezers, pinch one half of each connected pair of wires, and then gently pull and disconnect the wires.
-
Use a pair of tweezers to clamp down and disconnect the water line connecting to the base plate of the machine.
-
Remove the base plate from device
-
-
-
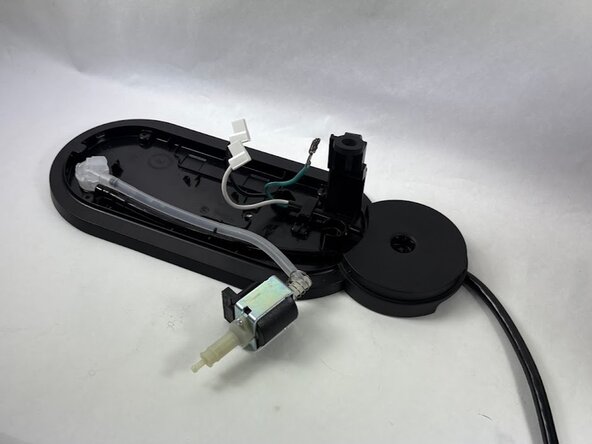
Remove the rubber hoop connecting the motor to the base.
-
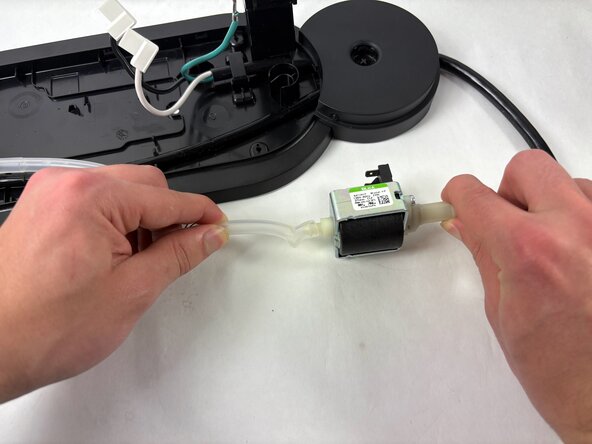
Lift the motor off of baseplate and pull waterline away from the base.
-
-
-
-
-
Use needle nose plies to remove the panel.
-
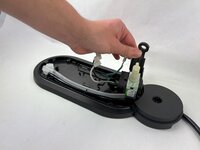
Turn base plate over and remove the plastic piece that held the power cord's wires.
-
-






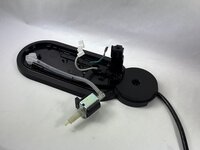
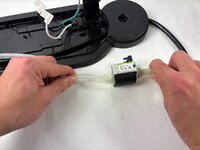


To reassemble your device, follow the above steps in reverse order.
Take your e-waste to an R2 or e-Stewards certified recycler.
Repair didn’t go as planned? Try some basic troubleshooting or ask our Answers community for help.

Team

UMass Dartmouth, Team 6-2, Botvin Spring 2025 Member of UMass Dartmouth, Team 6-2, Botvin Spring 2025
UMASSD-BOTVIN-S25S6G2
4 Members
60 Guides authored
1 Guide Comment
It is impossible to remove the rear panel if you don't remove the base plate as the 2 back screws are holding the panel.
