Introduction
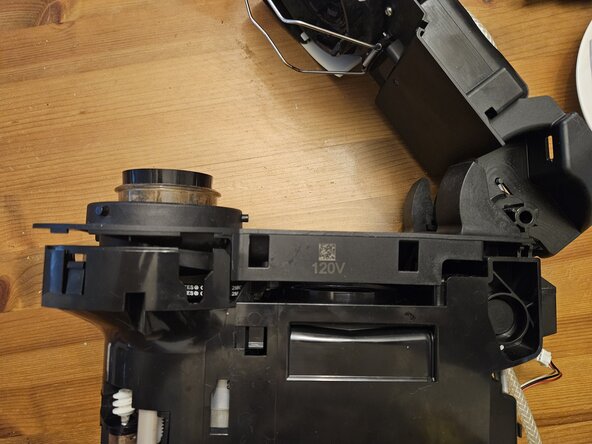
This guide covers the lower front assembly which houses a few different components including the pod holder and motor, barcode reader and drain pipe. Apologies in advance for the messy workspace. If anyone has better images please feel free to update the guide. Lastly I made the guide a week after I did the reassembly so apologies if some steps are not quite spot on
What you need
-
-
Remove the drip tray, water tank and waste basket and set them aside somewhere safe
 Ask FixBot
-
-
-
The rear trim piece wraps around from the left hand side of the machine, around the back and stops just before the waste basket. Use a trim removal tool or a flathead screwdriver to pry the trim away from the body and lift it up. This is easier if the Nespresso lid is open
-
-
-
Unlock and lift the top lid of the nespresso machine and pry around the band with a plastic pry tool. A flat head screw driver also works if you are not afraid of scratching the plastic. Lift the band up and out
-
-
-
The spout should come out with a gentle tug along with the the spout guard (spout donut....mmm donuts). Note the orientation of the spout donut for reassembly. There is a small groove that fits into the front assembly of the nespresso
-
-
-
In order to get enough clearance to remove the bottom front assembly we will need to get the nespresso to open wide so we must unhinge the lid. In order to do this we will need to remove the top rear cover
-
with the nespresso open look at it from the front and remove the two torx t8 screws Then slide the cover rear wards. You may need to use a trim removal tool to help you out or a flathead screwdriver
-
-
-
Eye protection is recommended here, even though the springs are quite gentle. Remove them from their grooves and take note of their orientation. I found this is easier to do with the lid shut. Removing the bottom leg first then working the spring out to the side
-
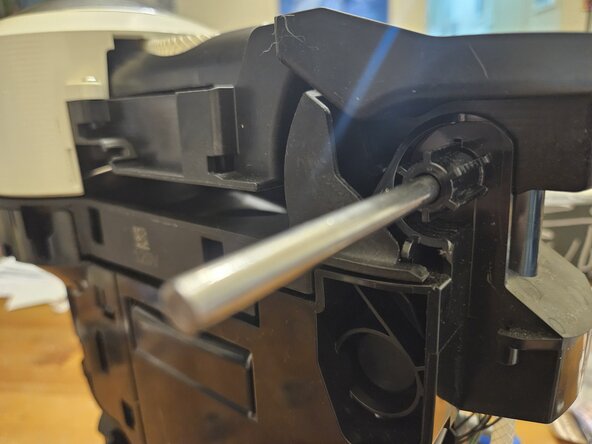
Knock the pivot rod loose using a hammer and punch. A small thin screwdriver will also work here. If you lay the machine on its side it will ease the pressure off the rod and make removal easier
-
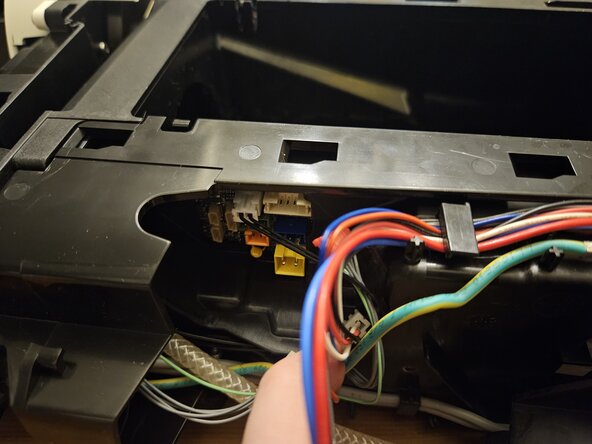
Unless you want to spend time disconnecting all the wires, just be careful when you move the machine around and you shouldn't have to disconnect anything else from the top of the machine
-
-
-
-
Unscrew the four t8 torx screws on the bottom of the panel and run a pry tool around the edges to loosen the plastic clips. Various wires hold the panel in place but you should have enough room to do the rest of the dissasembly without unplugging it completely
-
-
-
The front trim is comprised of two mirror sections which have plastic clips as well as tabs that extend up into the the area near the spout. A trim removal tool will help you pry these off then slide them down towards the base we just removed in the previous step
-
-
-
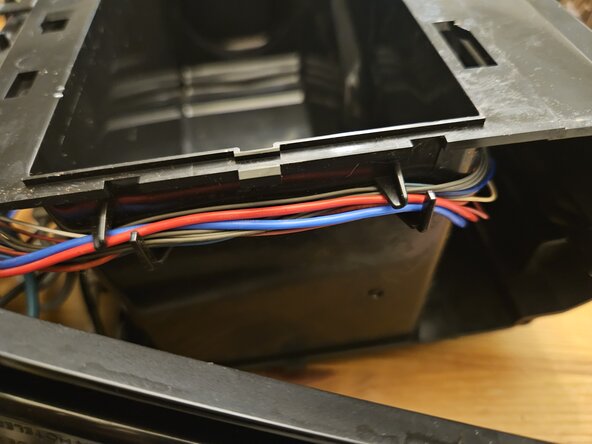
Unplug the wires at the back of the machine that run towards the bottom and up into the front of the machine. Then remove the wires from the tabs that hold them in place along the rear and bottom of the machine
-
With the wires free we can finally remove the front assembly
-
-
-
Another two t8 torx security screws hold the top of the assembly in place
-
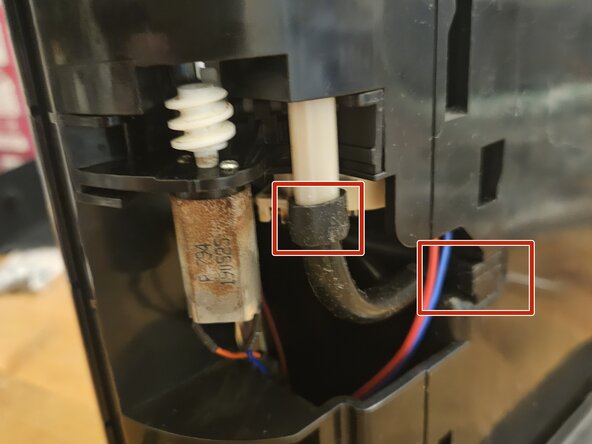
Make sure all the wires are disconnected and the drain pipe is unplugged from beside the spout motor as well as its drain slot which drains into the waste basket
-
With all the clearance we have from unhinging the top of the nespresso you should be able to lift the assembly up and outquite easily
-
-
-
The drain pipe accumulates coffee grime over time as it drains from the spout as well as from around the pod holder, should there be overflow. Now is a good time to clean it. It simply pulls away from the assembly
-
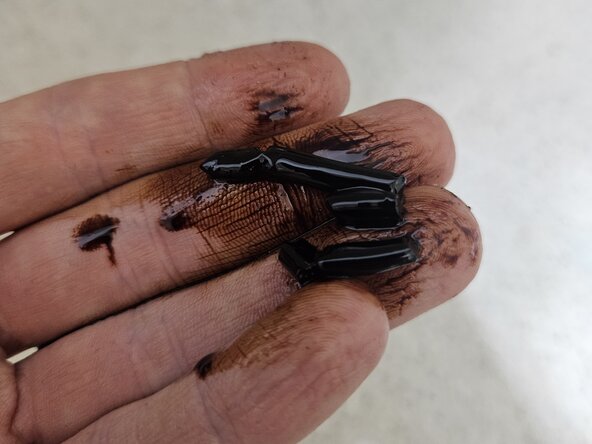
In my case the pipe was clogged solid. Gently breaking apart the stiff bits inside then soaking the pipe in hot water with vingar and baking soda should loosen the blockage. In my case I repeated the soak process 3-4 times
-
Use your hands to squeeze the blockage from the pipe. Avoid using a screwdriver here or other sharp object to avoid piercing the pipe
-
-
-
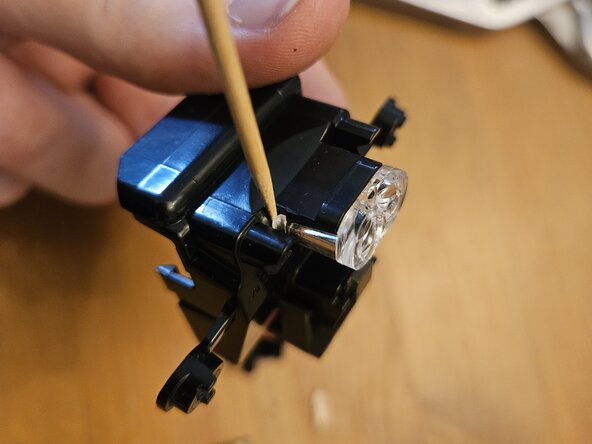
The barcode reader is connected by one set of wires and another two torx t8 security screws. You can also remove the lens for cleaning if it is dirty but be careful as the clips are very fragile.
-
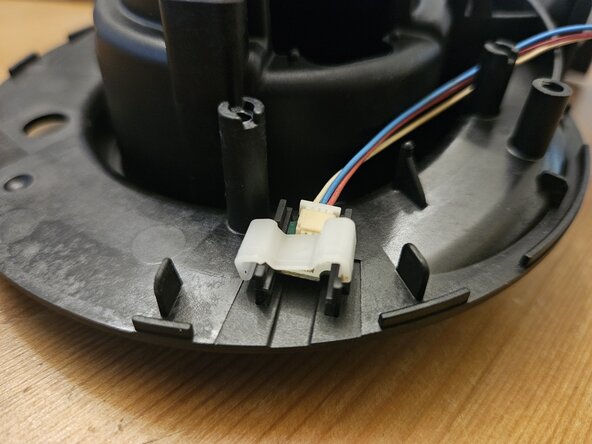
you can unplug the connector but its not really necessary. Beyond that the board is held on with two tabs on the left and right if you wish to take a peek at the barcode reader sensors. There is plastic light shroud in there too. Don't lose it
-
The best way to remove the clips is to slip a toothpic towards the bottom. If you do break one of the clips I found that the lens will stay in place with just one clip but your milage may vary
-
-
-
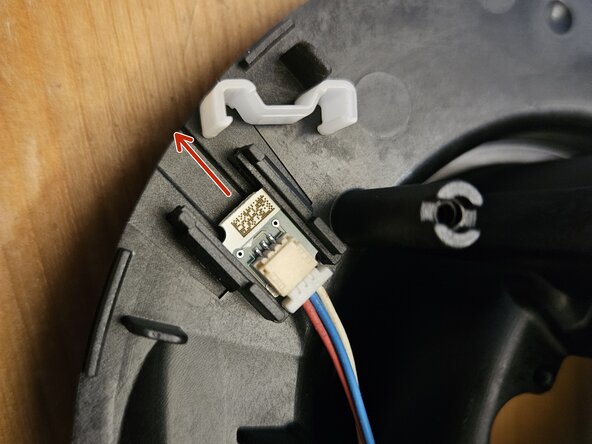
I think this is a lid closed sensor but honestly am not sure, chatgpt suggested the little sensor is for IR but would love it if someone could confirm. Its held in with a a plastic clip. Again a toothpick under the clip hooks will work wonders here.
-
After the clip is removed the sensor can be slid out
-
-
-
The motor is held in place with 3 torx t8 security screws (one of them is obscured in my photo but its easy to find). The drive belt will have to stay until you remove the pod holder assembly
-
-
-
The pod holder uses a stiff spring held in by a circlip at the bottom/rear.
-
Have someone hold the base and apply downward pressure while prying the circlip off with a set of needle nose pliers or screwdriver. Its easy to slip, DON'T stab the person holding the assembly
-
Because of the spring the circlip will most likely go flying, hence the eye protection
-
You should now be able to lift the black plastic frame. Leaving behind the pod holder assembly. Don't lose the black plastic washer that protects the bearing from the spring. At this point the serpentine belt can also be easily removed
-
-
-
Remove the black plastic guard if it hasn't fallen off already. I'm not sure what function it servers. Perhaps to keep debris away from the barcode reader
-
The bearing might require some prying to remove. Alternatively just grip the white gear and pull. It will take the bearing with it
-
I was not able to separate the pod holder assembly. The clear chalice holds the smaller black pod holder with clips that may be possible to squeeze with some fine needle nose or two screw drivers but I fear its easy to break the clips here so its best avoided
-
-
-
Reassembly is the reverse of the disassembly. You will again want a second set of hands for the circlip and spring
-
One thing we did not cover was the spout motor which raises and lowers the spout to prevent drips. Looking at it I think its part of some sort of sub assembly. If someone wants to add to this guide on how to remove it that would be amazing!
-

















To reassemble your device, follow these instructions in reverse order.
Cancel: I did not complete this guide.
One other person completed this guide.

