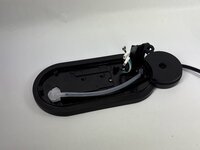
Introduction
Use this guide if you have a non-working or malfunctioning water-line in your Nespresso Vertuo Next. The water line is what transports water from the water tank to the water pump. Without the water line, the water pump will not push water up the machine to produce anything. With a damaged or loose waterline, water pressure will be at a loss due to possible leaks.
Before replacing the water line, make sure that there is a suitable amount of water in the water tank located at the back of the machine so that water can flow through the water line and into the pump. Check to see for any visible leaks, damage, or looseness at the connections of either the water tank or water pump. If connections are secure and unharmed, then replacing the water line may be the solution. Before replacing, check to make sure the water tank is completely empty and that the Vertuo Next is unplugged.
What you need
-
-
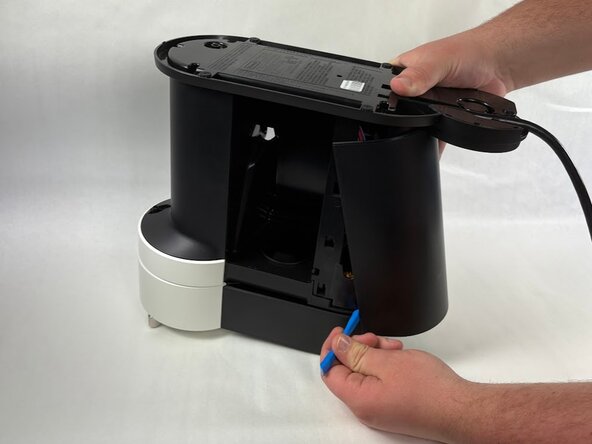
Insert an opening tool in the seams between the rear panel and chassis.
-
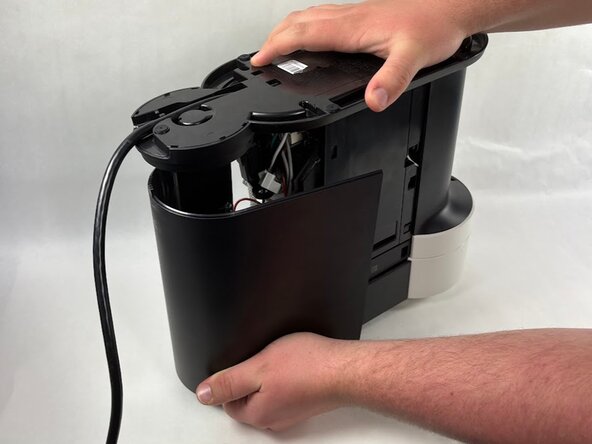
Pry off the rear panel.
 Ask FixBot
-
-
-
Remove the four 13.5 mm screws on the base plate using a T18 Torx screwdriver.
-
-
-
-
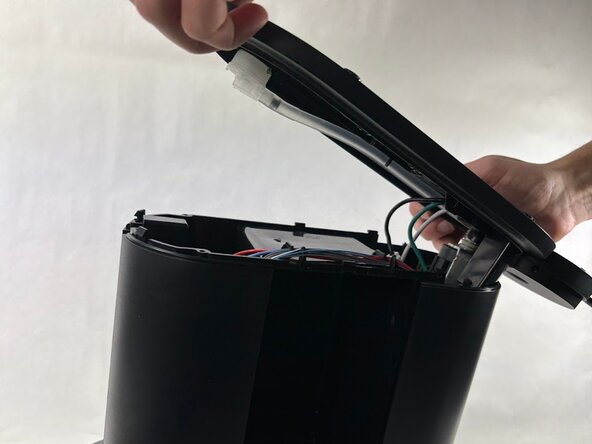
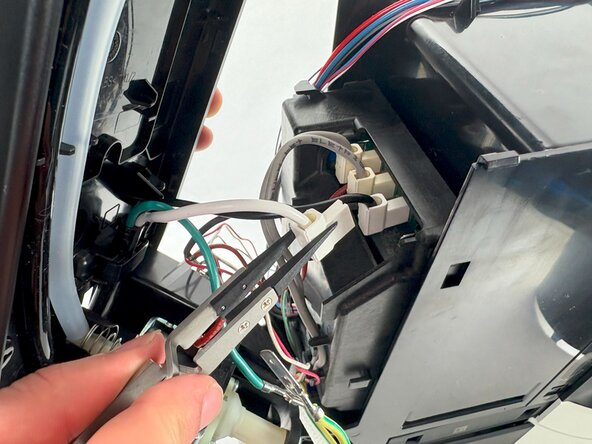
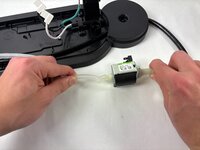
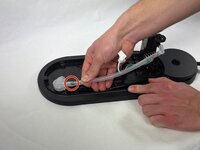
With tweezers, pinch one half of each connected pair of wires, and then gently pull and disconnect the wires.
-
Use a pair of tweezers to clamp down and disconnect the water line connecting to the base plate of the machine.
-
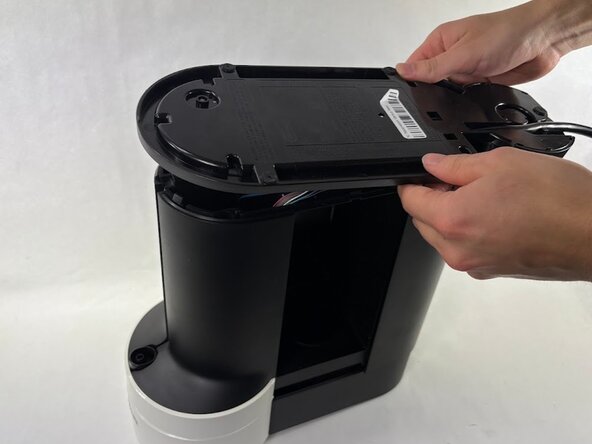
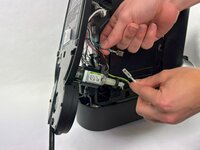
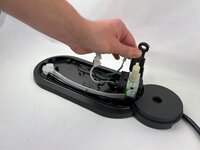
Remove the base plate from device
-
-
-
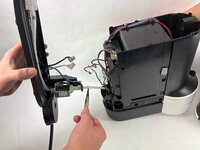
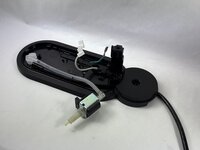
Remove the rubber hoop connecting the motor to the base.
-
Lift the motor off of baseplate and pull waterline away from the base.
-
-
-
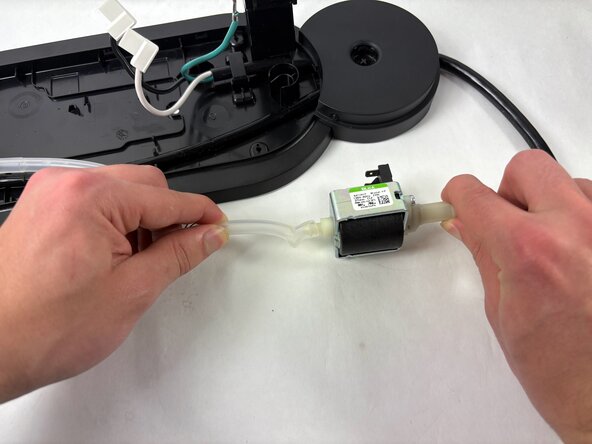
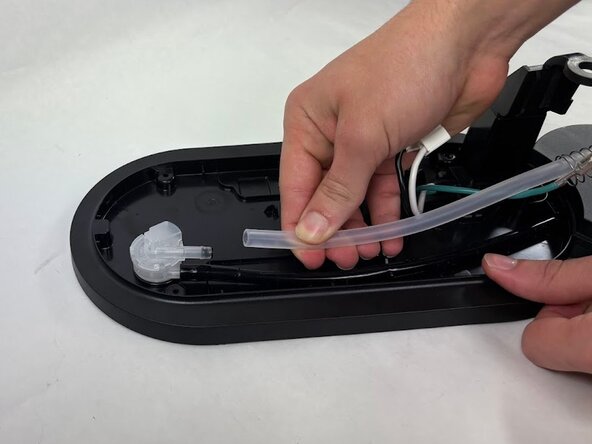
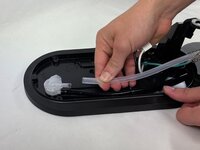
Remove the waterline from the clear water hub by pulling on the end of the line that connects to the main hub at the base.
-


To reassemble your device, follow these instructions in reverse order.

Team

UMass Dartmouth, Team 6-2, Botvin Spring 2025 Member of UMass Dartmouth, Team 6-2, Botvin Spring 2025
UMASSD-BOTVIN-S25S6G2
4 Members
15 Guides authored