
Nespresso Pixie Internal Diffuser Replacement

Last updated on Apr 4, 2025
Views: 6.2K
View statistics:
- Past 24 Hours:
- 10
- Past 7 Days:
- 65
- Past 30 Days:
- 303
- All Time:
- 6,214
Comments: 15
14 comments on steps, 1 guide comment.
Go to guide commentsCompleted: 1 2
1 person has marked this guide "completed." Will you be next?
2 people have marked this guide "completed." Including you — great job!
Favorites: 0 1
No one has favorited (and subscribed to) this guide. Will you be the first?
1 person has favorited (and subscribed to) this guide — and that's you!
Introduction
Go to step 1 ↓The chosen product here is the Nespresso Pixie. This repair guide will give you all of the necessary tools in order to replace the internal diffuser plate. The guide will take approximately 45 minutes to an hour depending on past experience. At this end of this guide, you will be able to completely take apart this machine in order to cleanse or replace the internal diffuser plate. The most challenging issue you have will be pulling with enough force to pull it apart without breaking it.
What you need
Tools
-
Spudger4.9


-
-
-
Unplug the machine from any outlets.
-
Remove the water tank by pressing the top button and pulling outwards.
 Ask FixBot
-
-
-
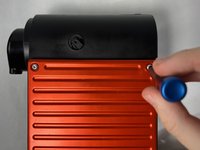
Use a Torx T4 screwdriver to unscrew each screw on the faceplates.
-
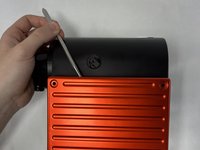
Remove the faceplate using a metal spudger.
-
-
Tool used on this step:Tweezers$4.99
-
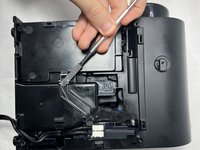
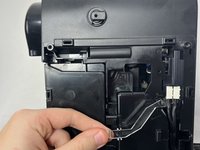
Locate the two springs in each top right corner and use a set of tweezers to remove them.
-
-
-
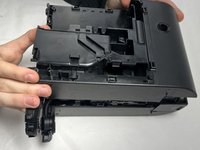
Seperate both halves of the machine using both a spudger and your hands.
-
Once you have unclipped the side at the top, middle of the side and base. You can push with a screw driver through the hole on the reverse side to help remove the plastic side.
-
-
-
-
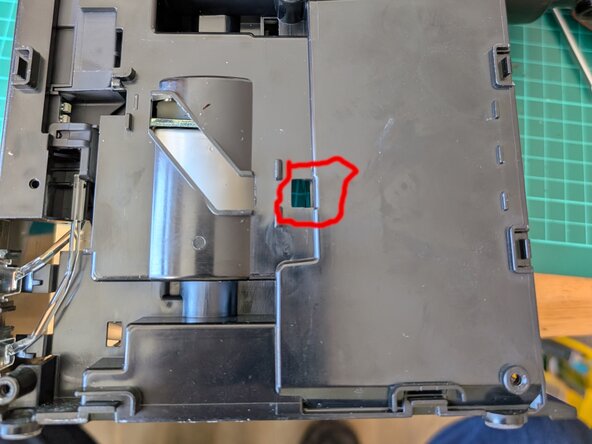
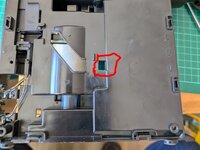
Use your hands to pull out the first lever housing in the spot shown in the picture.
-
-
-
Pull the brewing mechanism apart from the remaining plastic barrier.
-
Once it is separated, pull off the other lever housing in the same way as was described in the previous step.
-
-
-
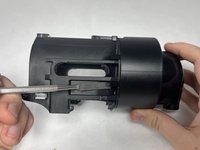
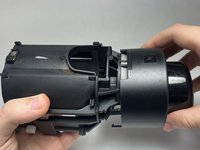
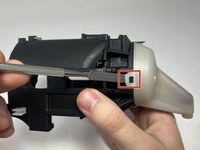
Use a spudger to unclip the clips holding the black case in place.
-
Pull the brewing chamber outwards from the machine and then pull it downwards to detach it.
-
-
-
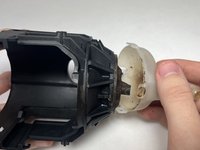
Use a spudger to take off your diffuser plate.
-
Insert your new diffuser plate.
-
-











To reassemble your device, follow these instructions in reverse order.
Cancel: I did not complete this guide.
One other person completed this guide.

Team

UMass Dartmouth, Team 2-2, Gulbrandsen Fall 2023 Member of UMass Dartmouth, Team 2-2, Gulbrandsen Fall 2023
UMASSD-GULBRANDSEN-F23S2G2
4 Members
36 Guides authored
