Introduction
If your Nespresso Pixie is not brewing an adequate amount of coffee, or if you notice that liquid is blocked from flowing freely, your machine may be airlock at the brewing mechanism. Airlocking is when air becomes trapped in the Pixie's brewing spout system, which ultimately disrupts the brewing process. This can happen as the result of scale buildup or coffee grounds clogging the brewing spout. This guide will provide practical steps to resolve the issue.
What you need
-
-
-
Unplug the machine from any outlets.
-
Remove the water tank by pressing the top button and pulling outwards.
 Ask FixBot
-
-
-
Use a T5 Torx screwdriver to unscrew both sides of the lever (metal handle) to prevent interference during disassembly.
-
Remove the metal handle by pulling it up.
-
-
-
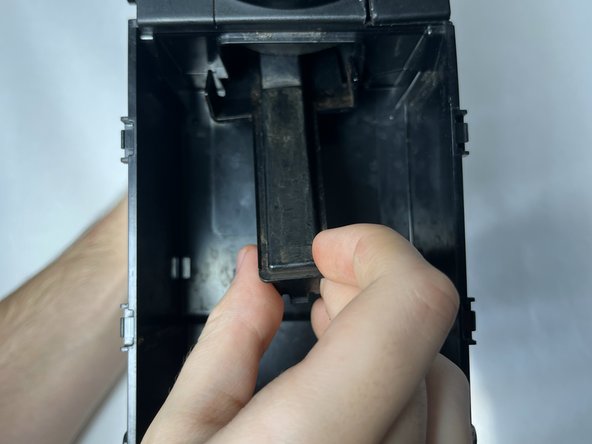
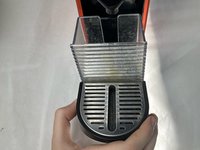
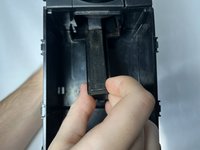
Remove the drip tray using your hand.
-
Remove the drip tray grill using your hands.
-
-
-
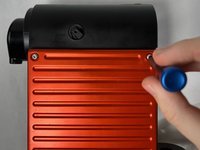
Use a a Torx T5 screwdriver to unscrew the screws from each corner of both faceplates.
-
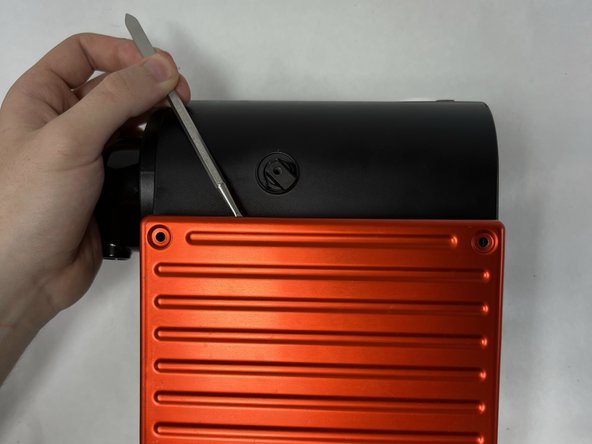
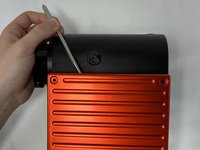
Remove the faceplate using a metal spudger.
-
-
-
Tool used on this step:Tweezers$4.99
-
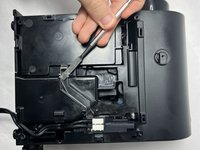
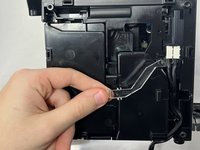
Locate the two springs in each top right corner and remove them using precision tweezers.
-
Use your hand to remove the waterspout.
-
Remove white plastic bits using a screwdriver or metal spudger.
-
-
-
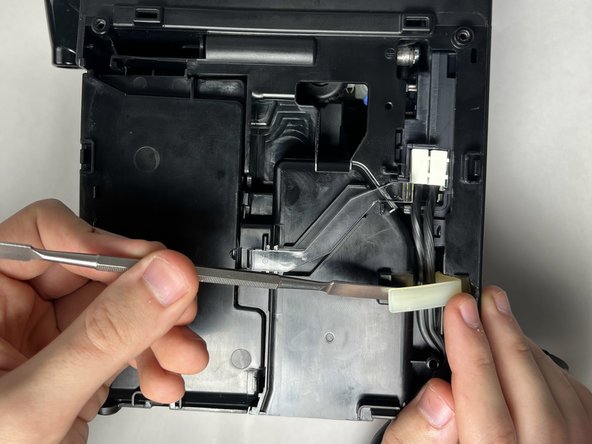
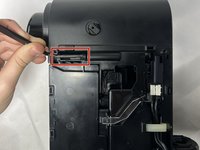
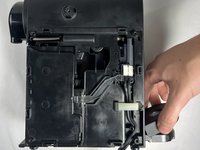
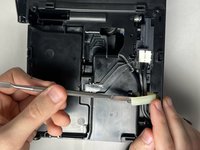
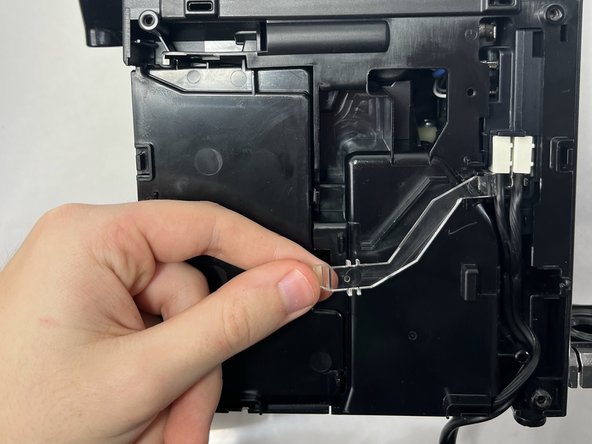
Remove the clear plastic bits with a metal spudger.
-
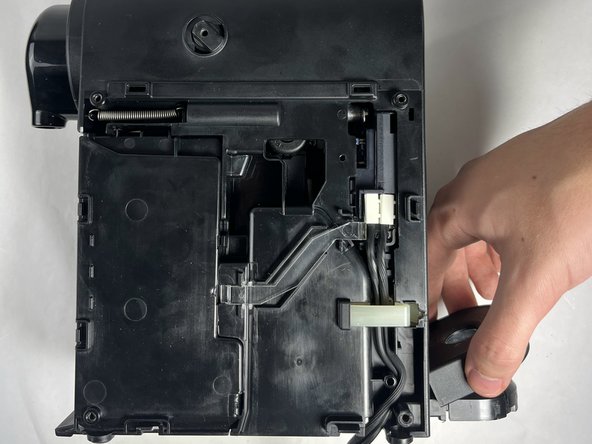
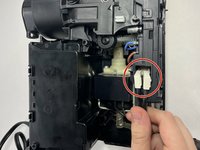
Gently disconnect the power cables from the machine with your hands.
-
-
-
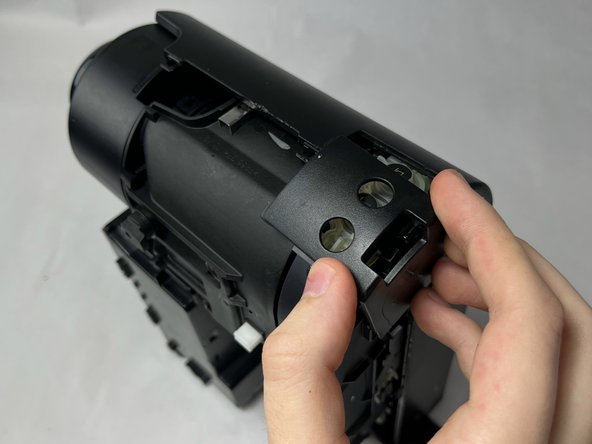
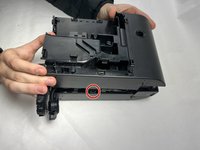
Use a metal spudger tool and your hands to remove the outer shell.
-
Take your time during this step and initiate the process from the center, where the marker is located.
-
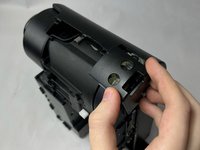
Using your hands, gently separate the plastic that is covering the coffee size buttons.
-
-
-
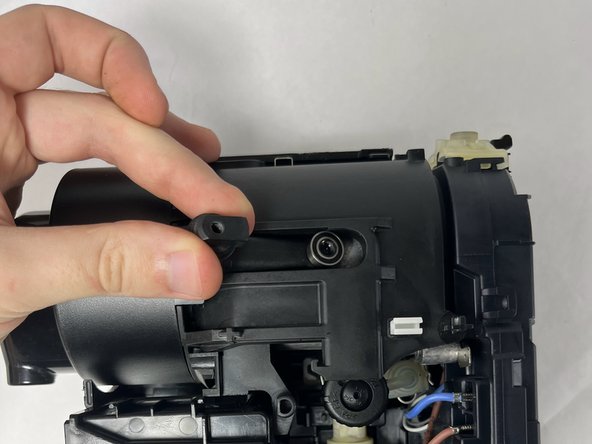
Apply steady pressure to both ends of the brewing chamber, pushing it in to extract the lever housing.
-
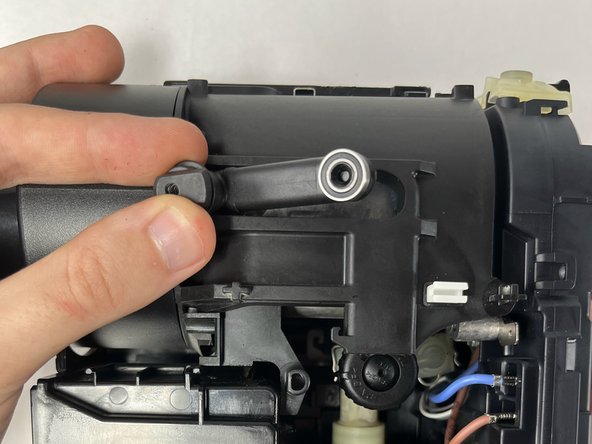
Remove the lever housing by gripping it with your hands and pulling it out.
-
After separating it, remove the other handle holder using the same method as outlined in the previous step.
-
-
-
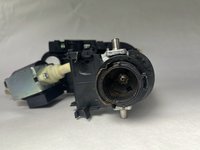
Pull the brewing chamber cover outwards from the machine, then pull it downwards to detach.
-
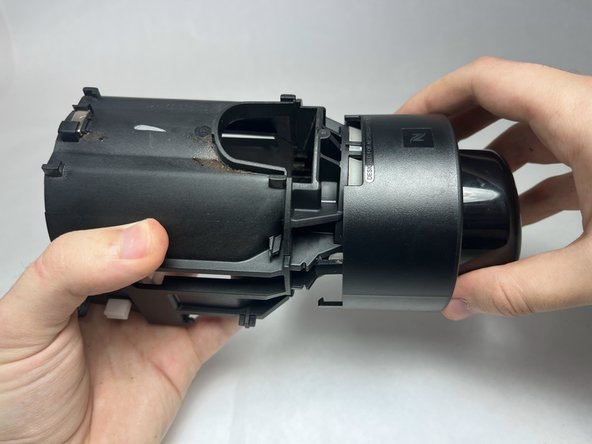
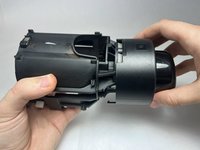
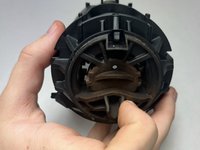
Use your hands to pull the brewing mechanism apart from the remaining plastic barrier.
-
-
-
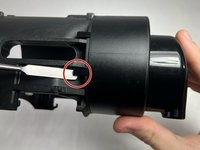
Utilize a metal spudger to disengage the clips securing the black case in position.
-
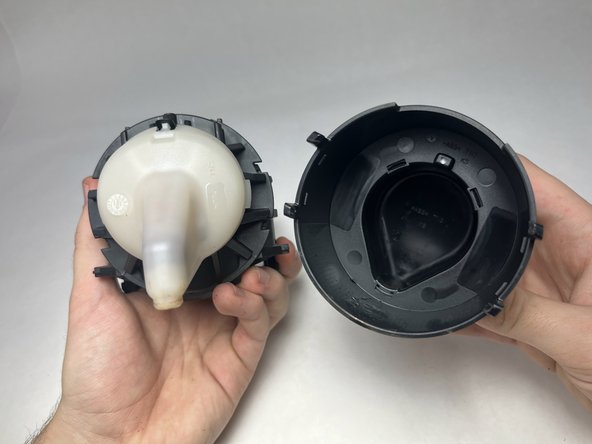
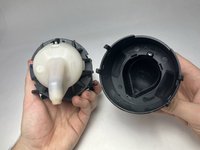
Draw the brewing chamber outward from the machine, and then pull it downward to disconnect the brewing spout chamber.
-
Following the disconnection of the brewing spout chamber, the inner brewing spout will become visible.
-
-
-
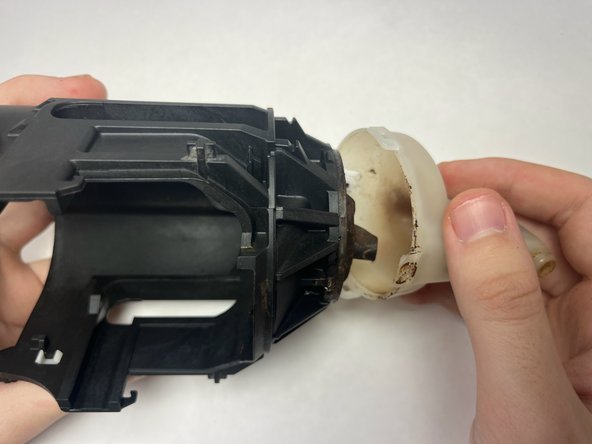
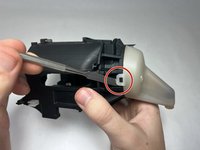
Utilize a metal spudger to disengage the clips securing the white inner brewing spout in position.
-
-
-
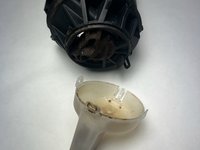
Examine the coffee spout and the areas through which coffee passes to remove any trapped coffee grounds, scale, or debris, ensuring a clear pathway.
-
Clean the brewing spout thoroughly with a damp cloth, water, and mild soap to remove any remaining debris.
-
-









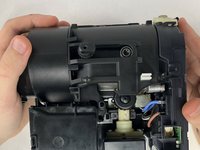
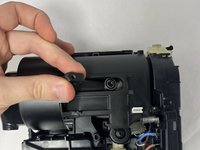
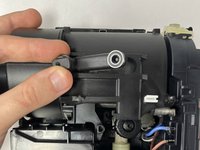

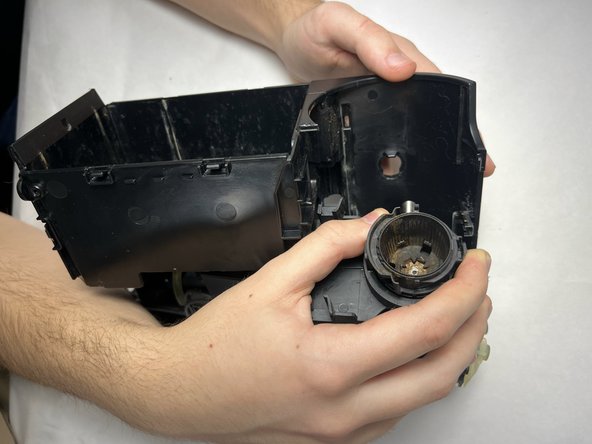
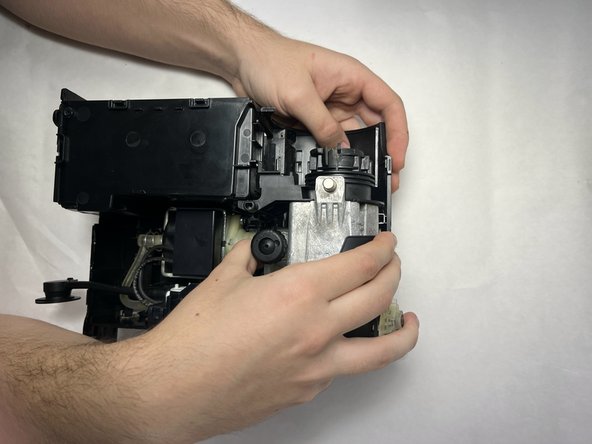
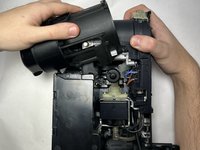
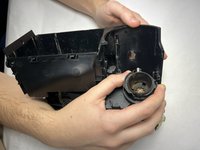
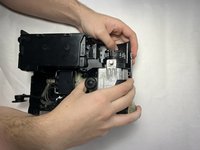



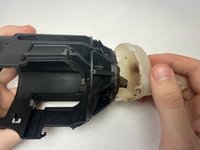


To reassemble your device, please follow these instructions in reverse order.
Cancel: I did not complete this guide.
7 other people completed this guide.

Team

UMass Dartmouth, Team 2-2, Gulbrandsen Fall 2023 Member of UMass Dartmouth, Team 2-2, Gulbrandsen Fall 2023
UMASSD-GULBRANDSEN-F23S2G2
4 Members
36 Guides authored
