Free Shipping on Domestic Orders $75+

Neato BOTVAC CONNECTED Side Wheel Replacement

What you need

    1. Neato BOTVAC CONNECTED Side Wheel Replacement, Battery: step 1, image 1 of 1
      • Place the top of the Neato Botvac Connected against a flat surface.

      Ask FixBot
      Add Comment

    2. Neato BOTVAC CONNECTED Side Wheel Replacement: step 2, image 1 of 2 Neato BOTVAC CONNECTED Side Wheel Replacement: step 2, image 2 of 2
      • Remove the two 5.5 mm screws with a Phillips #2 screwdriver.

      Ask FixBot
      Add Comment

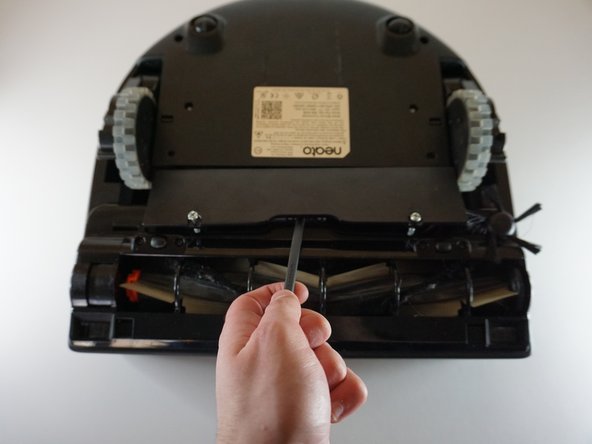
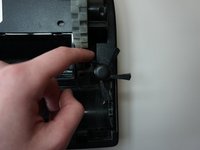
    3. Neato BOTVAC CONNECTED Side Wheel Replacement: step 3, image 1 of 2 Neato BOTVAC CONNECTED Side Wheel Replacement: step 3, image 2 of 2
      • Using the spudger, remove the panel covering the battery.

      Ask FixBot
      Add Comment

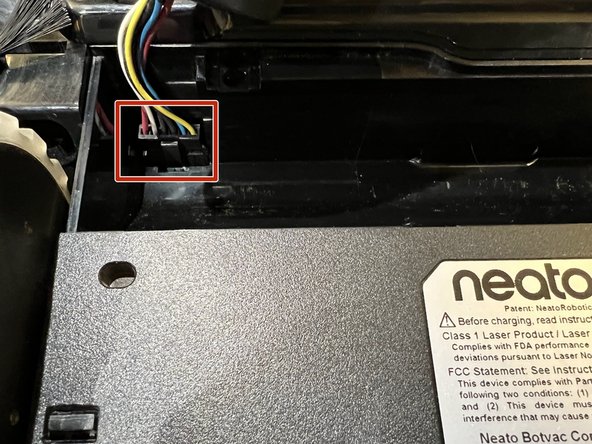
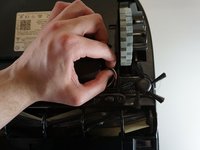
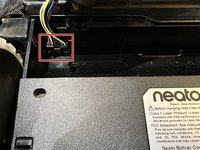
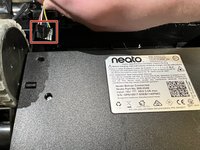
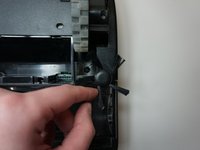
    4. Neato BOTVAC CONNECTED Side Wheel Replacement: step 4, image 1 of 3 Neato BOTVAC CONNECTED Side Wheel Replacement: step 4, image 2 of 3 Neato BOTVAC CONNECTED Side Wheel Replacement: step 4, image 3 of 3
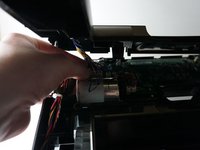
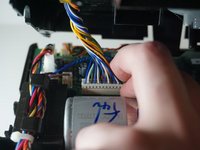
      • Gently remove the connecting wires attached to the battery.

      • The wires are attached to the vacuum through a clip.

      Ask FixBot
      Add Comment

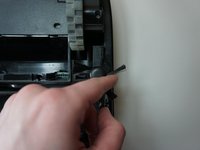
    5. Neato BOTVAC CONNECTED Side Wheel Replacement: step 5, image 1 of 1
      • Using the spudger, gently remove the battery from the device.

      Ask FixBot
      Add Comment

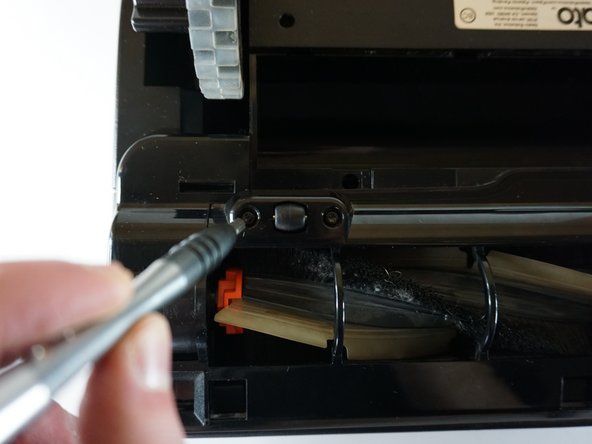
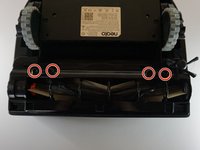
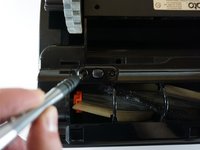
    1. Neato BOTVAC CONNECTED Side Wheel Replacement, Front Roller Brush: step 6, image 1 of 2 Neato BOTVAC CONNECTED Side Wheel Replacement, Front Roller Brush: step 6, image 2 of 2
      • Remove the following screws with a Torx screwdriver:

      • Four 2.3 mm screws.

      Ask FixBot

      Add Comment

    2. Neato BOTVAC CONNECTED Side Wheel Replacement: step 7, image 1 of 1
      • Gently remove the thin panel held by the four screws with a spudger.

      Ask FixBot

      Add Comment

    3. Neato BOTVAC CONNECTED Side Wheel Replacement: step 8, image 1 of 1
      • Gently remove the two small wheels, and the axles attached to them.

      Ask FixBot

      Add Comment

    4. Neato BOTVAC CONNECTED Side Wheel Replacement: step 9, image 1 of 1
      • Gently remove the panel that is on top of the front roller with the spudger.

      Ask FixBot

      Add Comment

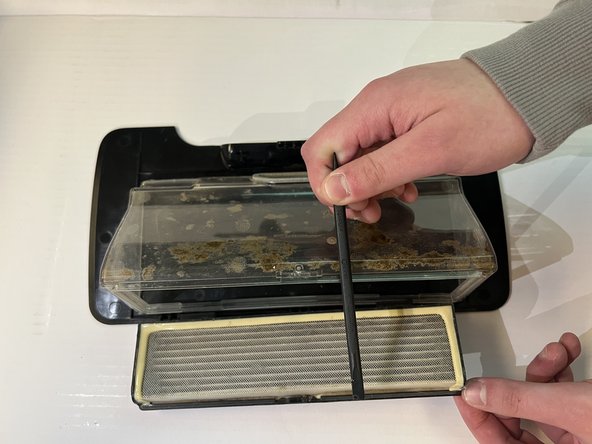
    5. Neato BOTVAC CONNECTED Side Wheel Replacement: step 10, image 1 of 1
      • Gently remove the front brush.

      Ask FixBot
      Add Comment
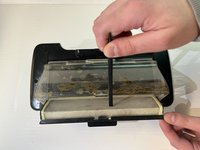
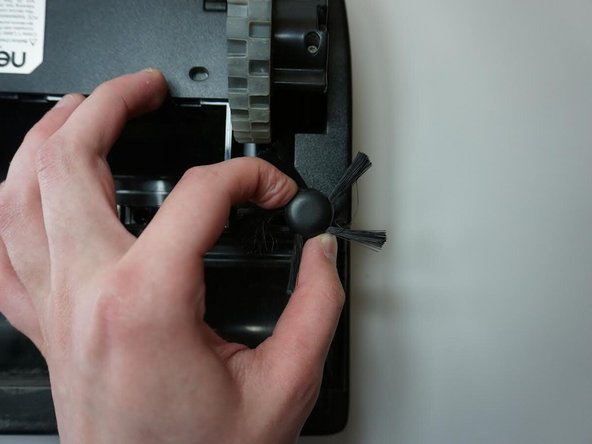
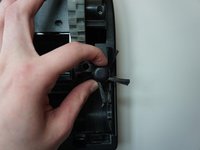
    1. Neato BOTVAC CONNECTED Side Wheel Replacement, Side Brush: step 11, image 1 of 2 Neato BOTVAC CONNECTED Side Wheel Replacement, Side Brush: step 11, image 2 of 2
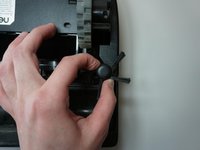
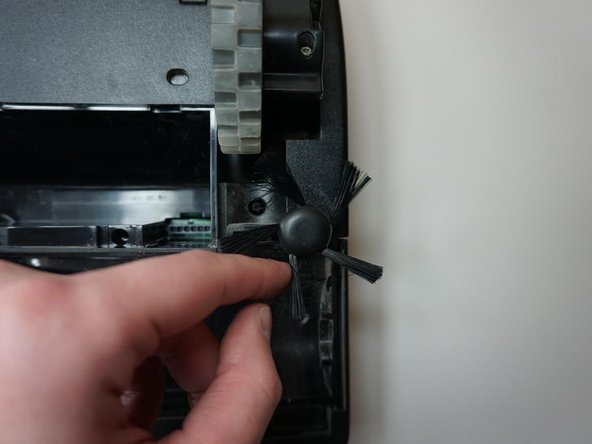
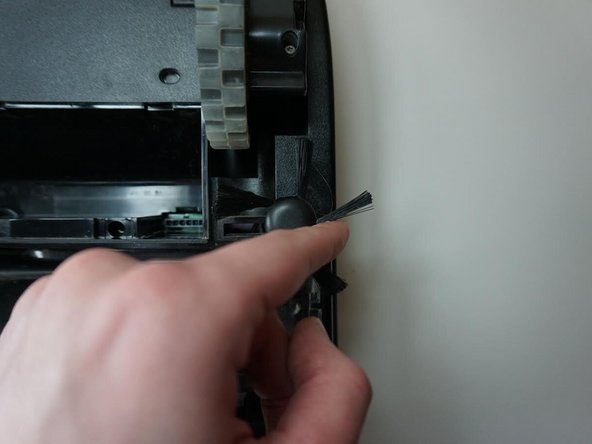
      • Gently twist the side brush back and forth.

      Ask FixBot

      Add Comment

    2. Neato BOTVAC CONNECTED Side Wheel Replacement: step 12, image 1 of 3 Neato BOTVAC CONNECTED Side Wheel Replacement: step 12, image 2 of 3 Neato BOTVAC CONNECTED Side Wheel Replacement: step 12, image 3 of 3
      • Spin the side brush counter counterclockwise.

      Ask FixBot

      Add Comment

    3. Neato BOTVAC CONNECTED Side Wheel Replacement: step 13, image 1 of 1
      • Use the spudger to gently pry up and remove the side brush.

      Ask FixBot

      Add Comment

    1. Neato BOTVAC CONNECTED Side Wheel Replacement, Filter: step 14, image 1 of 1
      • Flip the cleaner around and locate the front panel.

      Ask FixBot

      Add Comment

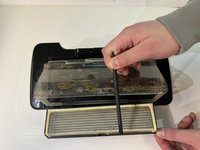
    2. Neato BOTVAC CONNECTED Side Wheel Replacement: step 15, image 1 of 1
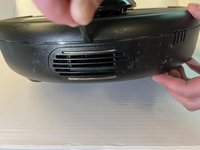
      • Gently remove the front panel by opening it with a spudger.

      Ask FixBot

      Add Comment

    3. Neato BOTVAC CONNECTED Side Wheel Replacement: step 16, image 1 of 2 Neato BOTVAC CONNECTED Side Wheel Replacement: step 16, image 2 of 2
      • Use the spudger to gently remove the paper filter.

      Ask FixBot

      Add Comment

    1. Neato BOTVAC CONNECTED Side Wheel Replacement, Side Wheel: step 17, image 1 of 1
      • Remove the following screws with a TR10 Torx screwdriver:

      • Six 2.3 mm screws.

      Ask FixBot

      Add Comment

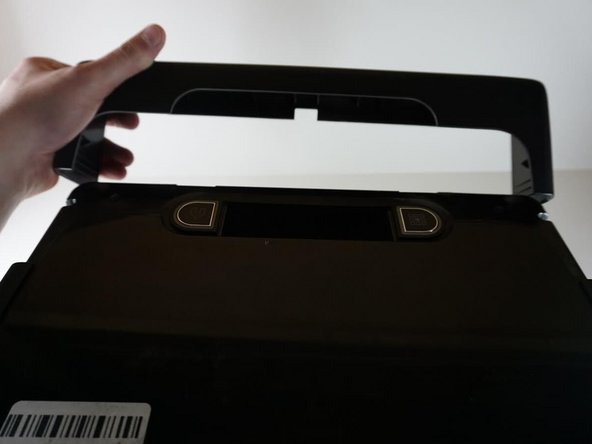
    2. Neato BOTVAC CONNECTED Side Wheel Replacement: step 18, image 1 of 2 Neato BOTVAC CONNECTED Side Wheel Replacement: step 18, image 2 of 2
      • Remove the front bumper by pulling it horizontally on each side.

      Ask FixBot

      Add Comment

    3. Neato BOTVAC CONNECTED Side Wheel Replacement: step 19, image 1 of 1
      • Remove the screw that is directly attached to the wheel on the side using a Phillips #2 screwdriver.

      Ask FixBot

      Add Comment

    4. Neato BOTVAC CONNECTED Side Wheel Replacement: step 20, image 1 of 1
      • Remove the two 2.3 mm screws on the front of the vacuum with a TR10 Torx screwdriver.

      Ask FixBot

      Add Comment

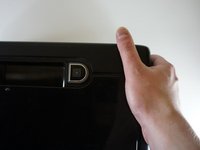
    5. Neato BOTVAC CONNECTED Side Wheel Replacement: step 21, image 1 of 1
      • Remove the layer below the front bumper by pressing firmly on the two levers located nearby.

      Ask FixBot

      Add Comment

    6. Neato BOTVAC CONNECTED Side Wheel Replacement: step 22, image 1 of 3 Neato BOTVAC CONNECTED Side Wheel Replacement: step 22, image 2 of 3 Neato BOTVAC CONNECTED Side Wheel Replacement: step 22, image 3 of 3
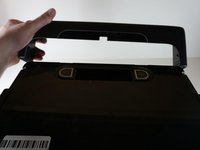
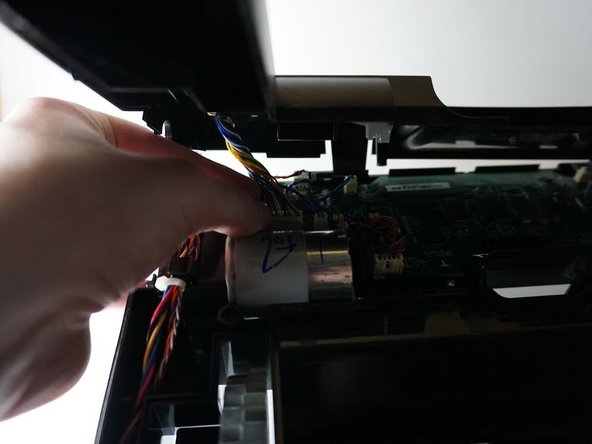
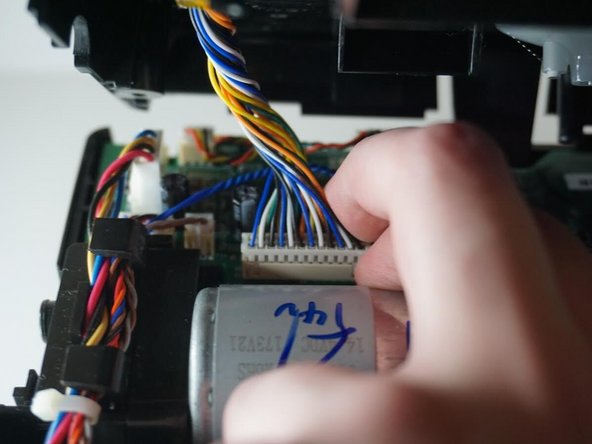
      • Gently take out the top panel, and take out the connecting wires.

      Ask FixBot

      Add Comment

    7. Neato BOTVAC CONNECTED Side Wheel Replacement: step 23, image 1 of 1
      • Remove the following screws with a TR10 Torx screwdriver:

      • Two 2.3 mm screws.

      Ask FixBot

      Add Comment

    8. Neato BOTVAC CONNECTED Side Wheel Replacement: step 24, image 1 of 1
      • Flip around the vacuum and remove the wheel with the spudger.

      Ask FixBot

      Add Comment

Conclusion

To reassemble your device, follow these instructions in reverse order.

Cancel: I did not complete this guide.

One other person completed this guide.

Justin Silva

Member since: 03/20/23

645 Reputation

5 Guides authored

Team

0 Guide Comments

Add Comment

View Statistics:

Past 24 Hours: 2

Past 7 Days: 19

Past 30 Days: 45

All Time: 803