
Nanit Pro N301 Camera Replacement

Ryan Maher and 3 other contributors
Last updated on Jun 24, 2024
Views: 3.3K
View statistics:
- Past 24 Hours:
- 3
- Past 7 Days:
- 21
- Past 30 Days:
- 152
- All Time:
- 3,272
Comments: 2
2 comments on steps.
Completed: 2 3
2 people have marked this guide "completed." Will you be next?
3 people have marked this guide "completed." Including you — great job!
Favorites: 0 1
No one has favorited (and subscribed to) this guide. Will you be the first?
1 person has favorited (and subscribed to) this guide — and that's you!
Introduction
Go to step 1 ↓If your Nanit Pro N301 is not producing a clear image or any image at all, use this guide to replace the camera lens. Some of the pieces are very small so make sure you have a tool that can grab tiny materials if you are unable to do so with your fingers. Make your device is not plugged in and connected to a power source during the repair.
What you need
Tools


-
-
-
Insert an opening pick into the seam between the front and rear case.
-
Slide the opening pick around the perimeter of the camera until all of the retaining clips are released.
-
Separate the front and rear case.
 Ask FixBot
-
-
-
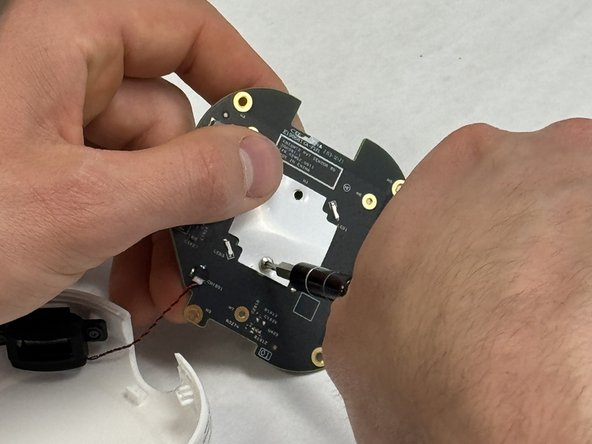
Remove the four 4 mm T6 Torx screws from each corner of the circuit board.
-
Lift the circuit board out of the chassis.
-
-
-
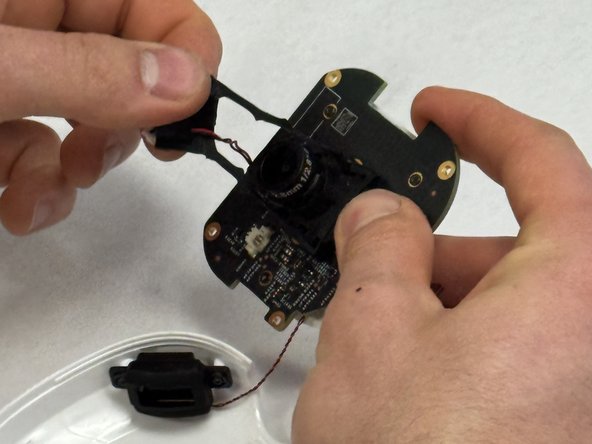
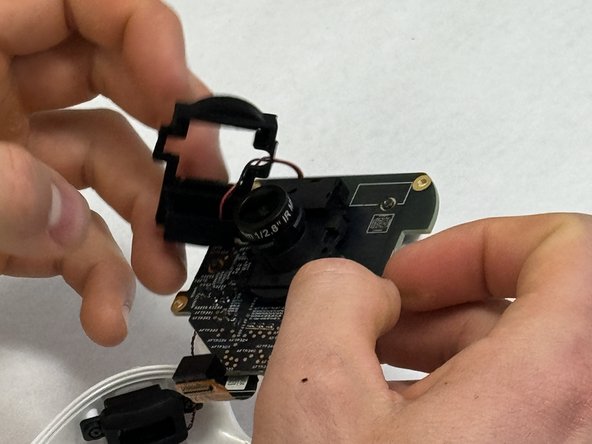
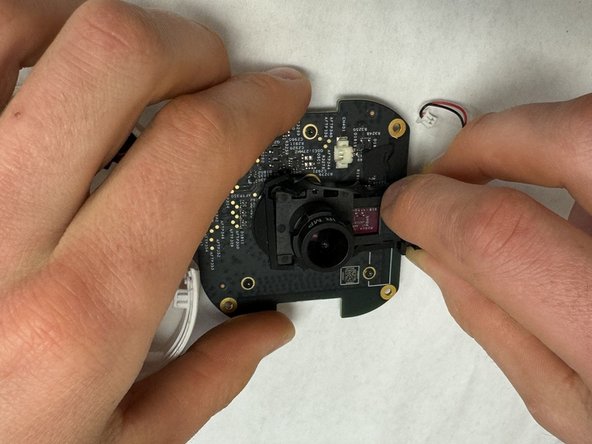
Use a T4 Torx screwdriver to remove the screws that secure the computer chip to the white plastic bracket.
-
-
-
-
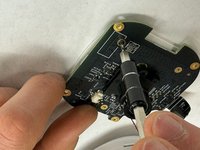
Use a Phillips screwdriver to remove the two screws that secure the underside of the camera.
-
-










To reassemble your device, follow these instructions in reverse order.
Cancel: I did not complete this guide.
2 other people completed this guide.

Team

IUPUI, Team 3-1, Harley Spring 2024 Member of IUPUI, Team 3-1, Harley Spring 2024
IUPUI-HARLEY-S24S3G1
3 Members
36 Guides authored
