
Nabi Jr Screen Replacement

Jimmy Nguyen and 3 other contributors
Last updated on Jun 22, 2015
Views: 6K
View statistics:
- Past 24 Hours:
- 2
- Past 7 Days:
- 21
- Past 30 Days:
- 85
- All Time:
- 5,999
Comments: 3
3 guide comments.
Go to guide commentsCompleted: 1 2
1 person has marked this guide "completed." Will you be next?
2 people have marked this guide "completed." Including you — great job!
Favorites: 2 3
2 people have favorited (and subscribed to) this guide. Will you be next?
3 people have favorited (and subscribed to) this guide — including you!
Better Introduction
Improve this guide by completing or revising its introduction.
What you need
Tools


-
-
-
Remove the red rubber case from the device. This should come off with ease.
 Ask FixBot
-
-
-
Turn the device so the screen is facing away from you.
-
Using a philips head, size #00, screwdriver, remove the screws in each corner of the plastic casing.(total of 4 screws)
-
-
-
After loosening the back cover, remove it from the device so you can get at the innards.
-
-
-
-
-
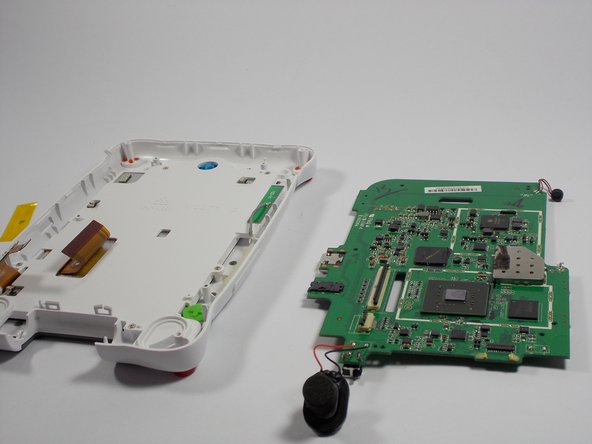
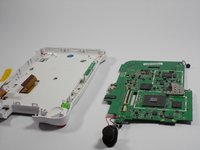
Use the Philips #00 screwdriver to remove the 5 screws from the motherboard
-
-
Tool used on this step:Tweezers$4.99
-
Use tweezers to peel off all yellow tape from the motherboard
-
-
-
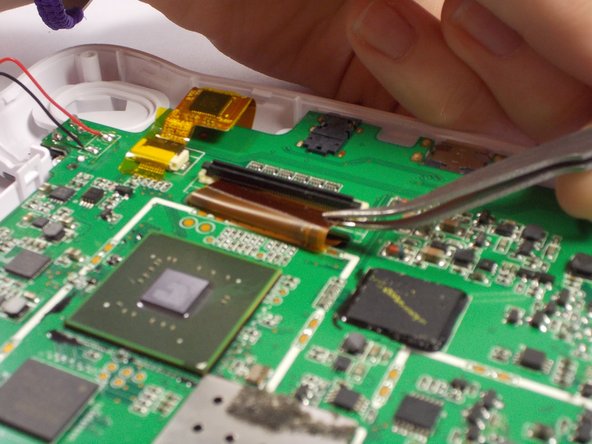
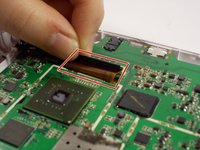
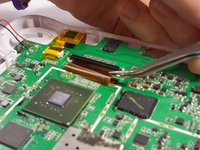
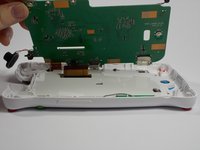
Remove all three ribbon cables from the motherboard by lifting up the locking tabs.
-
Use tweezers to pull the ribbon cable out of the locking tab's slot
-
-
-
-





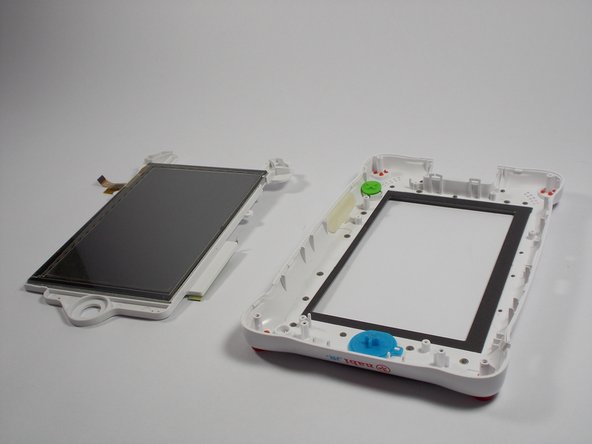
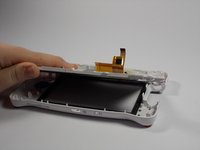
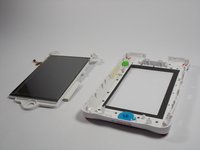


To reassemble your device, follow these instructions in reverse order.
Cancel: I did not complete this guide.
One other person completed this guide.

Team

UMass Dartmouth, Team 4-3, Vijaybhaskar Spring 2015 Member of UMass Dartmouth, Team 4-3, Vijaybhaskar Spring 2015
UMASSD-VIJAYBHASKAR-S15S4G3
3 Members
72 Guides authored
3 Guide Comments
My navi jr is the nick jr edition and looks a bit different inside. I replaced the screen, as mentioned here but has to remove the outter glass-like screen that has the second smaller ribbonattach from the original screen, and put it on my screen because the new screen did not have that part. All buttons work, the screen looks perfect and vibrant, but the EFEN TOUCH Does not work!!! What did I do wrong? I attached all the ribbons properly!!!
