Free Shipping on Domestic Orders $75+

Nabi Jr Motherboard Replacement

What you need

    1. Nabi Jr Motherboard Replacement, Rear Case: step 1, image 1 of 1
      • Remove the red rubber case from the device. This should come off with ease.

      Ask FixBot

      Add Comment

    2. Nabi Jr Motherboard Replacement: step 2, image 1 of 1
      • Turn the device so the screen is facing away from you.

      • Using a philips head, size #00, screwdriver, remove the screws in each corner of the plastic casing.(total of 4 screws)

      Ask FixBot

      Add Comment

    3. Nabi Jr Motherboard Replacement: step 3, image 1 of 1
      • Remove the device casing using a small plastic pry bar.

      • This might take a little bit of force to accomplish, don't be afraid to go at it with a little gusto.

      Ask FixBot

      Add Comment

    4. Nabi Jr Motherboard Replacement: step 4, image 1 of 1
      • After loosening the back cover, remove it from the device so you can get at the innards.

      Ask FixBot

      Add Comment

    1. Nabi Jr Motherboard Replacement, Motherboard: step 5, image 1 of 1
      • Use the Philips #00 screwdriver to remove the 5 screws from the motherboard

      Ask FixBot

      Add Comment

    2. Nabi Jr Motherboard Replacement: step 6, image 1 of 1
      • De-solder the grey wire from motherboard

      Ask FixBot

      Add Comment

    3. Nabi Jr Motherboard Replacement: step 7, image 1 of 1
      Tool used on this step:
      Tweezers
      $4.99
      Buy
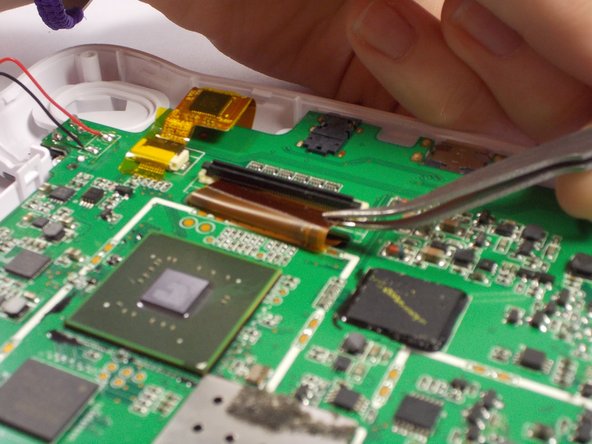
      • Use tweezers to peel off all yellow tape from the motherboard

      • Yellow tape is used in all locations where there is ribbon cable present.

      Ask FixBot

      Add Comment

    4. Nabi Jr Motherboard Replacement: step 8, image 1 of 2 Nabi Jr Motherboard Replacement: step 8, image 2 of 2
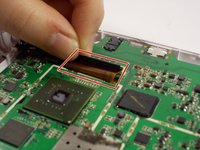
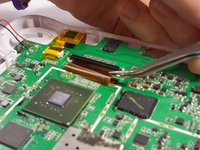
      • Remove all three ribbon cables from the motherboard by lifting up the locking tabs.

      • Pull black locking tabs up in opposite direction of ribbon cable to remove.

      • Use tweezers to pull the ribbon cable out of the locking tab's slot

      Ask FixBot

      Add Comment

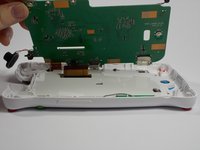
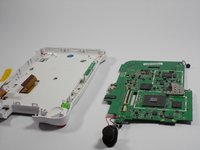
    5. Nabi Jr Motherboard Replacement: step 9, image 1 of 2 Nabi Jr Motherboard Replacement: step 9, image 2 of 2
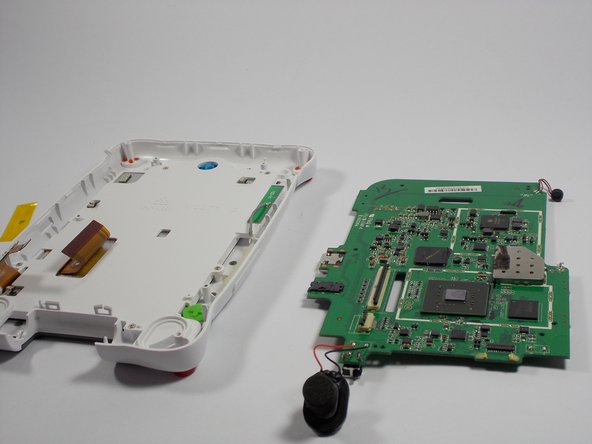
      • Lift motherboard to separate it the from the case shell.

      Ask FixBot

      Add Comment

Conclusion

To reassemble your device, follow these instructions in reverse order.

Cancel: I did not complete this guide.

Kaila Joy

Member since: 03/24/15

86 Reputation

2 Guides authored

Team

0 Guide Comments

Add Comment

View Statistics:

Past 24 Hours: 0

Past 7 Days: 7

Past 30 Days: 19

All Time: 1,456