Free Shipping on Domestic Orders $75+

Nabi DreamTab HD8 Audio Jack Replacement

What you need

  1. Nabi DreamTab HD8 Audio Jack Replacement, Front Panel Assembly: step 1, image 1 of 2 Nabi DreamTab HD8 Audio Jack Replacement, Front Panel Assembly: step 1, image 2 of 2
    • Position the Nabi DreamTab onto a non-metallic surface so that the screen is facing towards the ceiling, and the DreamTab logo appears closest to you.

    • Remove the red silicone case from the Nabi DreamTab HD8.

    • These steps are specific to the included manufacturer case. If you have a different protective case, please refer to the respective manual for removal.

    Ask FixBot

    Add Comment

  2. Nabi DreamTab HD8 Audio Jack Replacement: step 2, image 1 of 1
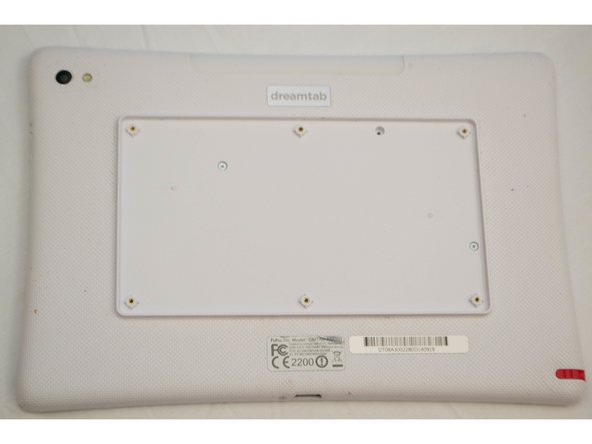
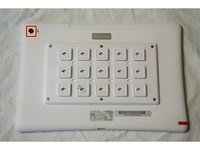
    • Turn it upside down, ensuring the small black circular camera is in the upper left hand corner.

    • Proceeding beyond here will void the manufacturer's warranty. If you wish to continue, follow these steps carefully.

    Ask FixBot

    Add Comment

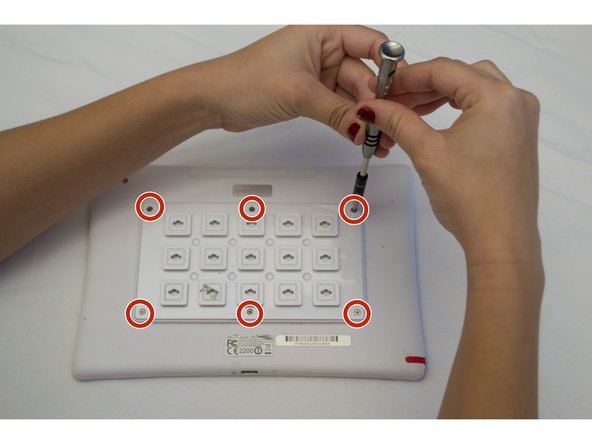
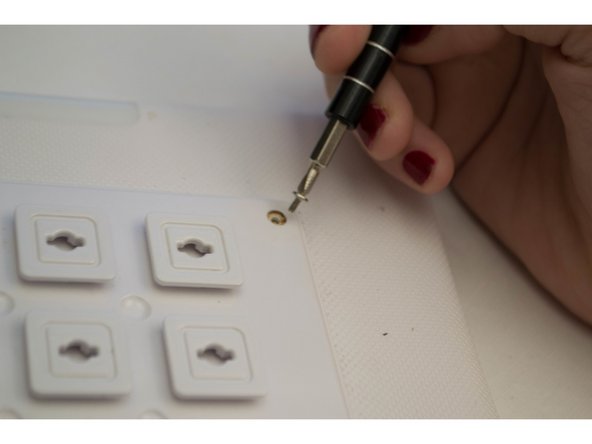
  3. Nabi DreamTab HD8 Audio Jack Replacement: step 3, image 1 of 2 Nabi DreamTab HD8 Audio Jack Replacement: step 3, image 2 of 2
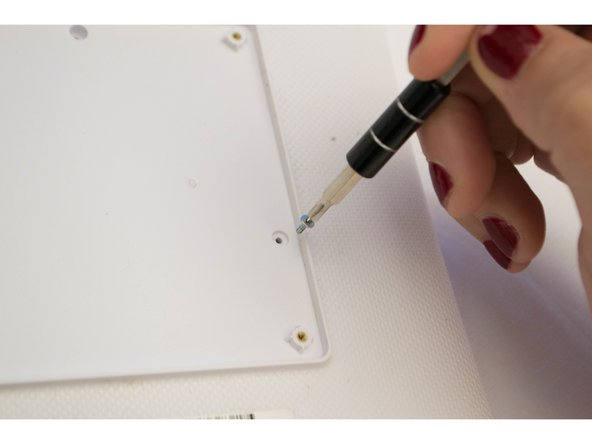
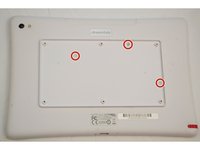
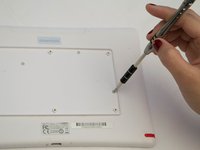
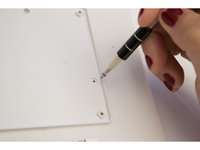
    • Remove the six 2.5 mm JIS #000 screws attaching the custom grid to the back panel.

    Ask FixBot

    Add Comment

  4. Nabi DreamTab HD8 Audio Jack Replacement: step 4, image 1 of 2 Nabi DreamTab HD8 Audio Jack Replacement: step 4, image 2 of 2
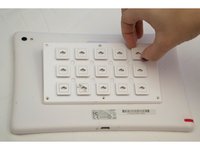
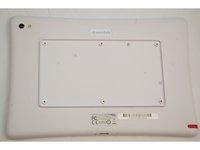
    • Grasp one of the protruding squares and gently lift off the back plate. Place it aside for later reassembly.

    • This piece should come off very easily. If you have trouble removing it, all of the screws may not be completely removed. Check and proceed.

    • Do not confuse the golden threads for screws.

    Ask FixBot

    Add Comment

  5. Nabi DreamTab HD8 Audio Jack Replacement: step 5, image 1 of 3 Nabi DreamTab HD8 Audio Jack Replacement: step 5, image 2 of 3 Nabi DreamTab HD8 Audio Jack Replacement: step 5, image 3 of 3
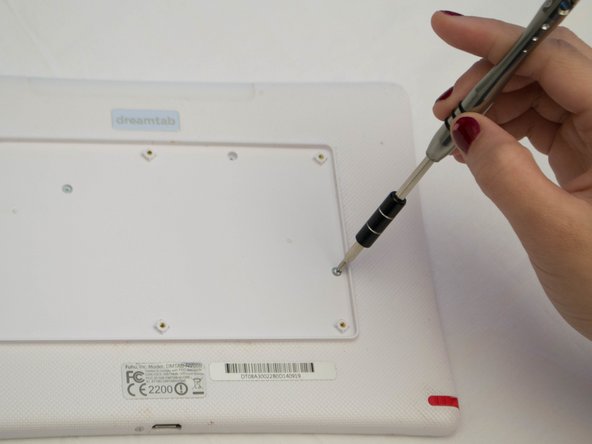
    • Remove the three 3.5mm screws using the J-0 screwdriver attaching the back panel to the device.

    Ask FixBot

    Add Comment

  6. Nabi DreamTab HD8 Audio Jack Replacement: step 6, image 1 of 3 Nabi DreamTab HD8 Audio Jack Replacement: step 6, image 2 of 3 Nabi DreamTab HD8 Audio Jack Replacement: step 6, image 3 of 3
    • Rotate the top of the device towards you so that the audio jack appears on the right side of the device.

    • The audio jack will have a small symbol of headphones next to a small 3.5mm diameter hole.

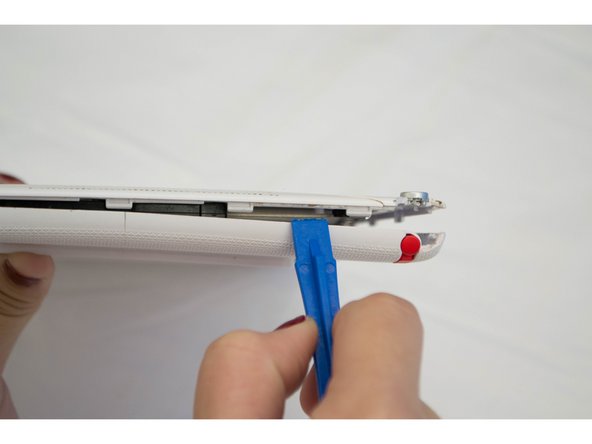
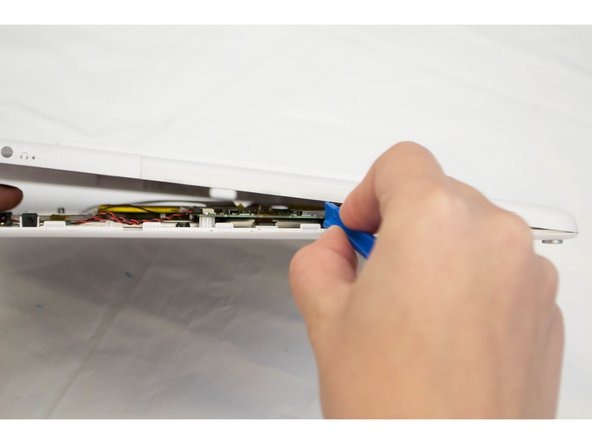
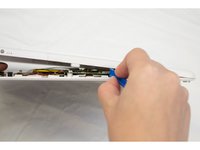
    • Wedge the plastic opening tool between where the front and back case panels meet near the audio jack.

    • Pry the device open using moderate force until you hear a clicking sound. This is the sound of the clips unlocking.

    • Move along the perimeter of the entire device using the same prying motion to gradually separate the front and back panels.

    • Once the edges are open return to the same starting position next to the audio jack.

    • During this step, you may crack some parts of the case. Gently pry around the speakers, audio jack and charging cable ports to reduce this damage.

    Ask FixBot

    Add Comment

  7. Nabi DreamTab HD8 Audio Jack Replacement: step 7, image 1 of 3 Nabi DreamTab HD8 Audio Jack Replacement: step 7, image 2 of 3 Nabi DreamTab HD8 Audio Jack Replacement: step 7, image 3 of 3
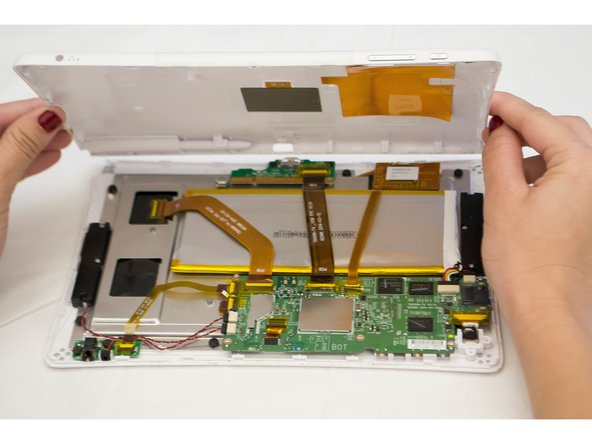
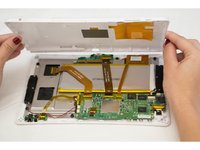
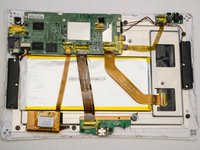
    • Once you've completed separating the front and back panels, place the device back onto the table, display facing downward and camera at the top left.

    • Lift off the back panel and rotate the device 180 degrees while the screen is facing down.

    Ask FixBot

    Add Comment

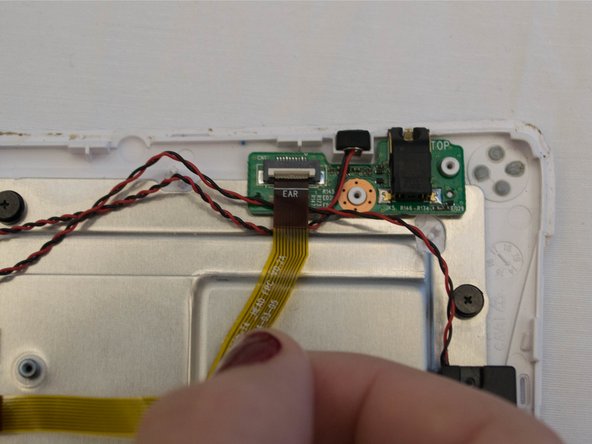
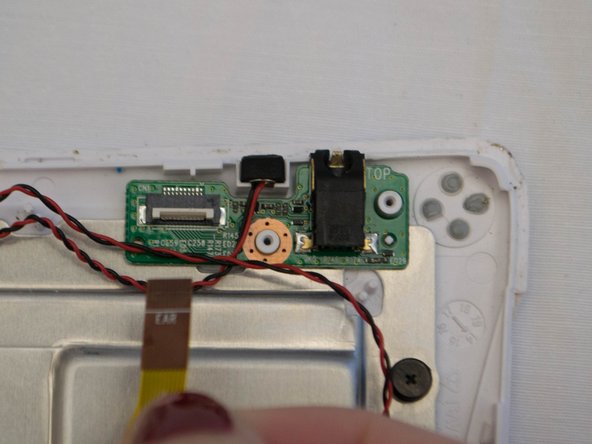
  8. Nabi DreamTab HD8 Audio Jack Replacement, Audio Jack: step 8, image 1 of 1
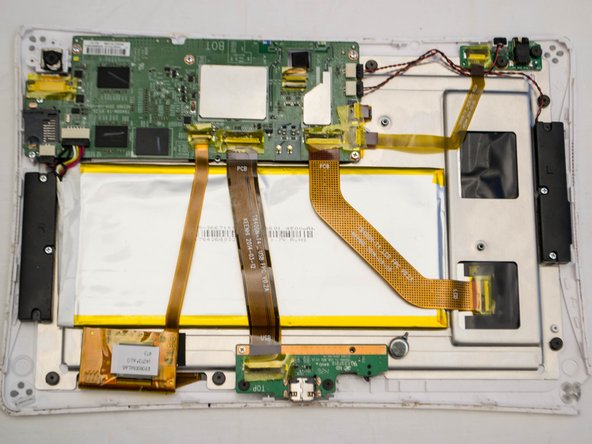
    • On the upper right hand corner of the device, you'll notice a small piece that says EAR. This is the audio jack.

    Ask FixBot

    Add Comment

  9. Nabi DreamTab HD8 Audio Jack Replacement: step 9, image 1 of 3 Nabi DreamTab HD8 Audio Jack Replacement: step 9, image 2 of 3 Nabi DreamTab HD8 Audio Jack Replacement: step 9, image 3 of 3
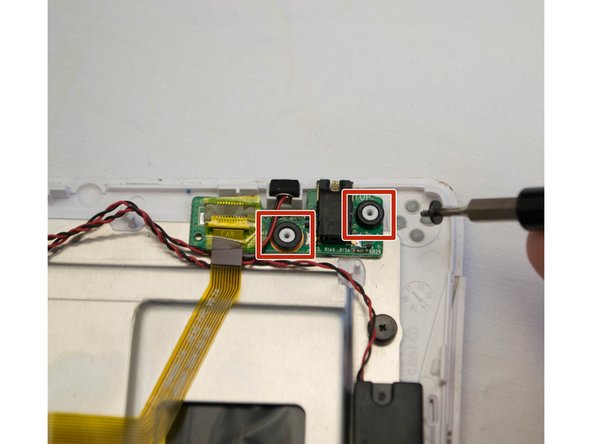
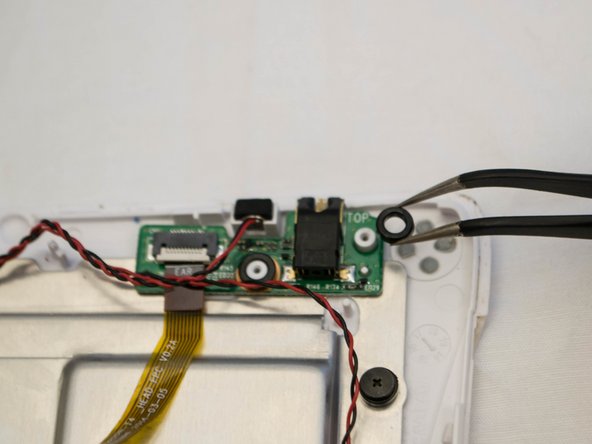
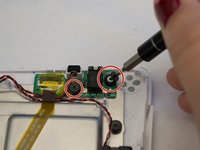
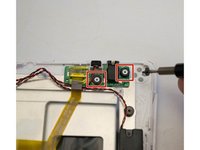
    • Remove the two black 3.5 mm Phillips # 00 screws and the attached washers.

    Ask FixBot

    Add Comment

  10. Nabi DreamTab HD8 Audio Jack Replacement: step 10, image 1 of 2 Nabi DreamTab HD8 Audio Jack Replacement: step 10, image 2 of 2
    Tool used on this step:
    Tweezers
    $4.99
    Buy
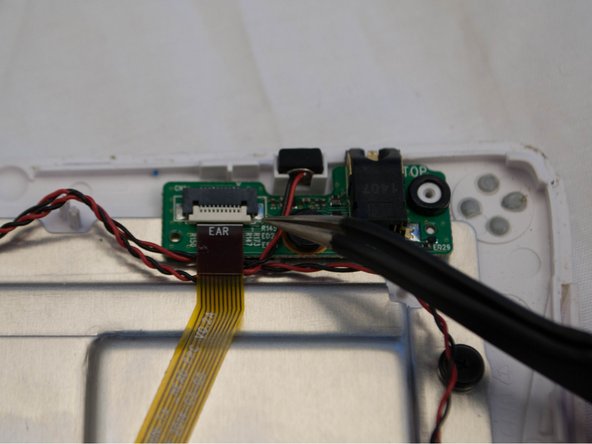
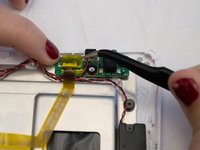
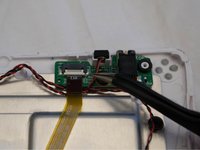
    • Remove the yellow plastic tape from the connector with tweezers.

    Ask FixBot

    Add Comment

  11. Nabi DreamTab HD8 Audio Jack Replacement: step 11, image 1 of 3 Nabi DreamTab HD8 Audio Jack Replacement: step 11, image 2 of 3 Nabi DreamTab HD8 Audio Jack Replacement: step 11, image 3 of 3
    • Lift the white part of the connector and pull out the connector.

    Ask FixBot

    Add Comment

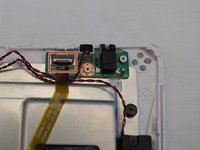
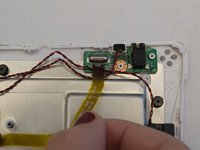
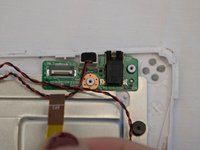
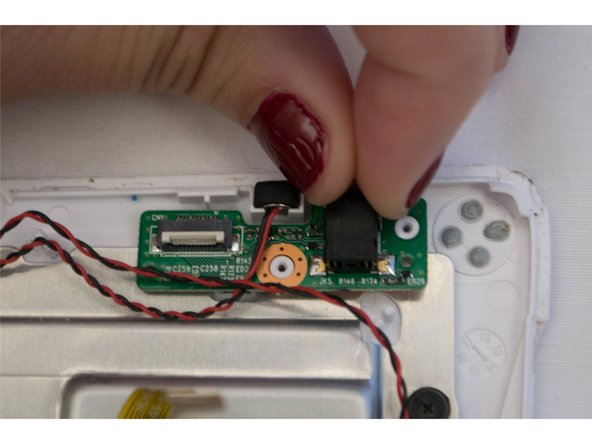
  12. Nabi DreamTab HD8 Audio Jack Replacement: step 12, image 1 of 2 Nabi DreamTab HD8 Audio Jack Replacement: step 12, image 2 of 2
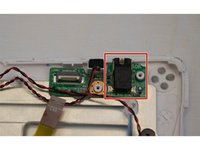
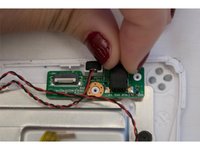
    • Lightly pinch the black part of the audio jack and lift for replacement.

    Ask FixBot

    Add Comment

Conclusion

To reassemble your device, follow these instructions in reverse order.

Cancel: I did not complete this guide.

Luis Delgado

Member since: 09/17/15

272 Reputation

2 Guides authored

Team

CSU Fullerton, Team 2-3, Bruce Fall 2015 Member of CSU Fullerton, Team 2-3, Bruce Fall 2015

CSUF-BRUCE-F15S2G3

4 Members

10 Guides authored

0 Guide Comments

Add Comment

View Statistics:

Past 24 Hours: 0

Past 7 Days: 7

Past 30 Days: 44

All Time: 1,002