
Nabi 2S Camera Replacement

Molly Scott and 2 other contributors
Last updated on May 18, 2016
Views: 601
View statistics:
- Past 24 Hours:
- 3
- Past 7 Days:
- 15
- Past 30 Days:
- 84
- All Time:
- 601
Comments: 0
No one has left comments on this guide. Will you be first?
Go to guide commentsCompleted: 2 3
2 people have marked this guide "completed." Will you be next?
3 people have marked this guide "completed." Including you — great job!
Favorites: 0 1
No one has favorited (and subscribed to) this guide. Will you be the first?
1 person has favorited (and subscribed to) this guide — and that's you!
Introduction
Go to step 1 ↓This guide will aid you in the process of removing the camera of the device. This is useful in replacing a broken or dis-functioning camera.
What you need
Tools


-
-
-
Make sure the screen is facing away from you and the back cover is facing you.
-
Using a Phillips #0 Screwdriver, unscrew the 3mm screws counter-clockwise in each corner of the plastic back cover. It will be a total of four screws. The smaller case on the back cover is attached to the main cover so it will not need to be removed.
-
-
-
After the back case is loosened, remove it from the device to change or access the battery.
-
-
-
-
-
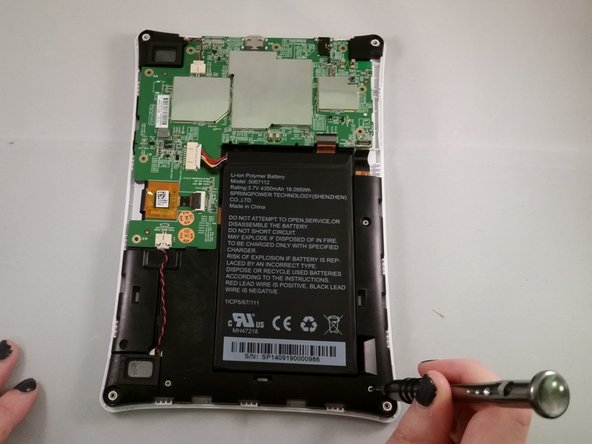
Unscrew the circuit board from the motherboard by using a Phillips #0 screwdriver to unscrew the ten 4mm screws in a counter-clockwise rotation.
-
-
-
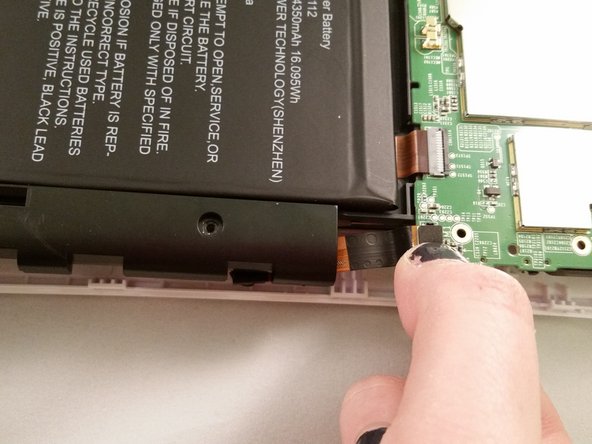
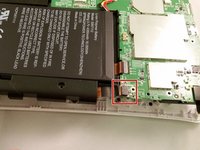
The camera is attached to the circuit board and then tucked underneath. Gently grip the part attached to the circuit board and pull it up and away from the circuit.
-
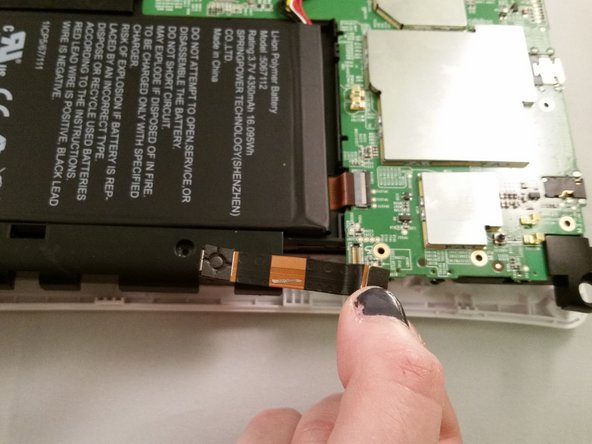
Gently slide the camera out from underneath the circuit board.
-
-

 Ask FixBot






To reassemble your device, follow these instructions in reverse order.
Cancel: I did not complete this guide.
2 other people completed this guide.

Team

Marist, Team 1-4, Laflen Spring 2016 Member of Marist, Team 1-4, Laflen Spring 2016
MARS-LAFLEN-S16S1G4
2 Members
60 Guides authored
