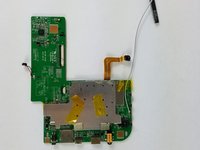
Free Shipping on Domestic Orders $75+

Nabi 2 Charging Port Replacement

What you need

  1. Nabi 2 Charging Port Replacement, Nabi 2 Back Cover Removal: step 1, image 1 of 3 Nabi 2 Charging Port Replacement, Nabi 2 Back Cover Removal: step 1, image 2 of 3 Nabi 2 Charging Port Replacement, Nabi 2 Back Cover Removal: step 1, image 3 of 3
    • Remove the rubber bumper from the tablet.

    Ask FixBot

    Add Comment

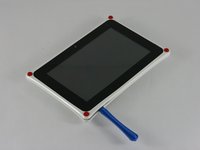
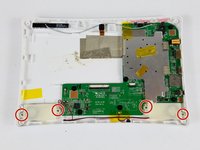
  2. Nabi 2 Charging Port Replacement: step 2, image 1 of 2 Nabi 2 Charging Port Replacement: step 2, image 2 of 2
    • With a PH00 screwdriver, remove the four outermost screws from the back of the tablet.

    Ask FixBot

    Add Comment

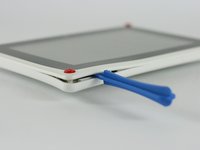
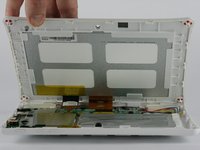
  3. Nabi 2 Charging Port Replacement: step 3, image 1 of 3 Nabi 2 Charging Port Replacement: step 3, image 2 of 3 Nabi 2 Charging Port Replacement: step 3, image 3 of 3
    • Carefully, insert a plastic opening tool into the seam of the device and begin gently prying the two plastic pieces apart.

    • Work the tool all the way around the device. Small plastic clips should release. If they do not, gently apply outwards pressure until the clips give.

    • Do not force the clips open, as they are fairly easy to break

    Ask FixBot

    Add Comment

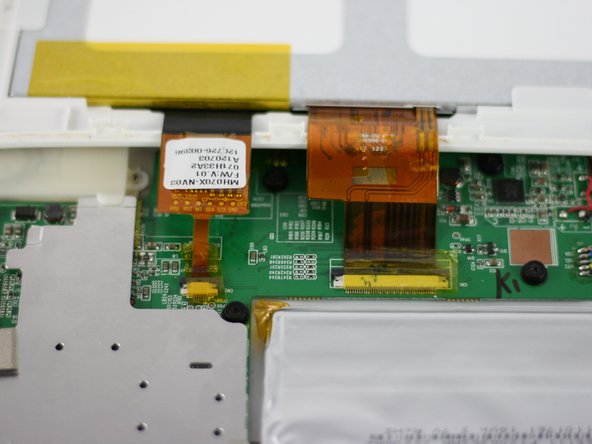
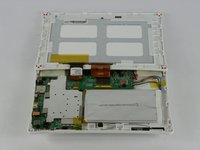
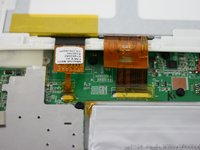
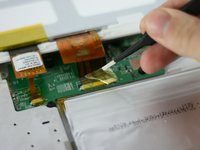
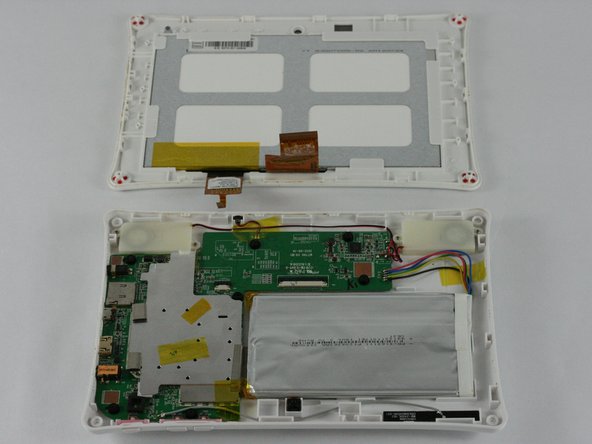
  4. Nabi 2 Charging Port Replacement, Screen: step 4, image 1 of 3 Nabi 2 Charging Port Replacement, Screen: step 4, image 2 of 3 Nabi 2 Charging Port Replacement, Screen: step 4, image 3 of 3
    • Lay the tablet down flat and remove the yellow tape from the ZIF connector on each side

    Ask FixBot

    Add Comment

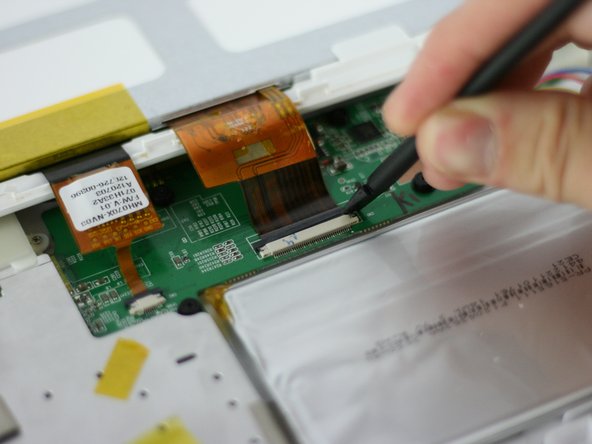
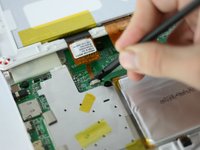
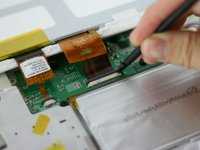
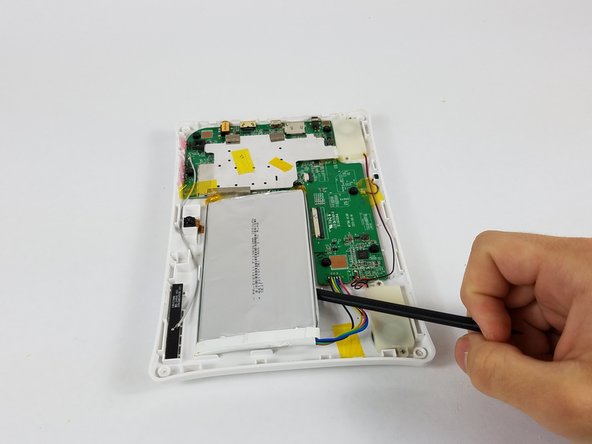
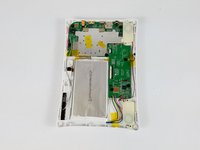
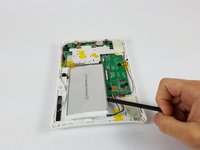
  5. Nabi 2 Charging Port Replacement: step 5, image 1 of 3 Nabi 2 Charging Port Replacement: step 5, image 2 of 3 Nabi 2 Charging Port Replacement: step 5, image 3 of 3
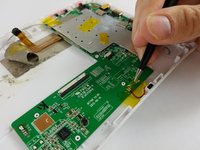
    • Using a spudger, slide the brown tab forward on each side of the connector

    • Slide until the connector is completely loose, then separate the screen from the bottom half of the tablet

    • If the screen is not working correctly, you will need to replace the entire display assembly

    Ask FixBot

    Add Comment

  6. Nabi 2 Charging Port Replacement, Battery: step 6, image 1 of 3 Nabi 2 Charging Port Replacement, Battery: step 6, image 2 of 3 Nabi 2 Charging Port Replacement, Battery: step 6, image 3 of 3
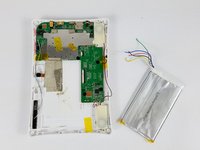
    • Use the spudger to pop the battery out of place and set it aside.

    Ask FixBot

    Add Comment

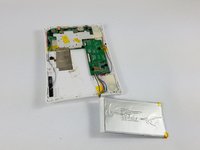
  7. Nabi 2 Charging Port Replacement: step 7, image 1 of 3 Nabi 2 Charging Port Replacement: step 7, image 2 of 3 Nabi 2 Charging Port Replacement: step 7, image 3 of 3
    • Desolder the battery connection and remove the battery completely

    • Note the color order for future replacemement

    Ask FixBot
    Add Comment

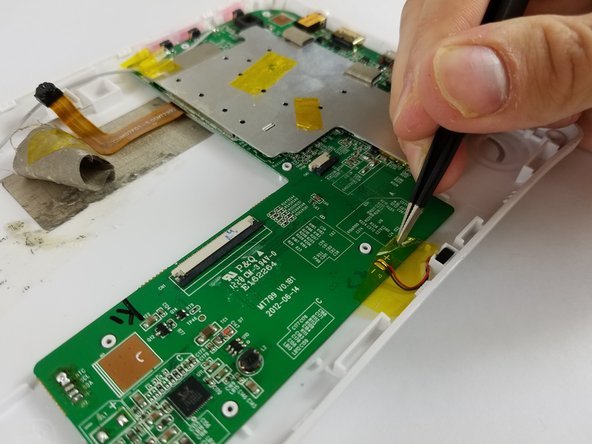
  8. Nabi 2 Charging Port Replacement, Internal Speakers: step 8, image 1 of 1
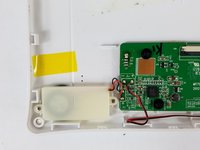
    • Using the soldering iron, detach the speaker's wires from the circuit board.

    Ask FixBot

    Add Comment

  9. Nabi 2 Charging Port Replacement: step 9, image 1 of 3 Nabi 2 Charging Port Replacement: step 9, image 2 of 3 Nabi 2 Charging Port Replacement: step 9, image 3 of 3
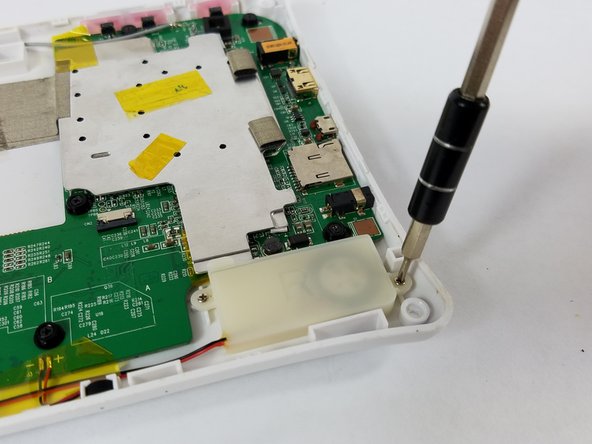
    • Using a Phillips PH 000 screwdriver, unscrew the two 3 mm Phillips #000 screws on each side of the speakers that hold the speakers in place.

    Ask FixBot

    Add Comment

  10. Nabi 2 Charging Port Replacement: step 10, image 1 of 1
    • Once the screws have been removed, remove the speakers from the device.

    Ask FixBot

    Add Comment

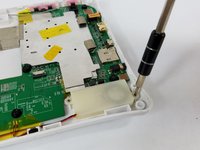
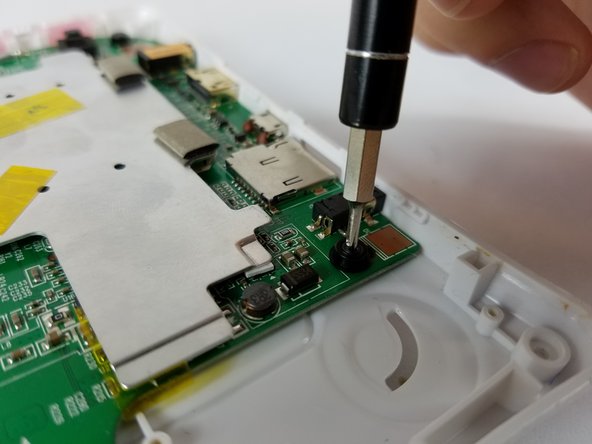
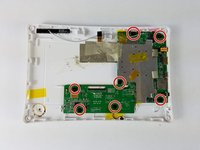
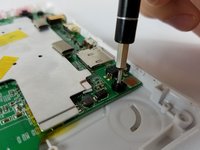
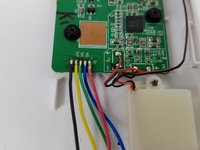
  11. Nabi 2 Charging Port Replacement, Motherboard: step 11, image 1 of 2 Nabi 2 Charging Port Replacement, Motherboard: step 11, image 2 of 2
    • Remove the seven 4 mm Phillips #000 screws with a PH#000 screwdriver

    Ask FixBot
    Add Comment

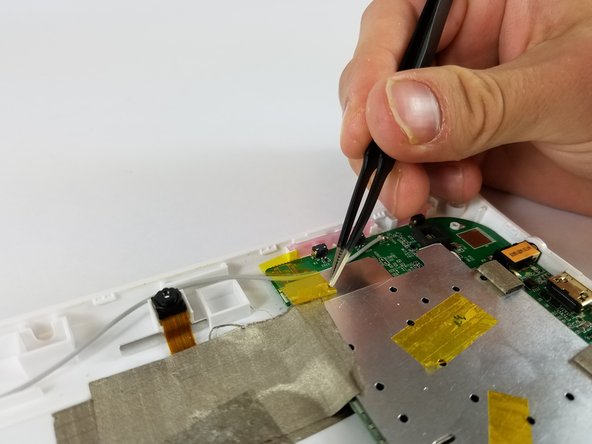
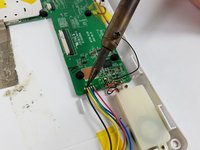
  12. Nabi 2 Charging Port Replacement: step 12, image 1 of 3 Nabi 2 Charging Port Replacement: step 12, image 2 of 3 Nabi 2 Charging Port Replacement: step 12, image 3 of 3
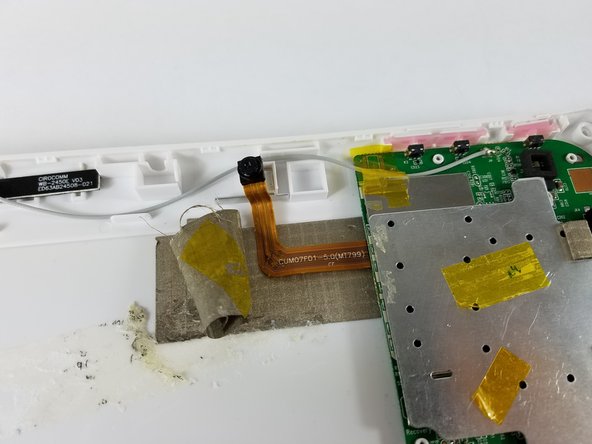
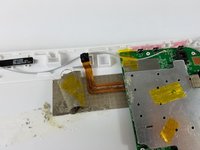
    • Remove the tape that is attaching the motherboard to the plastic casing

    Ask FixBot
    Add Comment

  13. Nabi 2 Charging Port Replacement: step 13, image 1 of 3 Nabi 2 Charging Port Replacement: step 13, image 2 of 3 Nabi 2 Charging Port Replacement: step 13, image 3 of 3
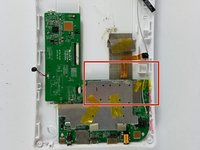
    • Remove the motherboard by lifting from the area indicated

    Ask FixBot
    Add Comment

  14. Nabi 2 Charging Port Replacement, Charging Port: step 14, image 1 of 3 Nabi 2 Charging Port Replacement, Charging Port: step 14, image 2 of 3 Nabi 2 Charging Port Replacement, Charging Port: step 14, image 3 of 3
    • Using a soldering iron, desolder the charging port from the motherboard

    • Remove the charging port completely

    • If the glue does not completely detach from the board, try to heat it until the charging port can be removed

    Ask FixBot

    Add Comment

Conclusion

To reassemble your device, follow these instructions in reverse order.

Cancel: I did not complete this guide.
Trevor Westergard

Member since: 02/10/16

204 Reputation

1 Guide authored

Team

USF Tampa, Team 4-3, Lacy Spring 2016 Member of USF Tampa, Team 4-3, Lacy Spring 2016

USFT-LACY-S16S4G3

4 Members

14 Guides authored

7 Guide Comments

I think you would be better to just through it away and get something else.
Brad Cobb - Reply Share

Naw they are still a handy fairly tough tablet for the kids shame about badly designed dc port I managed to find ports for it on ebay.

http://www.ebay.com/itm/dc-socket-port-j...

DotDotCom - Reply Share

send me a new nabi in the mail today

Deborah Cramer - Reply Share

A lot of unneeded work there. The power port is surface mount and and can be replaced without removing the PCB or anything else, but the back.

Donnie

Donnie - Reply Share

Do steps 1-3 above then 4 desolder power port and clean area then reverse order.

Donnie

Donnie - Reply Share

Add Comment

View Statistics:

Past 24 Hours: 0

Past 7 Days: 7

Past 30 Days: 55

All Time: 7,128