
Nabi 2 Screen Replacement

Michelle and 3 other contributors
Last updated on May 25, 2016
Views: 8.8K
View statistics:
- Past 24 Hours:
- 6
- Past 7 Days:
- 24
- Past 30 Days:
- 109
- All Time:
- 8,755
Comments: 6
2 comments on steps, 4 guide comments.
Go to guide commentsCompleted: 7 8
7 people have marked this guide "completed." Will you be next?
8 people have marked this guide "completed." Including you — great job!
Favorites: 1 2
1 person has favorited (and subscribed to) this guide. Will you be next?
2 people have favorited (and subscribed to) this guide — including you!
Action Shots
Be an action hero! This guide needs images that better demonstrate how to perform specific actions.
Introduction
Go to step 1 ↓Before beginning this guide we recommend following our Nabi 2 back cover removal guide.
This guide will walk you through the steps of replacing a cracked or otherwise non functioning screen on a Nabi 2. As the screen is glued to the front assembly, we recommend replacing the entire display assembly.
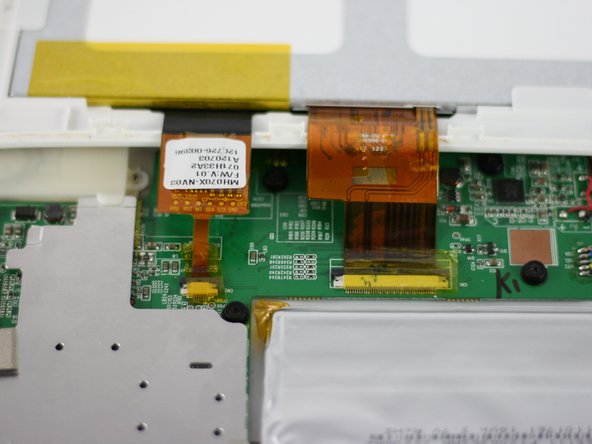
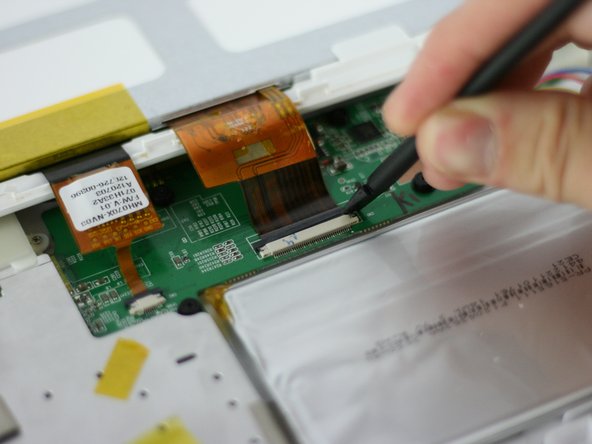
Be sure to use caution when releasing the clips that secure the display ribbon cables. Use a plastic spudger and push directly out, do not pry up on the clips, they will break.
What you need


-
-
-
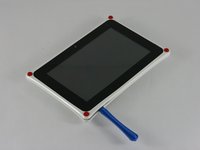
With a PH00 screwdriver, remove the four outermost screws from the back of the tablet.
-
-
-
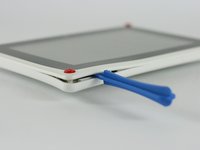
Carefully, insert a plastic opening tool into the seam of the device and begin gently prying the two plastic pieces apart.
-
Work the tool all the way around the device. Small plastic clips should release. If they do not, gently apply outwards pressure until the clips give.
-
-
-
-
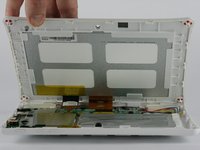
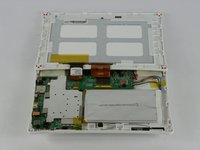
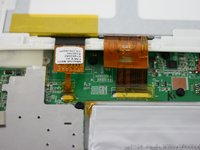
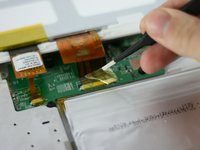
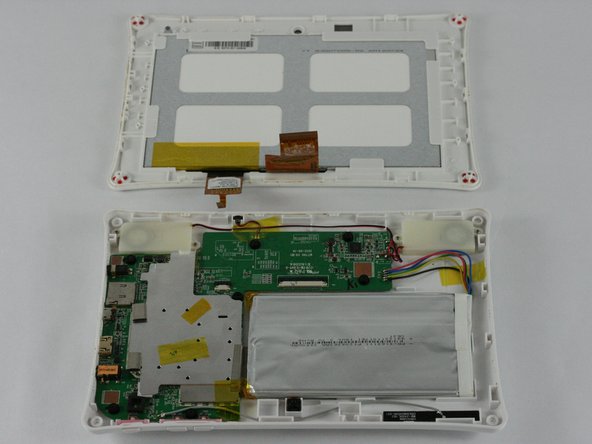
Lay the tablet down flat and remove the yellow tape from the ZIF connector on each side
-
-
-
-
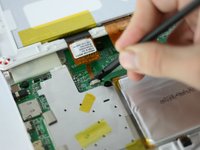
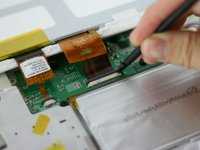
Using a spudger, slide the brown tab forward on each side of the connector
-
Slide until the connector is completely loose, then separate the screen from the bottom half of the tablet
-
If the screen is not working correctly, you will need to replace the entire display assembly
-
-


 Ask FixBot





To reassemble your device, follow these instructions in reverse order.
Cancel: I did not complete this guide.
7 other people completed this guide.

Team

USF Tampa, Team 4-3, Lacy Spring 2016 Member of USF Tampa, Team 4-3, Lacy Spring 2016
USFT-LACY-S16S4G3
4 Members
84 Guides authored
4 Guide Comments
Is the LCD glued to the front glass/digitizer?
It Worked Thank U So Much!!!
