Free Shipping on Domestic Orders $75+

NETGEAR WGT624 v3 Power Supply Replacement

What you need

  1. NETGEAR WGT624 v3 Power Supply Replacement, Lower Case: step 1, image 1 of 1
    • Turn the device so that the bottom is facing up.

    Ask FixBot

    Add Comment

  2. NETGEAR WGT624 v3 Power Supply Replacement: step 2, image 1 of 3 NETGEAR WGT624 v3 Power Supply Replacement: step 2, image 2 of 3 NETGEAR WGT624 v3 Power Supply Replacement: step 2, image 3 of 3
    • Use the plastic opening tool to carefully lift the rubber stops in each corner.

    • Do not completely remove the rubber stops, because they are difficult to replace.

    Ask FixBot

    Add Comment

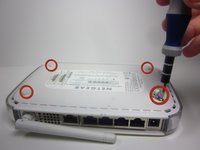
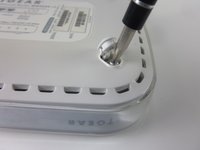
  3. NETGEAR WGT624 v3 Power Supply Replacement: step 3, image 1 of 2 NETGEAR WGT624 v3 Power Supply Replacement: step 3, image 2 of 2
    • Unscrew the 4 11.8 mm T-8 Torx screws from each corner of the device.

    Ask FixBot

    Add Comment

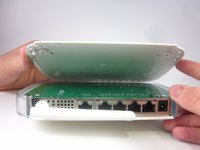
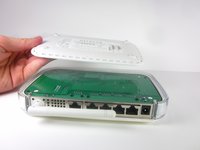
  4. NETGEAR WGT624 v3 Power Supply Replacement: step 4, image 1 of 2 NETGEAR WGT624 v3 Power Supply Replacement: step 4, image 2 of 2
    • Lift the lower case straight up from the rest of the router.

    Ask FixBot
    Add Comment

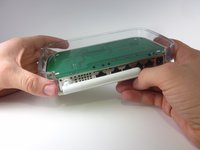
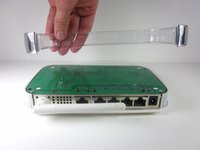
  5. NETGEAR WGT624 v3 Power Supply Replacement, Motherboard: step 5, image 1 of 2 NETGEAR WGT624 v3 Power Supply Replacement, Motherboard: step 5, image 2 of 2
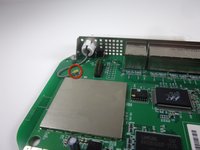
    • Remove the clear plastic casing by lifting it straight up from the router.

    Ask FixBot
    Add Comment

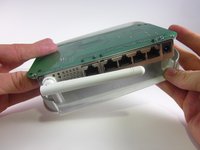
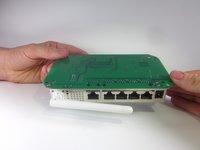
  6. NETGEAR WGT624 v3 Power Supply Replacement: step 6, image 1 of 2 NETGEAR WGT624 v3 Power Supply Replacement: step 6, image 2 of 2
    • Separate the motherboard from the top shell by lifting it straight up from the router.

    Ask FixBot
    Add Comment

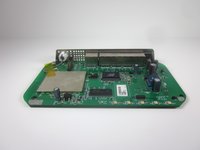
  7. NETGEAR WGT624 v3 Power Supply Replacement, Antenna: step 7, image 1 of 1
    • Turn the motherboard, so that the top is facing upwards.

    • Place the motherboard on a clean flat surface.

    Ask FixBot

    Add Comment

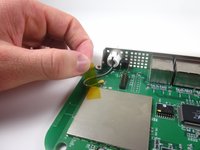
  8. NETGEAR WGT624 v3 Power Supply Replacement: step 8, image 1 of 2 NETGEAR WGT624 v3 Power Supply Replacement: step 8, image 2 of 2
    • Remove the yellow tape that holds the wire.

    • Make sure that you set the tape aside on a clean surface, so that it can be reused.

    Ask FixBot

    Add Comment

  9. NETGEAR WGT624 v3 Power Supply Replacement: step 9, image 1 of 3 NETGEAR WGT624 v3 Power Supply Replacement: step 9, image 2 of 3 NETGEAR WGT624 v3 Power Supply Replacement: step 9, image 3 of 3
    Tool used on this step:
    Tweezers
    $4.99
    Buy
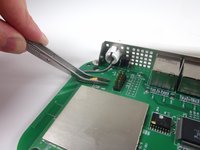
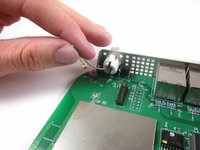
    • Use tweezers to gently pull the metal bracket that connects the antenna to the motherboard.

    • The wire should now be completely separate from the motherboard.

    Ask FixBot

    Add Comment

  10. NETGEAR WGT624 v3 Power Supply Replacement: step 10, image 1 of 1
    • Extend the antenna away from the device, so that it becomes straight.

    Ask FixBot

    Add Comment
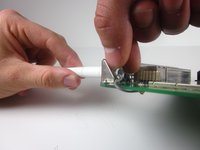
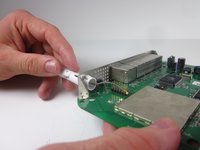
  11. NETGEAR WGT624 v3 Power Supply Replacement: step 11, image 1 of 3 NETGEAR WGT624 v3 Power Supply Replacement: step 11, image 2 of 3 NETGEAR WGT624 v3 Power Supply Replacement: step 11, image 3 of 3
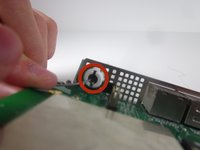
    • Find the clips that hold the antenna onto the router.

    • Use one hand to push the clips in, while using your other hand to pull out the antenna. You may need to gently twist the antenna so it can separate from the hole.

    • The antenna may take considerable force to remove.

    Ask FixBot

    Add Comment

  12. NETGEAR WGT624 v3 Power Supply Replacement: step 12, image 1 of 1
    • Completely separate the antenna and wire from the rest of the device.

    Ask FixBot

    Add Comment

  13. NETGEAR WGT624 v3 Power Supply Replacement, Power Supply: step 13, image 1 of 1
    • Unscrew the two 5 mm Phillips Head screws located at the front corners of the motherboard.

    Ask FixBot

    Add Comment

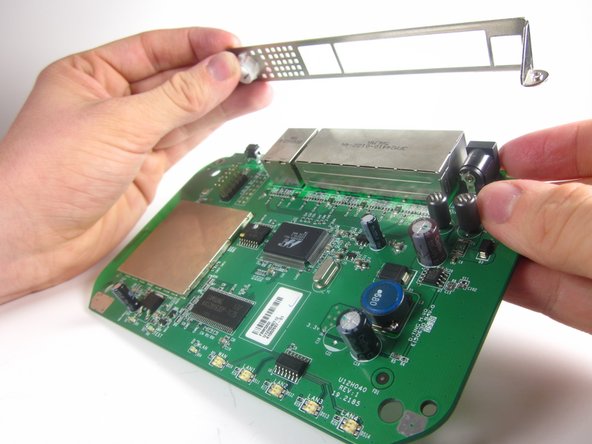
  14. NETGEAR WGT624 v3 Power Supply Replacement: step 14, image 1 of 2 NETGEAR WGT624 v3 Power Supply Replacement: step 14, image 2 of 2
    • Take off the metal frame.

    Ask FixBot

    Add Comment

  15. NETGEAR WGT624 v3 Power Supply Replacement: step 15, image 1 of 1
    • Turn over the motherboard, so that the bottom is facing up.

    Ask FixBot

    Add Comment

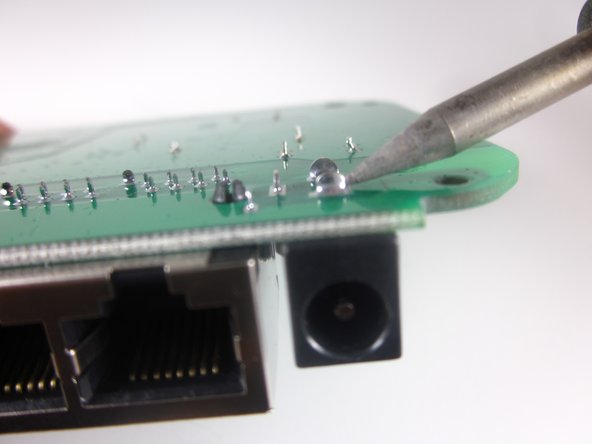
  16. NETGEAR WGT624 v3 Power Supply Replacement: step 16, image 1 of 2 NETGEAR WGT624 v3 Power Supply Replacement: step 16, image 2 of 2
    • Do not refer to the pictures in this step for correct soldering and de-soldering techniques. They are solely for illustration purposes.

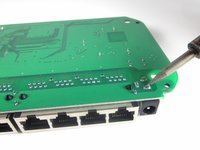
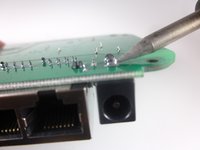
    • Desolder the three connections between the reset button and the motherboard

    • For proper soldering and desoldering techniques, refer here.

    • Pull the power source from the other side of the mother board once the solder is liquid.

    Ask FixBot

    Add Comment

Conclusion

To reassemble your device, follow these instructions in reverse order.

Cancel: I did not complete this guide.

Nicole Slagle

Member since: 01/25/13

83 Reputation

2 Guides authored

Team

Cal Poly, Team 3-31, Amido Winter 2013 Member of Cal Poly, Team 3-31, Amido Winter 2013

CPSU-AMIDO-W13S3G31

3 Members

12 Guides authored

0 Guide Comments

Add Comment

View Statistics:

Past 24 Hours: 1

Past 7 Days: 5

Past 30 Days: 31

All Time: 2,153