Free Shipping on Domestic Orders $75+

NEC LCD1770NX Screen Replacement

What you need

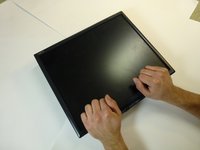
  1. NEC LCD1770NX Screen Replacement, Stand: step 1, image 1 of 2 NEC LCD1770NX Screen Replacement, Stand: step 1, image 2 of 2
    • Place the monitor face down on a clean, flat surface.

    Ask FixBot
    Add Comment

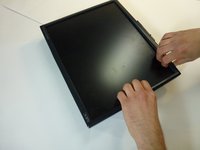
  2. NEC LCD1770NX Screen Replacement: step 2, image 1 of 2 NEC LCD1770NX Screen Replacement: step 2, image 2 of 2
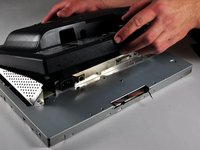
    • Firmly remove the back panel of the stand by pulling it up and away from the monitor.

    Ask FixBot

    Add Comment

  3. NEC LCD1770NX Screen Replacement: step 3, image 1 of 2 NEC LCD1770NX Screen Replacement: step 3, image 2 of 2
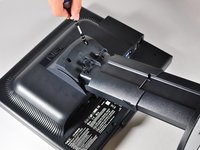
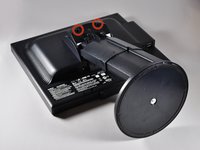
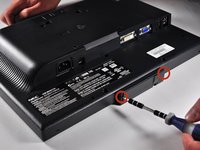
    • Unscrew the two 6mm Phillips PH2 screws to detach the stand enclosure from the stand.

    Ask FixBot
    Add Comment

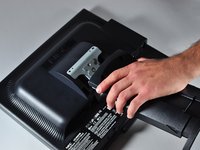
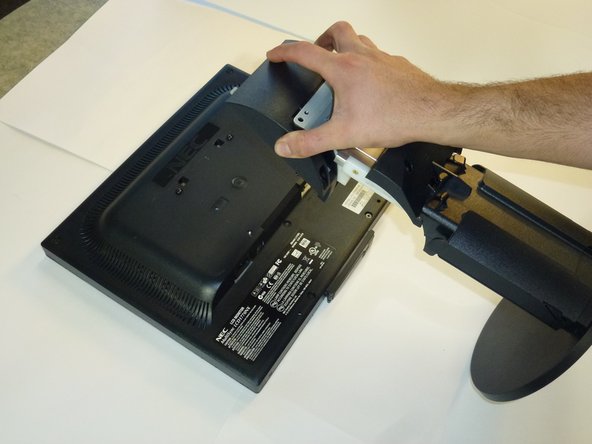
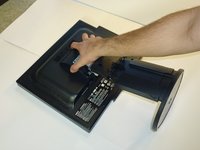
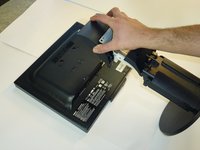
  4. NEC LCD1770NX Screen Replacement: step 4, image 1 of 2 NEC LCD1770NX Screen Replacement: step 4, image 2 of 2
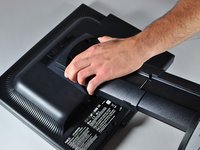
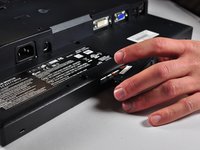
    • Firmly grasp the stand enclosure with your hand and slide it to base of stand.

    Ask FixBot
    Add Comment

  5. NEC LCD1770NX Screen Replacement: step 5, image 1 of 1
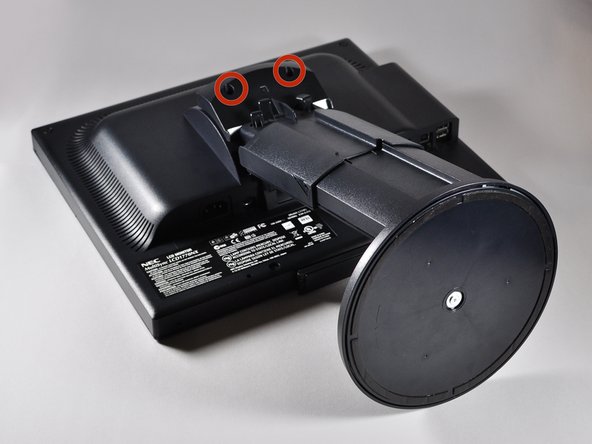
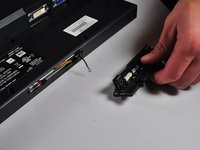
    • Unscrew the two 14.5mm Phillips PH2 screws holding the stand to the monitor.

    Ask FixBot
    Add Comment

  6. NEC LCD1770NX Screen Replacement: step 6, image 1 of 2 NEC LCD1770NX Screen Replacement: step 6, image 2 of 2
    • Lift the the stand straight up to remove it.

    Ask FixBot

    Add Comment

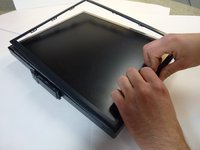
  7. NEC LCD1770NX Screen Replacement, Monitor Enclosure: step 7, image 1 of 3 NEC LCD1770NX Screen Replacement, Monitor Enclosure: step 7, image 2 of 3 NEC LCD1770NX Screen Replacement, Monitor Enclosure: step 7, image 3 of 3
    • Place the monitor screen face up.

    • Pull the frame off by placing your fingers on the inside of the frame and pulling out and up, the frame should snap off.

    • Continue your way around the screen.

    Ask FixBot

    Add Comment

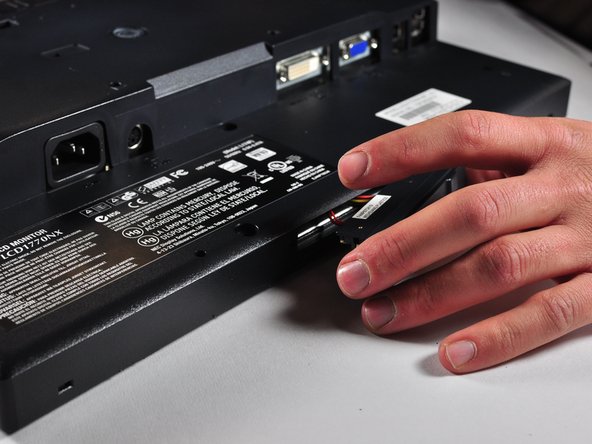
  8. NEC LCD1770NX Screen Replacement: step 8, image 1 of 3 NEC LCD1770NX Screen Replacement: step 8, image 2 of 3 NEC LCD1770NX Screen Replacement: step 8, image 3 of 3
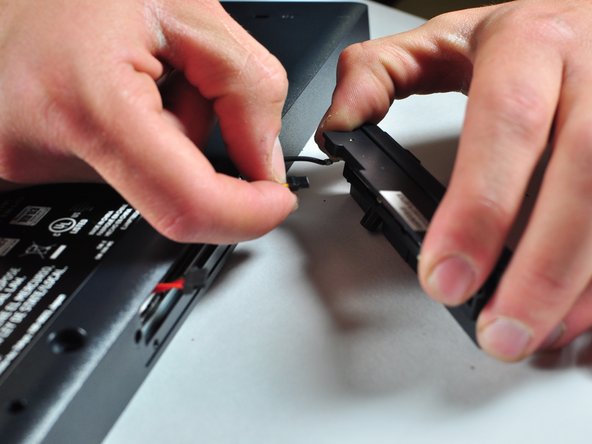
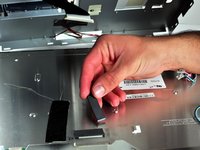
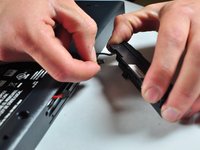
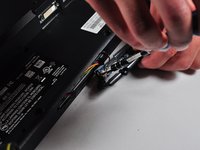
    • Unscrew the two 7mm screws from the bottom of the button assembly.

    • Do not pull the button assembly out too quickly or with too much force! Damage to the wires can occur.

    • Pull the button assembly out a few inches and unplug the colored cables.

    Ask FixBot

    Add Comment

  9. NEC LCD1770NX Screen Replacement: step 9, image 1 of 2 NEC LCD1770NX Screen Replacement: step 9, image 2 of 2
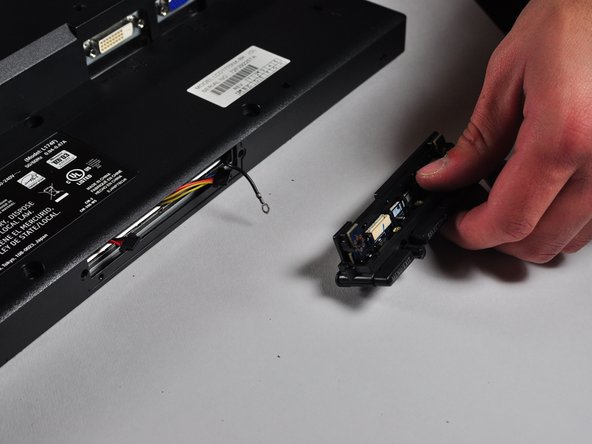
    • Unscrew the gold colored 7mm Phillips PH000 screw holding the button assembly to the monitor.

    • Remove the button assembly from the monitor.

    Ask FixBot

    Add Comment

  10. NEC LCD1770NX Screen Replacement: step 10, image 1 of 1
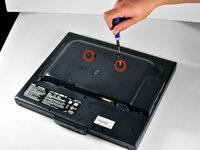
    • With the monitor face-down, unscrew the 5 7mm Phillips PH2 screws around the outside of the enclosure.

    Ask FixBot
    Add Comment
  11. NEC LCD1770NX Screen Replacement: step 11, image 1 of 3 NEC LCD1770NX Screen Replacement: step 11, image 2 of 3 NEC LCD1770NX Screen Replacement: step 11, image 3 of 3
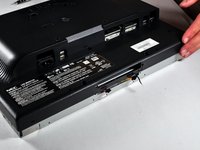
    • Unscrew the 2 14.5mm Phillips PH2 screws located on the raised center of the enclosure.

    • Carefully pull the enclosure off the monitor.

    Ask FixBot

    Add Comment

  12. NEC LCD1770NX Screen Replacement: step 12, image 1 of 2 NEC LCD1770NX Screen Replacement: step 12, image 2 of 2
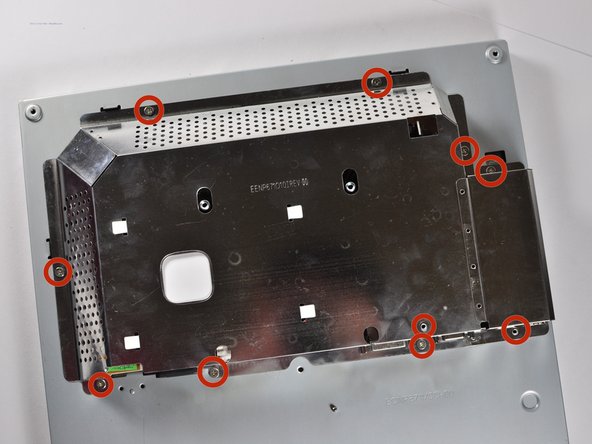
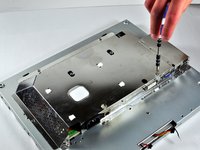
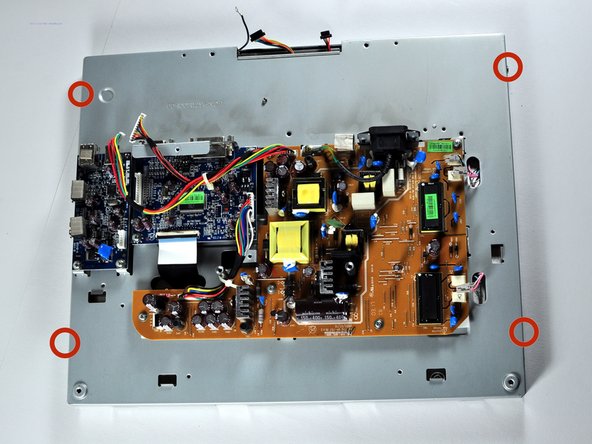
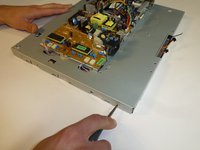
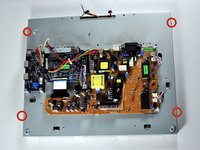
    • Unscrew the 10 5mm Philips PH2 screws holding the metal casing to the monitor.

    Ask FixBot

    Add Comment

  13. NEC LCD1770NX Screen Replacement: step 13, image 1 of 2 NEC LCD1770NX Screen Replacement: step 13, image 2 of 2
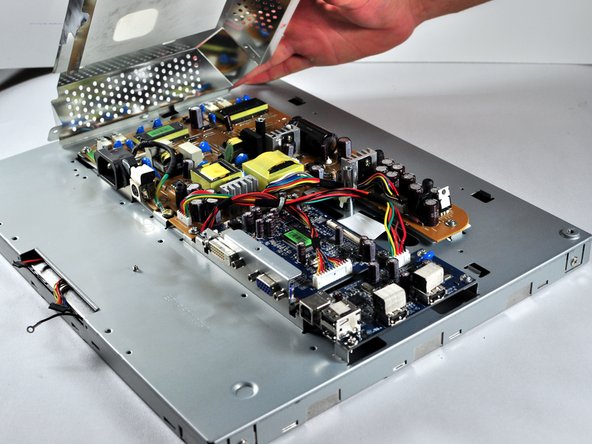
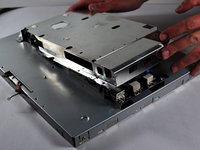
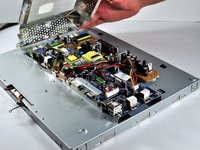
    • Pull the the metal casing off of the monitor to reveal the motherboards.

    Ask FixBot

    Add Comment

  14. NEC LCD1770NX Screen Replacement, Screen: step 14, image 1 of 2 NEC LCD1770NX Screen Replacement, Screen: step 14, image 2 of 2
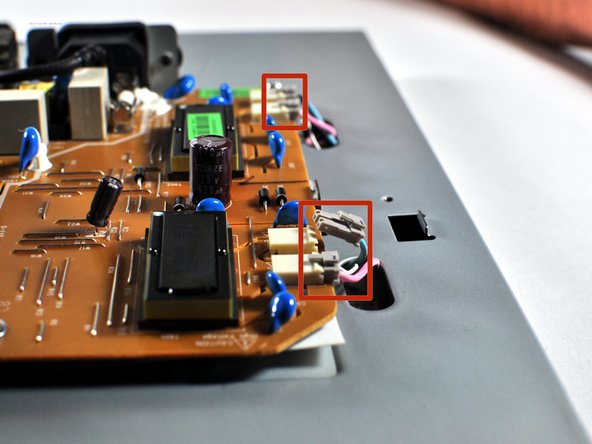
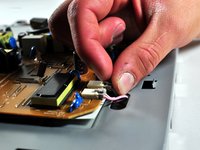
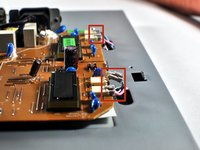
    • Unplug the pink and light blue attachments from the side of the brown board by pulling up on the tabs and gently pulling the cord out.

    • Label where the plugs go.

    Ask FixBot

    Add Comment

  15. NEC LCD1770NX Screen Replacement: step 15, image 1 of 2 NEC LCD1770NX Screen Replacement: step 15, image 2 of 2
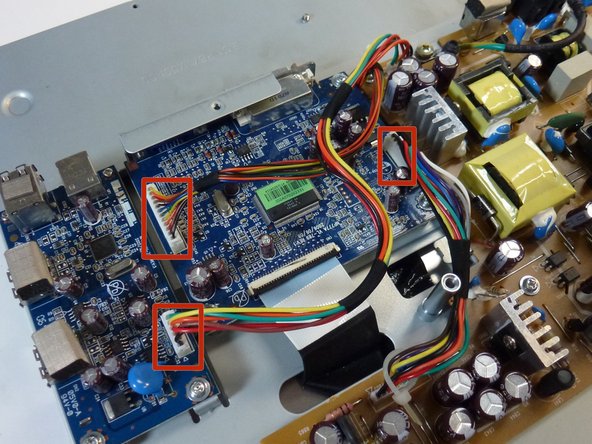
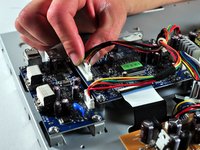
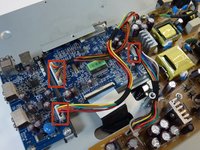
    • Unplug the 3 multicolored cables from the blue board by gently wiggling them back and forth while pulling up.

    Ask FixBot

    Add Comment

  16. NEC LCD1770NX Screen Replacement: step 16, image 1 of 2 NEC LCD1770NX Screen Replacement: step 16, image 2 of 2
    • Unscrew the 4 5mm Phillips PH2 screws on the sides of the monitor.

    Ask FixBot

    Add Comment

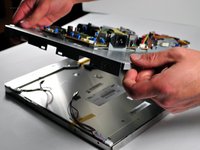
  17. NEC LCD1770NX Screen Replacement: step 17, image 1 of 3 NEC LCD1770NX Screen Replacement: step 17, image 2 of 3 NEC LCD1770NX Screen Replacement: step 17, image 3 of 3
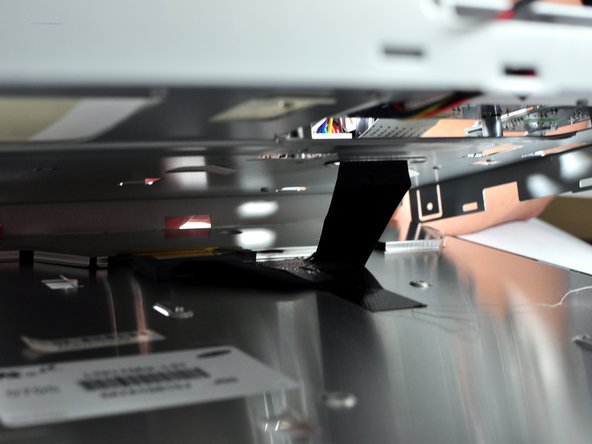
    • Begin opening the enclosure by slowing pulling up on back panel of the monitor.

    • The enclosure should still be attached by a cable; this cable is held down by tape. Remove this tape.

    Ask FixBot

    Add Comment

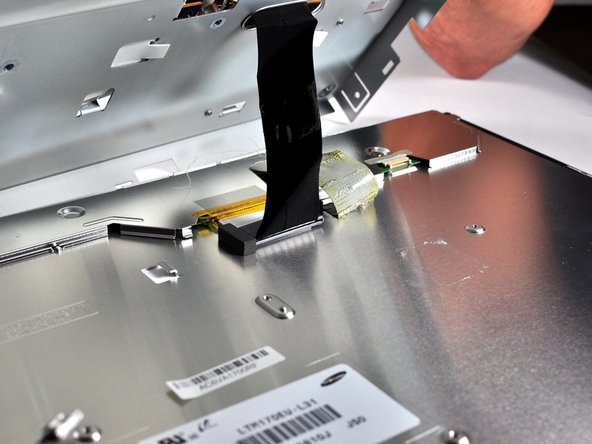
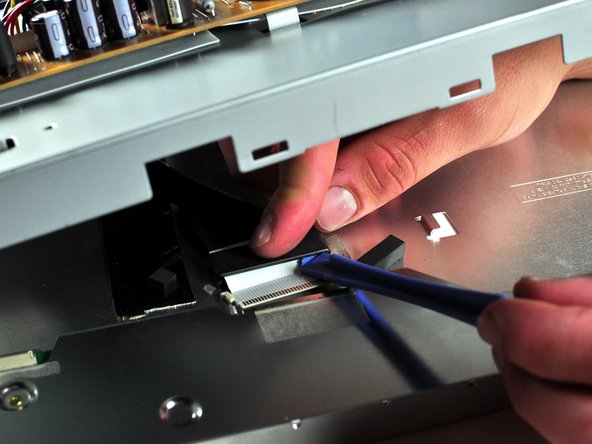
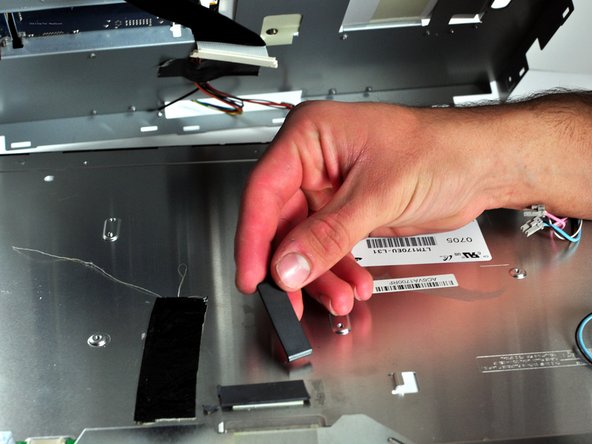
  18. NEC LCD1770NX Screen Replacement: step 18, image 1 of 3 NEC LCD1770NX Screen Replacement: step 18, image 2 of 3 NEC LCD1770NX Screen Replacement: step 18, image 3 of 3
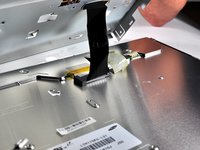
    • Unplug the cable from the screen. It is still attached by a fragile black belt.

    • Use a spudger to break the black ceramic belt to free the screen from the rest, allowing it to be replaced.

    Ask FixBot

    Add Comment

Conclusion

To reassemble your device, follow these instructions in reverse order.

Cancel: I did not complete this guide.

John Patterson

Member since: 10/19/13

271 Reputation

2 Guides authored

Team

Cal Poly, Team 11-36, Amido Fall 2013 Member of Cal Poly, Team 11-36, Amido Fall 2013

CPSU-AMIDO-F13S11G36

5 Members

7 Guides authored

1 Guide Comment

Thank you very much for this tutorial. The steps are very specific and detailed. I bought a new NEC LCD1770NX LCD Display Screen online and installed it according to the steps in the article. Finally, the machine worked normally again. Thank you very much.

sean - Reply Share

Add Comment

View Statistics:

Past 24 Hours: 0

Past 7 Days: 8

Past 30 Days: 32

All Time: 2,323