Free Shipping on Domestic Orders $75+

NEC LCD1770NX Power Input Replacement

What you need

  1. NEC LCD1770NX Power Input Replacement, Stand: step 1, image 1 of 2 NEC LCD1770NX Power Input Replacement, Stand: step 1, image 2 of 2
    • Place the monitor face down on a clean, flat surface.

    Ask FixBot
    Add Comment

  2. NEC LCD1770NX Power Input Replacement: step 2, image 1 of 2 NEC LCD1770NX Power Input Replacement: step 2, image 2 of 2
    • Firmly remove the back panel of the stand by pulling it up and away from the monitor.

    Ask FixBot

    Add Comment

  3. NEC LCD1770NX Power Input Replacement: step 3, image 1 of 2 NEC LCD1770NX Power Input Replacement: step 3, image 2 of 2
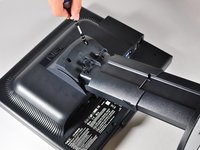
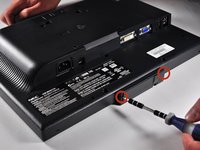
    • Unscrew the two 6mm Phillips PH2 screws to detach the stand enclosure from the stand.

    Ask FixBot
    Add Comment

  4. NEC LCD1770NX Power Input Replacement: step 4, image 1 of 2 NEC LCD1770NX Power Input Replacement: step 4, image 2 of 2
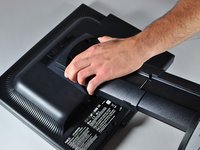
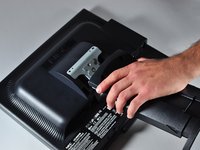
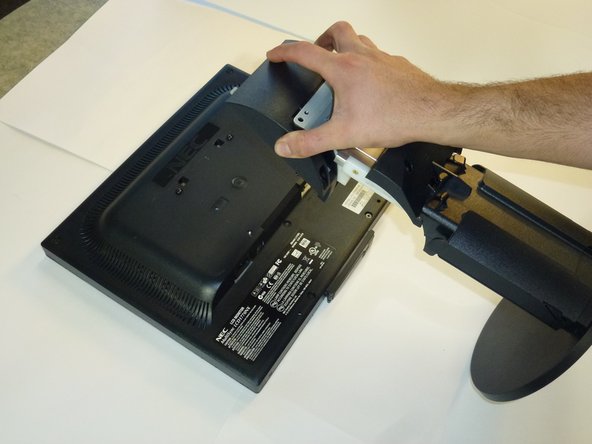
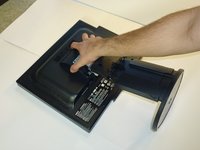
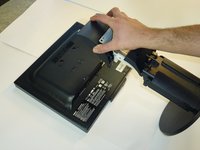
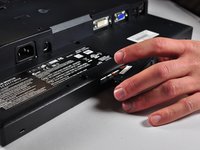
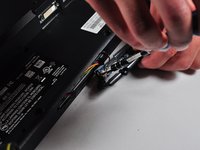
    • Firmly grasp the stand enclosure with your hand and slide it to base of stand.

    Ask FixBot
    Add Comment

  5. NEC LCD1770NX Power Input Replacement: step 5, image 1 of 1
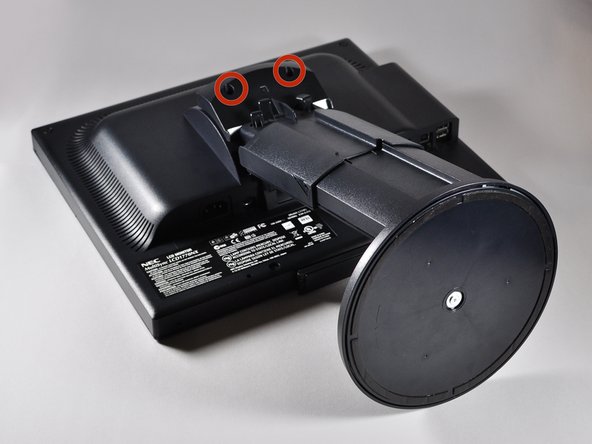
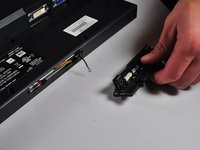
    • Unscrew the two 14.5mm Phillips PH2 screws holding the stand to the monitor.

    Ask FixBot
    Add Comment

  6. NEC LCD1770NX Power Input Replacement: step 6, image 1 of 2 NEC LCD1770NX Power Input Replacement: step 6, image 2 of 2
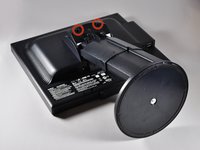
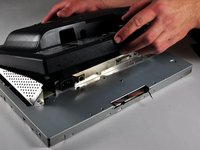
    • Lift the the stand straight up to remove it.

    Ask FixBot

    Add Comment

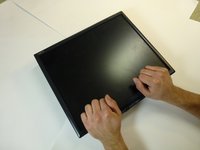
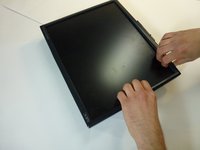
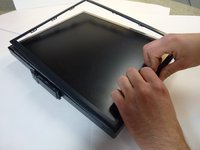
  7. NEC LCD1770NX Power Input Replacement, Monitor Enclosure: step 7, image 1 of 3 NEC LCD1770NX Power Input Replacement, Monitor Enclosure: step 7, image 2 of 3 NEC LCD1770NX Power Input Replacement, Monitor Enclosure: step 7, image 3 of 3
    • Place the monitor screen face up.

    • Pull the frame off by placing your fingers on the inside of the frame and pulling out and up, the frame should snap off.

    • Continue your way around the screen.

    Ask FixBot

    Add Comment

  8. NEC LCD1770NX Power Input Replacement: step 8, image 1 of 3 NEC LCD1770NX Power Input Replacement: step 8, image 2 of 3 NEC LCD1770NX Power Input Replacement: step 8, image 3 of 3
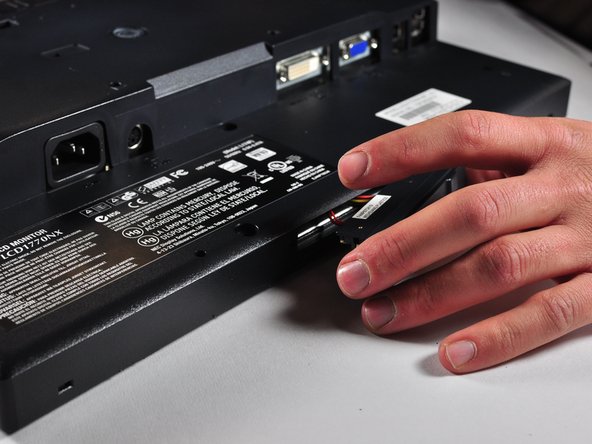
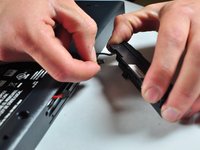
    • Unscrew the two 7mm screws from the bottom of the button assembly.

    • Do not pull the button assembly out too quickly or with too much force! Damage to the wires can occur.

    • Pull the button assembly out a few inches and unplug the colored cables.

    Ask FixBot

    Add Comment

  9. NEC LCD1770NX Power Input Replacement: step 9, image 1 of 2 NEC LCD1770NX Power Input Replacement: step 9, image 2 of 2
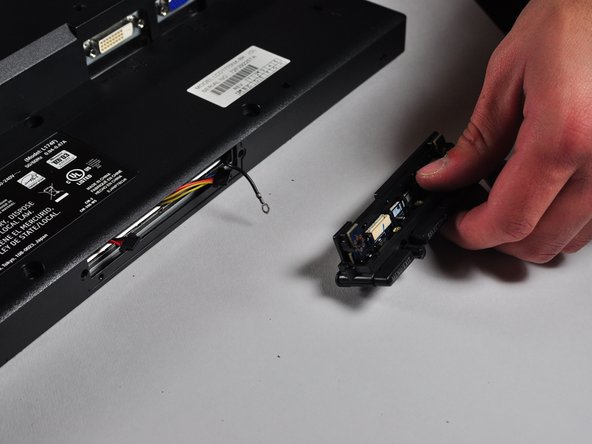
    • Unscrew the gold colored 7mm Phillips PH000 screw holding the button assembly to the monitor.

    • Remove the button assembly from the monitor.

    Ask FixBot

    Add Comment

  10. NEC LCD1770NX Power Input Replacement: step 10, image 1 of 1
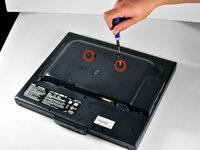
    • With the monitor face-down, unscrew the 5 7mm Phillips PH2 screws around the outside of the enclosure.

    Ask FixBot
    Add Comment
  11. NEC LCD1770NX Power Input Replacement: step 11, image 1 of 3 NEC LCD1770NX Power Input Replacement: step 11, image 2 of 3 NEC LCD1770NX Power Input Replacement: step 11, image 3 of 3
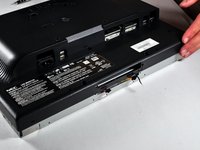
    • Unscrew the 2 14.5mm Phillips PH2 screws located on the raised center of the enclosure.

    • Carefully pull the enclosure off the monitor.

    Ask FixBot

    Add Comment

  12. NEC LCD1770NX Power Input Replacement: step 12, image 1 of 2 NEC LCD1770NX Power Input Replacement: step 12, image 2 of 2
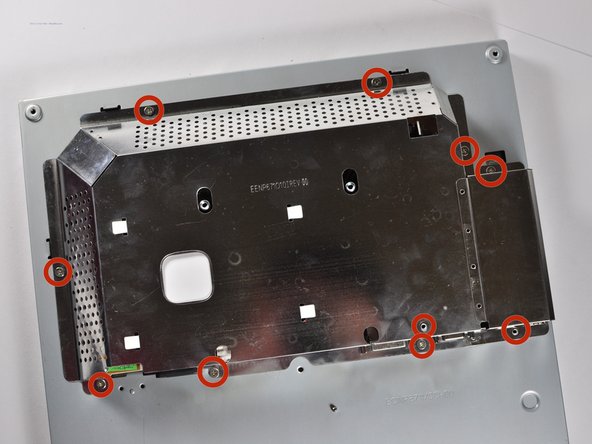
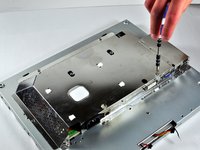
    • Unscrew the 10 5mm Philips PH2 screws holding the metal casing to the monitor.

    Ask FixBot

    Add Comment

  13. NEC LCD1770NX Power Input Replacement: step 13, image 1 of 2 NEC LCD1770NX Power Input Replacement: step 13, image 2 of 2
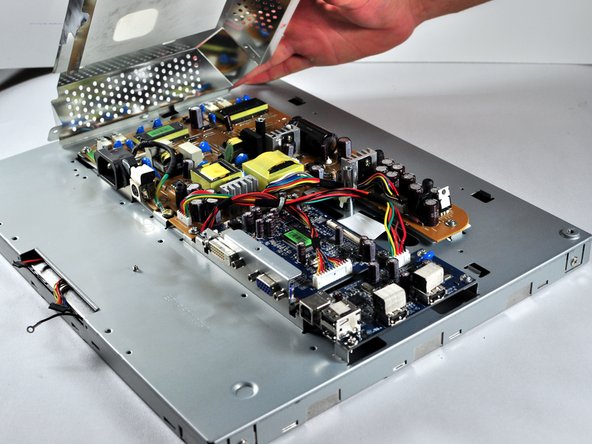
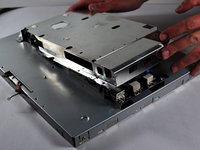
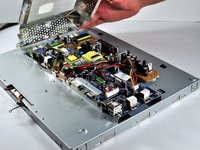
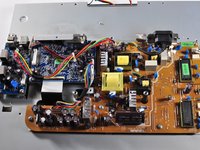
    • Pull the the metal casing off of the monitor to reveal the motherboards.

    Ask FixBot

    Add Comment

  14. NEC LCD1770NX Power Input Replacement, Power Circuit Board: step 14, image 1 of 3 NEC LCD1770NX Power Input Replacement, Power Circuit Board: step 14, image 2 of 3 NEC LCD1770NX Power Input Replacement, Power Circuit Board: step 14, image 3 of 3
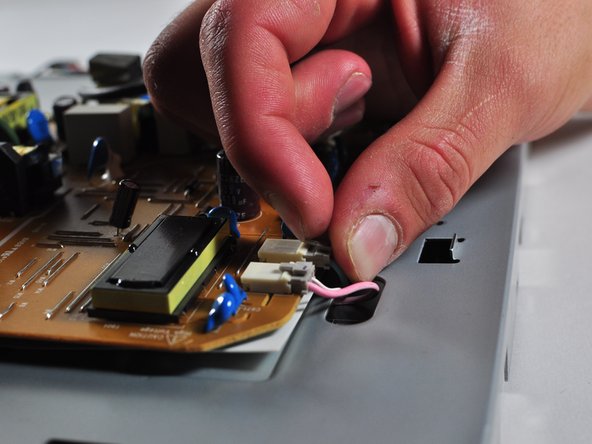
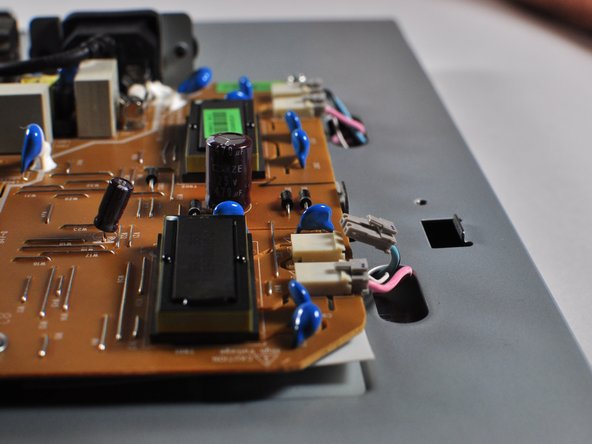
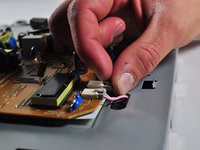
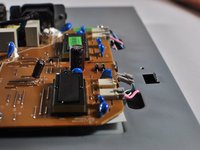
    • Make a note or use a pen to mark which plugs correspond to which colors. (Pink or Blue)

    • Remove the four plugs on the brown circuit board by pulling up on the tabs and wiggling them out. You could also use a spudger to help you lift little clips holding them in.

    Ask FixBot

    Add Comment

  15. NEC LCD1770NX Power Input Replacement: step 15, image 1 of 3 NEC LCD1770NX Power Input Replacement: step 15, image 2 of 3 NEC LCD1770NX Power Input Replacement: step 15, image 3 of 3
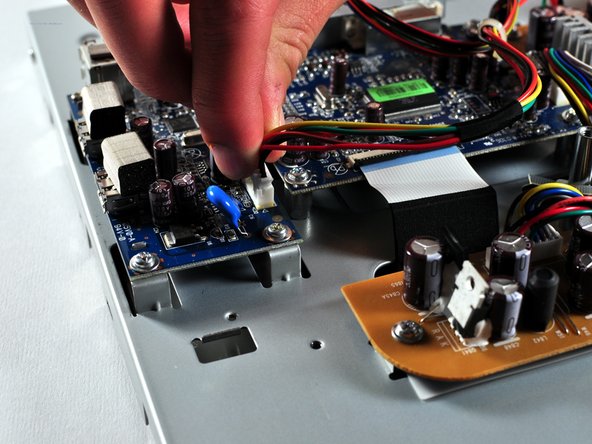
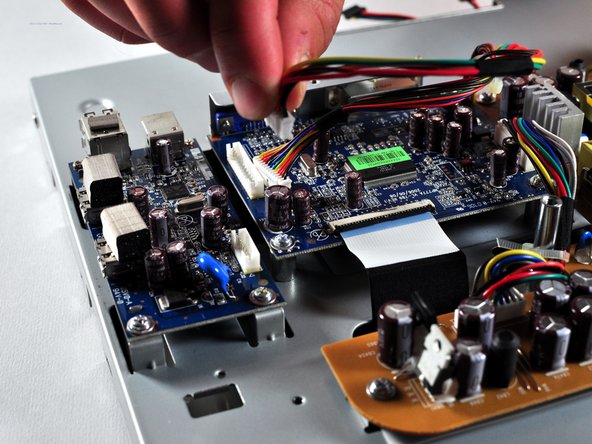
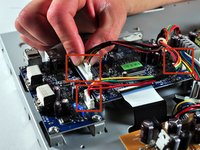
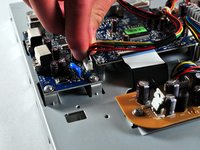
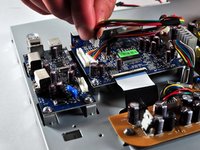
    • Locate the several multi-wire connectors on the board.

    • These connect several parts of each board together and consist of several different colors of wires. There is also a zip-tie holding the two sets of wires together that you can cut if it is getting in your way.

    • Disconnect the three plastic connectors from the blue colored boards by pulling them up while wiggling them.

    • Some force is necessary, it may also help to use the Large Needle Nose Pliers.

    Ask FixBot

    Add Comment

  16. NEC LCD1770NX Power Input Replacement: step 16, image 1 of 1
    Tool used on this step:
    Phillips #1 Screwdriver
    $5.49
    Buy
    • Locate the large black power plug.

    • Using a Phillips #1 Screwdriver, unscrew the two 8mm colts holding the black tabs to the metal frame.

    Ask FixBot

    Add Comment

  17. NEC LCD1770NX Power Input Replacement: step 17, image 1 of 1
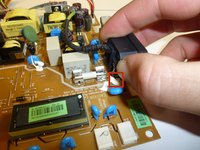
    • Locate and remove the gold colored 10mm Philips screw located near the black power plug. It holds in a wire that connects to the power plug.

    Ask FixBot

    Add Comment

  18. NEC LCD1770NX Power Input Replacement: step 18, image 1 of 2 NEC LCD1770NX Power Input Replacement: step 18, image 2 of 2
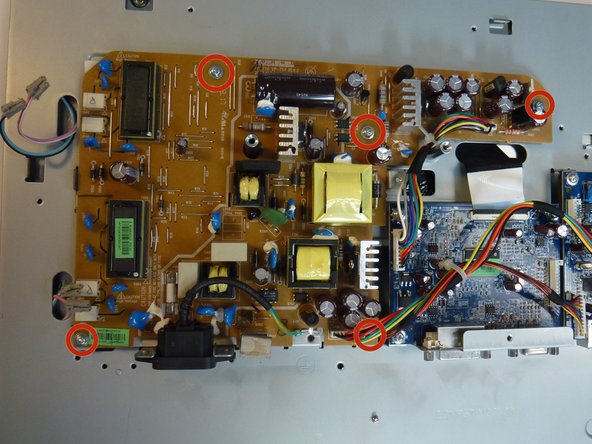
    • Remove 5 8mm Phillip1 screws, with a Philips 1 screwdriver, located in various places on the board.

    Ask FixBot

    Add Comment

  19. NEC LCD1770NX Power Input Replacement: step 19, image 1 of 2 NEC LCD1770NX Power Input Replacement: step 19, image 2 of 2
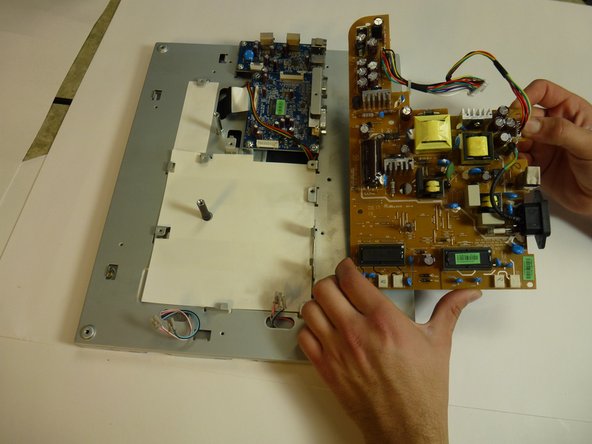
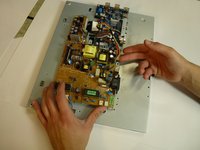
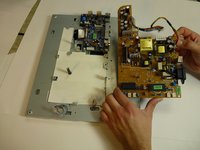
    • Lift the brown power supply board off of the frame and set it aside.

    Ask FixBot

    Add Comment

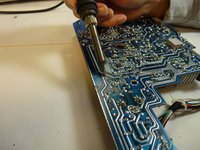
  20. NEC LCD1770NX Power Input Replacement, Power Input: step 20, image 1 of 2 NEC LCD1770NX Power Input Replacement, Power Input: step 20, image 2 of 2
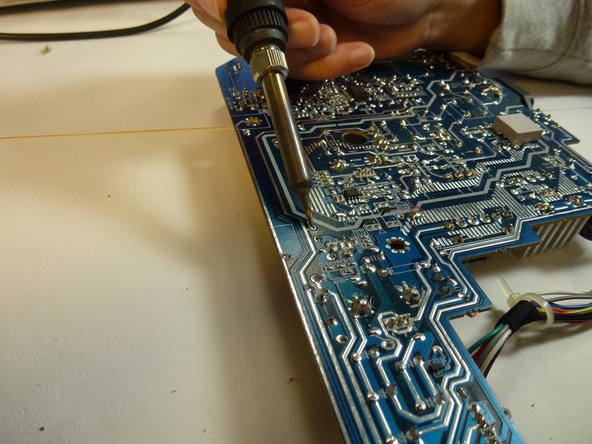
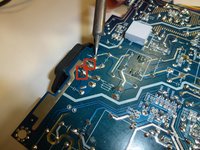
    • Remove the solder from the three joints attached to the power input.

    Ask FixBot

    Add Comment

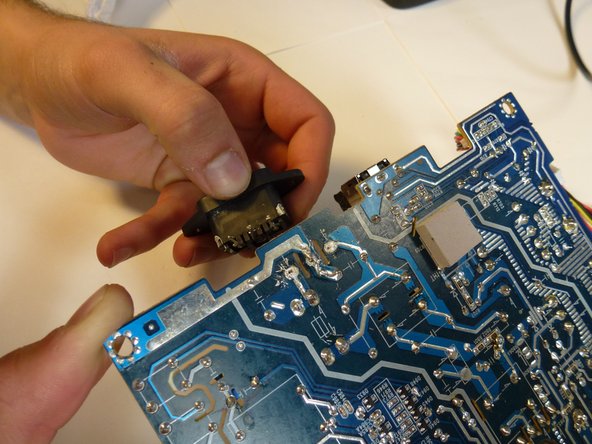
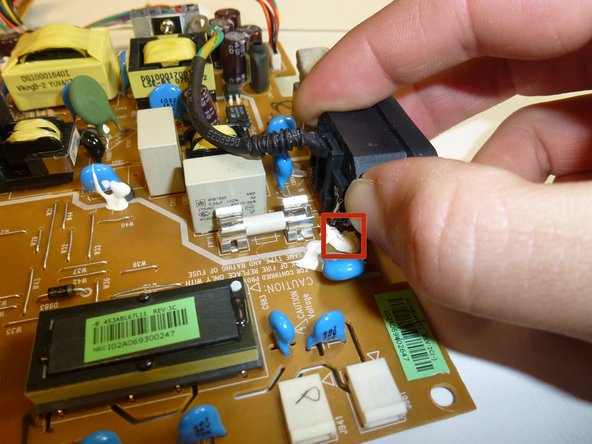
  21. NEC LCD1770NX Power Input Replacement: step 21, image 1 of 3 NEC LCD1770NX Power Input Replacement: step 21, image 2 of 3 NEC LCD1770NX Power Input Replacement: step 21, image 3 of 3
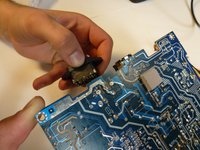
    • Grab hold of the power supply jack and remove it from the power supply board.

    • A little force and a wiggling action may be needed to remove the power supply jack from the glue.

    Ask FixBot

    Add Comment

Conclusion

To reassemble your device, follow these instructions in reverse order.

Cancel: I did not complete this guide.

One other person completed this guide.

Charlie Mohr

Member since: 10/21/13

359 Reputation

3 Guides authored

Team

Cal Poly, Team 11-36, Amido Fall 2013 Member of Cal Poly, Team 11-36, Amido Fall 2013

CPSU-AMIDO-F13S11G36

5 Members

7 Guides authored

0 Guide Comments

Add Comment

View Statistics:

Past 24 Hours: 0

Past 7 Days: 13

Past 30 Days: 55

All Time: 2,359