Free Shipping on Domestic Orders $75+

NEC LCD1770NX Capacitor Replacement

What you need

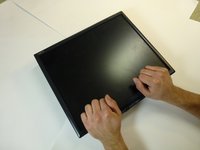
  1. NEC LCD1770NX Capacitor Replacement, Stand: step 1, image 1 of 2 NEC LCD1770NX Capacitor Replacement, Stand: step 1, image 2 of 2
    • Place the monitor face down on a clean, flat surface.

    Ask FixBot
    Add Comment

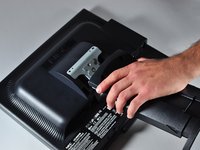
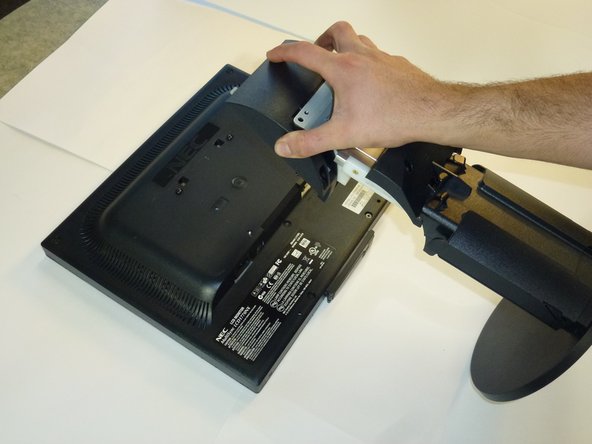
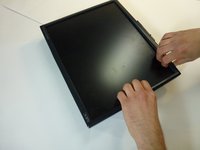
  2. NEC LCD1770NX Capacitor Replacement: step 2, image 1 of 2 NEC LCD1770NX Capacitor Replacement: step 2, image 2 of 2
    • Firmly remove the back panel of the stand by pulling it up and away from the monitor.

    Ask FixBot

    Add Comment

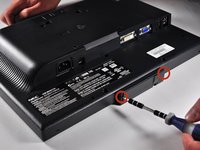
  3. NEC LCD1770NX Capacitor Replacement: step 3, image 1 of 2 NEC LCD1770NX Capacitor Replacement: step 3, image 2 of 2
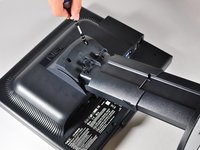
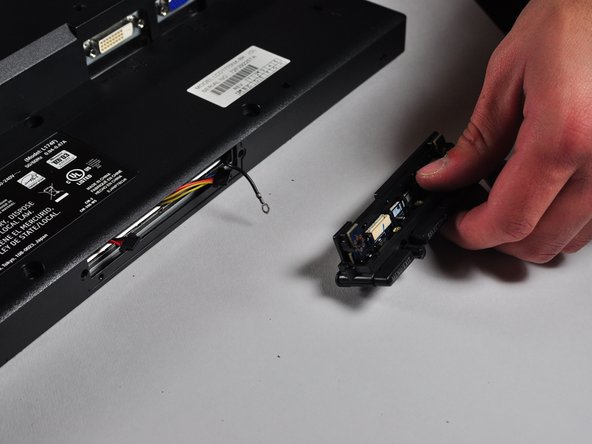
    • Unscrew the two 6mm Phillips PH2 screws to detach the stand enclosure from the stand.

    Ask FixBot
    Add Comment

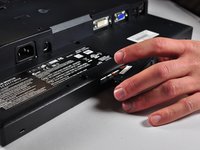
  4. NEC LCD1770NX Capacitor Replacement: step 4, image 1 of 2 NEC LCD1770NX Capacitor Replacement: step 4, image 2 of 2
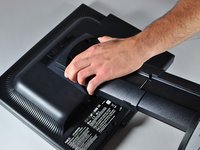
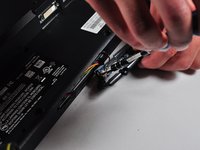
    • Firmly grasp the stand enclosure with your hand and slide it to base of stand.

    Ask FixBot
    Add Comment

  5. NEC LCD1770NX Capacitor Replacement: step 5, image 1 of 1
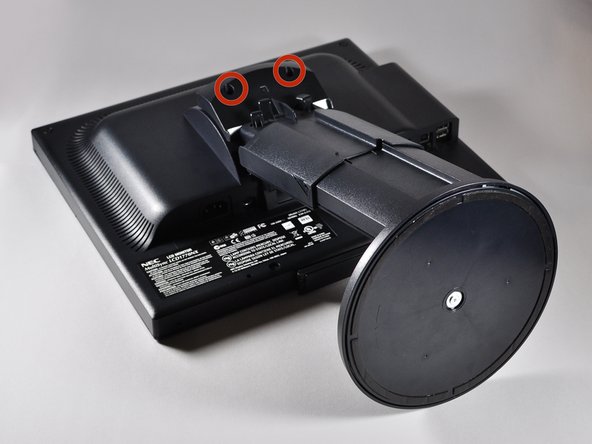
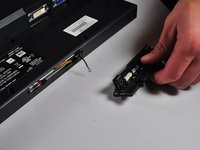
    • Unscrew the two 14.5mm Phillips PH2 screws holding the stand to the monitor.

    Ask FixBot
    Add Comment

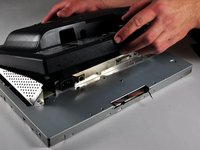
  6. NEC LCD1770NX Capacitor Replacement: step 6, image 1 of 2 NEC LCD1770NX Capacitor Replacement: step 6, image 2 of 2
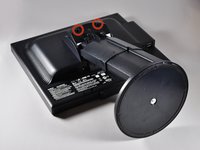
    • Lift the the stand straight up to remove it.

    Ask FixBot

    Add Comment

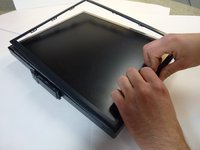
  7. NEC LCD1770NX Capacitor Replacement, Monitor Enclosure: step 7, image 1 of 3 NEC LCD1770NX Capacitor Replacement, Monitor Enclosure: step 7, image 2 of 3 NEC LCD1770NX Capacitor Replacement, Monitor Enclosure: step 7, image 3 of 3
    • Place the monitor screen face up.

    • Pull the frame off by placing your fingers on the inside of the frame and pulling out and up, the frame should snap off.

    • Continue your way around the screen.

    Ask FixBot

    Add Comment

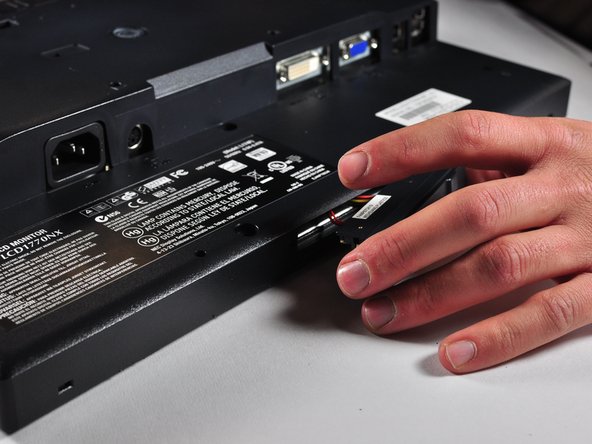
  8. NEC LCD1770NX Capacitor Replacement: step 8, image 1 of 3 NEC LCD1770NX Capacitor Replacement: step 8, image 2 of 3 NEC LCD1770NX Capacitor Replacement: step 8, image 3 of 3
    • Unscrew the two 7mm screws from the bottom of the button assembly.

    • Do not pull the button assembly out too quickly or with too much force! Damage to the wires can occur.

    • Pull the button assembly out a few inches and unplug the colored cables.

    Ask FixBot

    Add Comment

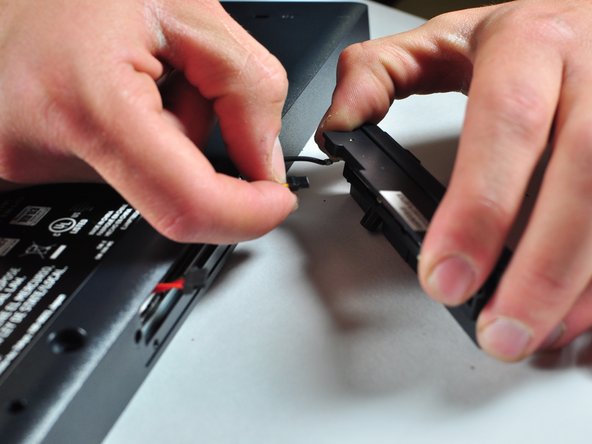
  9. NEC LCD1770NX Capacitor Replacement: step 9, image 1 of 2 NEC LCD1770NX Capacitor Replacement: step 9, image 2 of 2
    • Unscrew the gold colored 7mm Phillips PH000 screw holding the button assembly to the monitor.

    • Remove the button assembly from the monitor.

    Ask FixBot

    Add Comment

  10. NEC LCD1770NX Capacitor Replacement: step 10, image 1 of 1
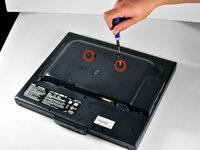
    • With the monitor face-down, unscrew the 5 7mm Phillips PH2 screws around the outside of the enclosure.

    Ask FixBot
    Add Comment
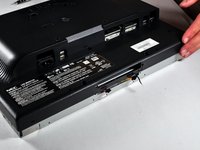
  11. NEC LCD1770NX Capacitor Replacement: step 11, image 1 of 3 NEC LCD1770NX Capacitor Replacement: step 11, image 2 of 3 NEC LCD1770NX Capacitor Replacement: step 11, image 3 of 3
    • Unscrew the 2 14.5mm Phillips PH2 screws located on the raised center of the enclosure.

    • Carefully pull the enclosure off the monitor.

    Ask FixBot

    Add Comment

  12. NEC LCD1770NX Capacitor Replacement: step 12, image 1 of 2 NEC LCD1770NX Capacitor Replacement: step 12, image 2 of 2
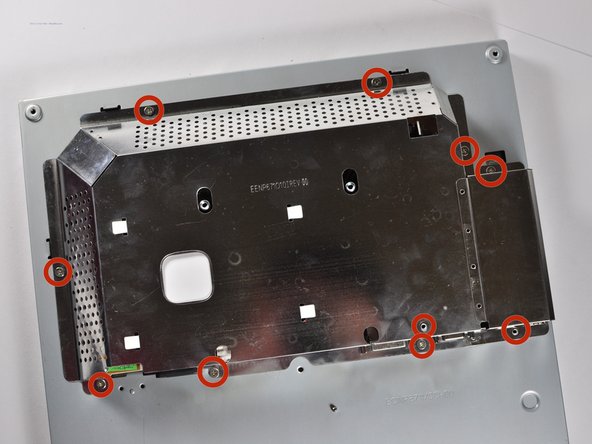
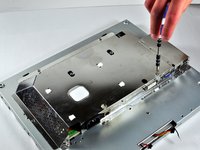
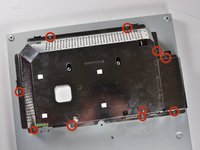
    • Unscrew the 10 5mm Philips PH2 screws holding the metal casing to the monitor.

    Ask FixBot

    Add Comment

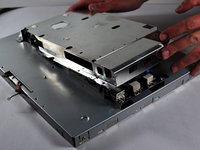
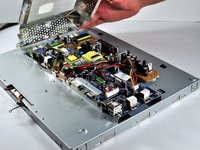
  13. NEC LCD1770NX Capacitor Replacement: step 13, image 1 of 2 NEC LCD1770NX Capacitor Replacement: step 13, image 2 of 2
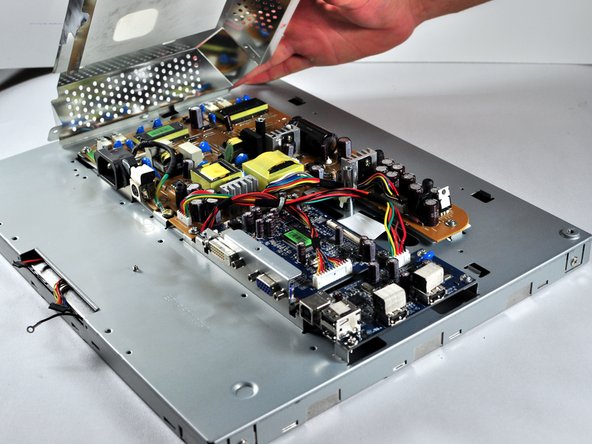
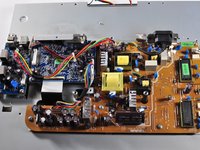
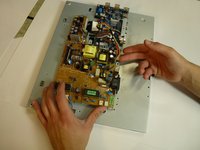
    • Pull the the metal casing off of the monitor to reveal the motherboards.

    Ask FixBot

    Add Comment

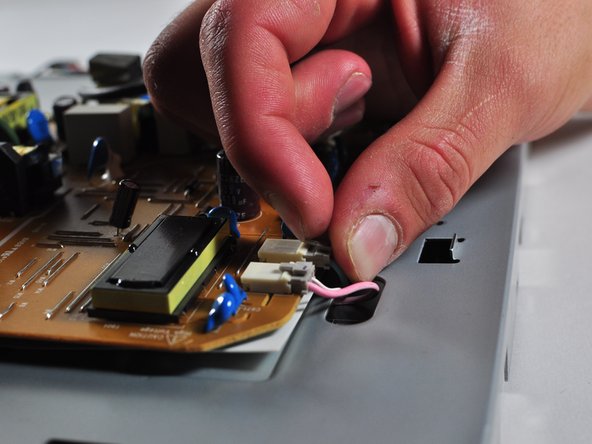
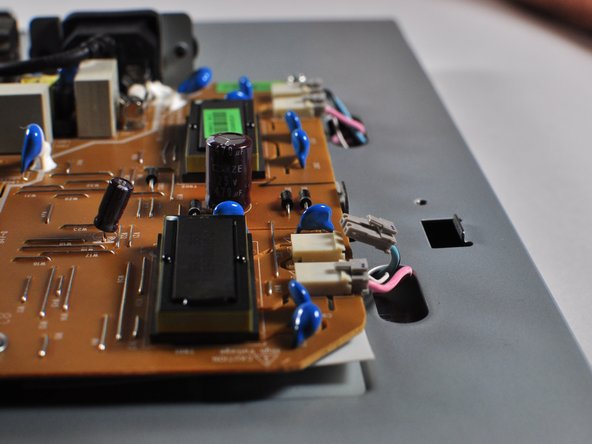
  14. NEC LCD1770NX Capacitor Replacement, Power Circuit Board: step 14, image 1 of 3 NEC LCD1770NX Capacitor Replacement, Power Circuit Board: step 14, image 2 of 3 NEC LCD1770NX Capacitor Replacement, Power Circuit Board: step 14, image 3 of 3
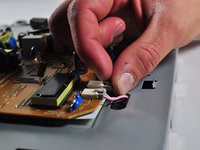
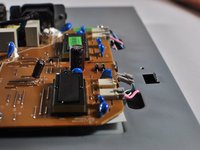
    • Make a note or use a pen to mark which plugs correspond to which colors. (Pink or Blue)

    • Remove the four plugs on the brown circuit board by pulling up on the tabs and wiggling them out. You could also use a spudger to help you lift little clips holding them in.

    Ask FixBot

    Add Comment

  15. NEC LCD1770NX Capacitor Replacement: step 15, image 1 of 3 NEC LCD1770NX Capacitor Replacement: step 15, image 2 of 3 NEC LCD1770NX Capacitor Replacement: step 15, image 3 of 3
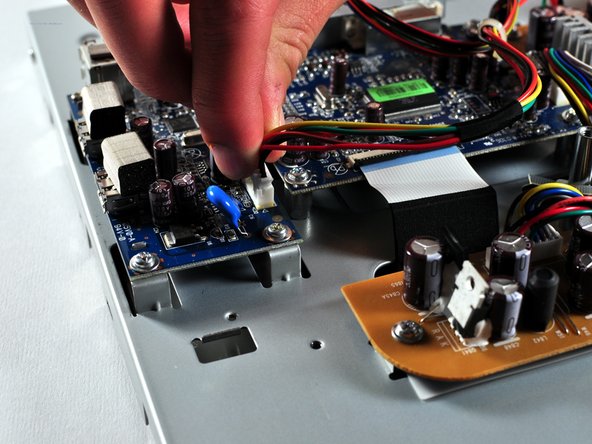
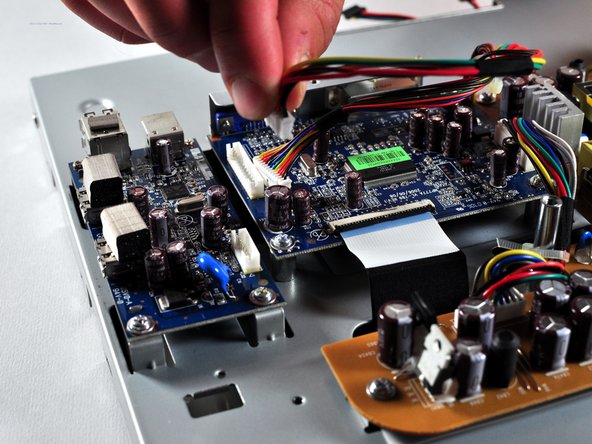
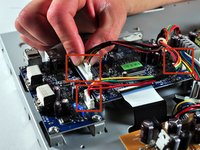
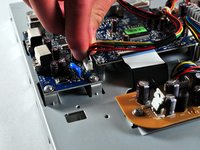
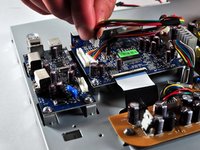
    • Locate the several multi-wire connectors on the board.

    • These connect several parts of each board together and consist of several different colors of wires. There is also a zip-tie holding the two sets of wires together that you can cut if it is getting in your way.

    • Disconnect the three plastic connectors from the blue colored boards by pulling them up while wiggling them.

    • Some force is necessary, it may also help to use the Large Needle Nose Pliers.

    Ask FixBot

    Add Comment

  16. NEC LCD1770NX Capacitor Replacement: step 16, image 1 of 1
    Tool used on this step:
    Phillips #1 Screwdriver
    $5.49
    Buy
    • Locate the large black power plug.

    • Using a Phillips #1 Screwdriver, unscrew the two 8mm colts holding the black tabs to the metal frame.

    Ask FixBot

    Add Comment

  17. NEC LCD1770NX Capacitor Replacement: step 17, image 1 of 1
    • Locate and remove the gold colored 10mm Philips screw located near the black power plug. It holds in a wire that connects to the power plug.

    Ask FixBot

    Add Comment

  18. NEC LCD1770NX Capacitor Replacement: step 18, image 1 of 2 NEC LCD1770NX Capacitor Replacement: step 18, image 2 of 2
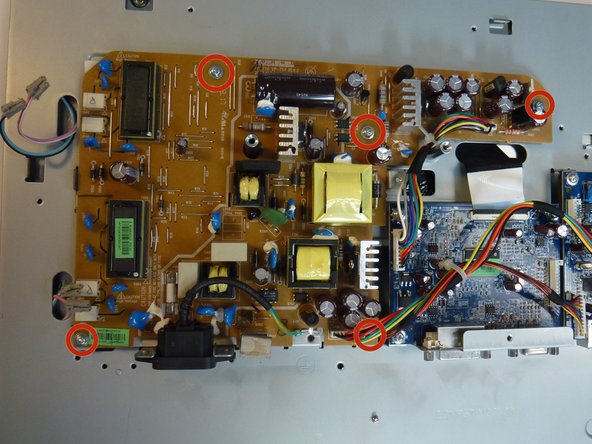
    • Remove 5 8mm Phillip1 screws, with a Philips 1 screwdriver, located in various places on the board.

    Ask FixBot

    Add Comment

  19. NEC LCD1770NX Capacitor Replacement: step 19, image 1 of 2 NEC LCD1770NX Capacitor Replacement: step 19, image 2 of 2
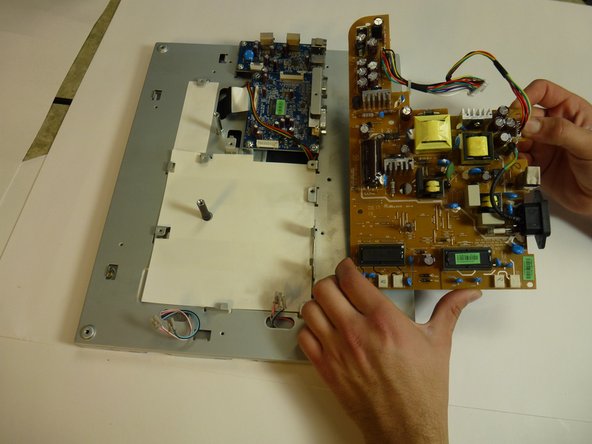
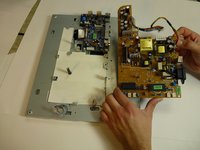
    • Lift the brown power supply board off of the frame and set it aside.

    Ask FixBot

    Add Comment

  20. NEC LCD1770NX Capacitor Replacement, Capacitor: step 20, image 1 of 1
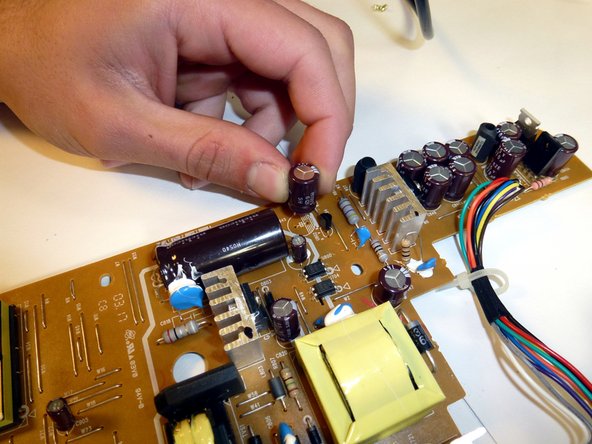
    • Find the faulty capacitor on the board.

    • Bad capacitors can be identified by swelling or bursting at the top.

    Ask FixBot

    Add Comment

  21. NEC LCD1770NX Capacitor Replacement: step 21, image 1 of 1
    • Flip the board over and find the corresponding solder joints. Capacitors have two joints on the opposite side of the circuit board.

    • Make sure you identify the correct solder joints! We wouldn't want you to desolder the wrong component!

    • Remember which direction the white stripe on the capacitor is facing! Orientation is important for a capacitor! The markings on the board should also remind which way to face the capacitor.

    Ask FixBot

    Add Comment

  22. NEC LCD1770NX Capacitor Replacement: step 22, image 1 of 2 NEC LCD1770NX Capacitor Replacement: step 22, image 2 of 2
    • Use a Soldering Station and Desoldering Braid to remove the solder from the two joints.

    Ask FixBot

    Add Comment

  23. NEC LCD1770NX Capacitor Replacement: step 23, image 1 of 2 NEC LCD1770NX Capacitor Replacement: step 23, image 2 of 2
    • Remove the capacitor from the board, you may need to straighten out the leads before you can take it out easily.

    Ask FixBot

    Add Comment

Conclusion

To reassemble your device, follow these instructions in reverse order.

Cancel: I did not complete this guide.

Charlie Mohr

Member since: 10/21/13

359 Reputation

3 Guides authored

Team

Cal Poly, Team 11-36, Amido Fall 2013 Member of Cal Poly, Team 11-36, Amido Fall 2013

CPSU-AMIDO-F13S11G36

5 Members

7 Guides authored

1 Guide Comment

Hi, the content was comprehensive. Please comment on the electrolytic capacitor . Thank you.

fc fcbuy - Reply Share

Add Comment

View Statistics:

Past 24 Hours: 2

Past 7 Days: 5

Past 30 Days: 39

All Time: 1,527