Introduction
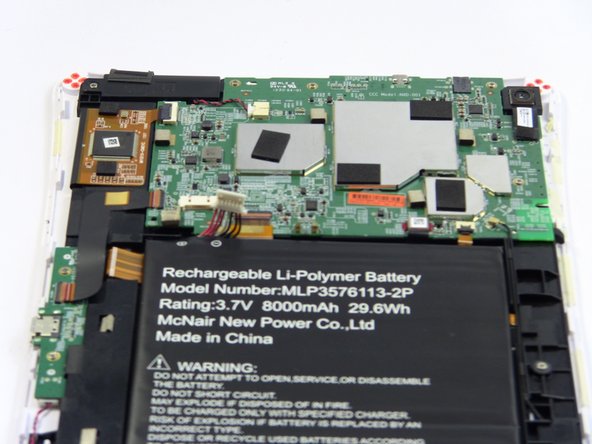
This guide should be used when replacing the motherboard or other components. Has the NABI XD taken water damaged or won't turn on after troubleshooting the charger. Then, replacing the motherboard will fix you device.
What you need
-
-
-
Use the plastic opening tool at the top left corner seam, then pry the corner apart.
 Ask FixBot
-
-
-
Next slide the plastic opening tool across the sides of the Nabi. It will slowly open.
-
There are small plastic clips that need to be release. Gently apply outwards pressure until the clips give.
-
Go around the NABI XD and separate the rear panel from the device.
-
-
-
-
-
Place your fingernails on both sides of the connector and pull it straight back away from the holder.
-
-
-
-
-
Tool used on this step:Tweezers$4.99
-
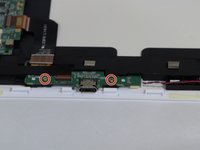
Remove the two 4mm Phillips screws with the PH#0 screwdriver.
-
Disconnect the left (L) speaker wire from the charging port by grabbing it on both sides with the tweezers and pulling straight back.
-
-
-
Use your fingernails or a spudger to flip up the small retaining flap, then pull the ribbon straight back to remove
-
Lift the charging port from the NABI XD.
-
-
-
-
Tool used on this step:Tweezers$4.99
-
To remove the marked ribbons, use your fingernails or a spudger to lift up small tab
-
Use the Precision Tweezers to gently pull the ribbons straight out of the connectors.
-
-
-
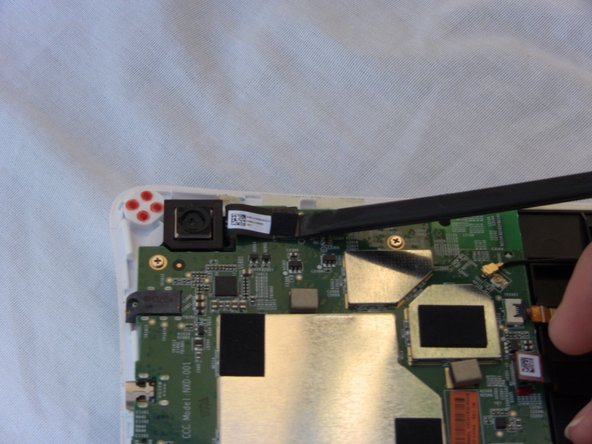
Disconnect the camera by lifting the ribbon straight up. Also disconnect the remaining ribbon by lifting up gently.
-
To disconnect antenna wire, use the tweezers to pry connector straight from the board.
-
-
-
Disconnect the Right speaker by grabbing the wire head by its sides and pulling it back from the connector.
-
-








To reassemble your device, follow these instructions in reverse order.

Team

USF Tampa, Team 17-2, Blackwell Fall 2016 Member of USF Tampa, Team 17-2, Blackwell Fall 2016
USFT-BLACKWELL-F16S17G2
3 Members
72 Guides authored
1 Guide Comment
Donde puedo conprar la pelicula de la tables o el displey y tatil
