Free Shipping on Domestic Orders $75+

Munchkinz Motherboard Replacement

What you need

  1. Munchkinz Motherboard Replacement, Opening Device: step 1, image 1 of 1
    • Insert spudger into the USB Micro slot and pry the case apart.

    • Be careful not to go too deep and bend the prong inside the Micro USB port.

    Ask FixBot

    Add Comment

  2. Munchkinz Motherboard Replacement, Pry Device Apart: step 2, image 1 of 2 Munchkinz Motherboard Replacement, Pry Device Apart: step 2, image 2 of 2
    • Slide the wide plastic opening tool across the seem, separating it if you can't pry the device open using just the spudger.

    • Gently separate the case so none of the cords inside are disconnected

    Ask FixBot

    Add Comment

  3. Munchkinz Motherboard Replacement, Separated Device: step 3, image 1 of 1
    • After prying the device apart, it should look like this.

    Ask FixBot

    Add Comment

  4. Munchkinz Motherboard Replacement, Pry Camera: step 4, image 1 of 1
    • Use the slim plastic opening tool to pry the camera from its initial position.

    Ask FixBot

    Add Comment

  5. Munchkinz Motherboard Replacement, Disconnect Ribbon: step 5, image 1 of 1
    Tool used on this step:
    Tweezers
    $4.99
    Buy
    • Use the precision tweezers to gently disconnect the camera ribbon that is connected to the motherboard.

    Ask FixBot

    Add Comment

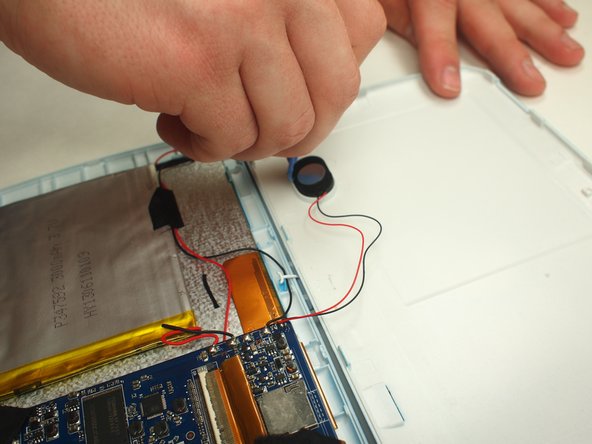
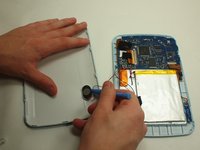
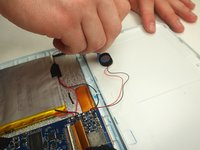
  6. Munchkinz Motherboard Replacement, Pry Speaker: step 6, image 1 of 2 Munchkinz Motherboard Replacement, Pry Speaker: step 6, image 2 of 2
    • Use the slim plastic opening tool to remove the speaker from its position on the case.

    Ask FixBot

    Add Comment

  7. Munchkinz Motherboard Replacement, Locate Wires: step 7, image 1 of 1
    • Locate the red and black wires that connect the speaker to the motherboard.

    Ask FixBot

    Add Comment

  8. Munchkinz Motherboard Replacement, Solder Wires: step 8, image 1 of 1
    • Un-solder the red and black speaker wires that are connected to the motherboard

    Ask FixBot

    Add Comment

  9. Munchkinz Motherboard Replacement, Volume Button: step 9, image 1 of 1
    • Remove the plastic volume button.

    Ask FixBot

    Add Comment

  10. Munchkinz Motherboard Replacement, Unscrew Module: step 10, image 1 of 1
    • Remove the two screws that hold the volume button assembly in place.

    Ask FixBot

    Add Comment

  11. Munchkinz Motherboard Replacement, Solder Module Wires: step 11, image 1 of 1
    • Un-solder the yellow, red, and black wires that connect the volume module to the motherboard.

    Ask FixBot

    Add Comment

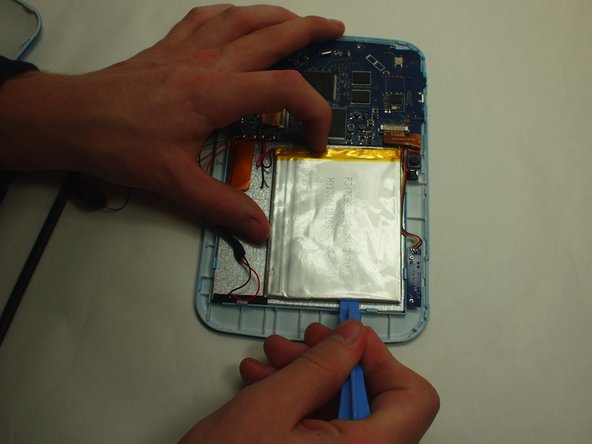
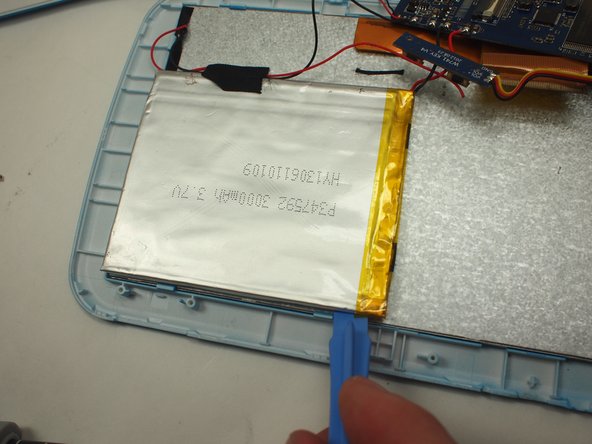
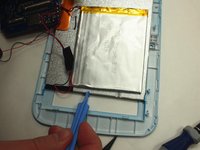
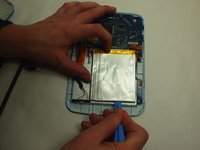
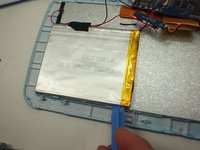
  12. Munchkinz Motherboard Replacement, Removing battery: step 12, image 1 of 3 Munchkinz Motherboard Replacement, Removing battery: step 12, image 2 of 3 Munchkinz Motherboard Replacement, Removing battery: step 12, image 3 of 3
    • Use the wide plastic opening tool to slowly pry each side of the battery up.

    • Be careful not to bend the battery too much.

    Ask FixBot

    Add Comment

  13. Munchkinz Motherboard Replacement, Remove battery completely: step 13, image 1 of 1
    • Use the Soldering Iron to disconnect the each cable.

    Ask FixBot

    Add Comment

  14. Munchkinz Motherboard Replacement, Remove Tape: step 14, image 1 of 1
    • Remove black tape covering any of the ribbons that have it.

    Ask FixBot

    Add Comment

  15. Munchkinz Motherboard Replacement, Remove Ribbons: step 15, image 1 of 1
    • Pull the ribbons out from the plugs.

    Ask FixBot

    Add Comment

  16. Munchkinz Motherboard Replacement, Remove Camera/Hidden Screw: step 16, image 1 of 1
    • After removing the camera, remove the hidden screw.

    Ask FixBot

    Add Comment

  17. Munchkinz Motherboard Replacement, Remove Screws: step 17, image 1 of 1
    • Remove screws located on the opposite side of the battery.

    Ask FixBot

    Add Comment

  18. Munchkinz Motherboard Replacement, Lift: step 18, image 1 of 1
    • Carefully lift up the motherboard. Your accessory parts such as battery, speaker, volume button assembly, and camera wires will be disconnected, not connected, like in this picture.

    Ask FixBot

    Add Comment

Conclusion

To reassemble your device, follow these instructions in reverse order.

Cancel: I did not complete this guide.

Austin Oliveira

Member since: 02/05/15

204 Reputation

2 Guides authored

Team

UW Tacoma, Team 3-6, Rose Winter 2015 Member of UW Tacoma, Team 3-6, Rose Winter 2015

UWT-ROSE-W15S3G6

3 Members

14 Guides authored

0 Guide Comments

Add Comment

View Statistics:

Past 24 Hours: 0

Past 7 Days: 5

Past 30 Days: 22

All Time: 492