Free Shipping on Domestic Orders $75+

Mr. Coffee BVMC-SJX33GT O-Rings Replacement

What you need

    1. Mr. Coffee BVMC-SJX33GT O-Rings Replacement, Base: step 1, image 1 of 1
      • Turn your coffee maker over so that the base is facing up.

      Ask FixBot
      Add Comment

    2. Mr. Coffee BVMC-SJX33GT O-Rings Replacement: step 2, image 1 of 2 Mr. Coffee BVMC-SJX33GT O-Rings Replacement: step 2, image 2 of 2
      • Locate the seven 13.5mm screws securing the base to the coffee maker.

      • Unscrew the screws using a #2 Phillips head screwdriver.

      • Use a screwdriver with a magnetic tip to more easily remove the three screws in the back and two in the middle.

      Ask FixBot
      Add Comment

    3. Mr. Coffee BVMC-SJX33GT O-Rings Replacement, security screws: step 3, image 1 of 1
      • Also the front two screws are safety screws: they have a 6 sided star shape with a raised dimple in the center to prevent homebodies from casually opening the machine. (probably from the Sunbeam’s (owns Mr. Coffee) legal dept.) Anyway you will need a security bit to remove the screws and not a phillips screw driver.

      Ask FixBot

      Add Comment

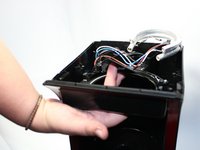
    4. Mr. Coffee BVMC-SJX33GT O-Rings Replacement: step 4, image 1 of 1
      • Lift base to remove.

      • If the base sticks along one edge, do not pull at an angle. Gently tug straight up while sliding a finger along the edge in order to pop the clips.

      Ask FixBot

      Add Comment

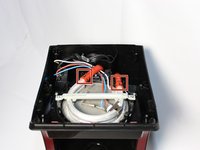
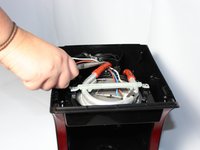
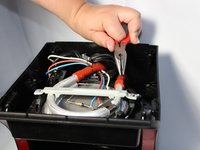
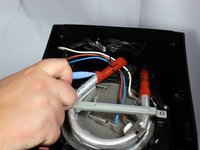
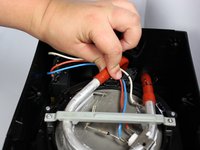
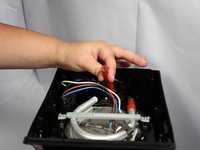
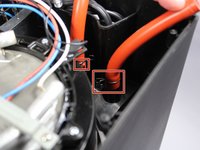
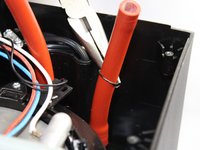
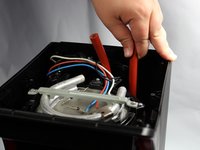
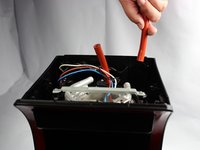
    1. Mr. Coffee BVMC-SJX33GT O-Rings Replacement, Rubber Hose: step 5, image 1 of 3 Mr. Coffee BVMC-SJX33GT O-Rings Replacement, Rubber Hose: step 5, image 2 of 3 Mr. Coffee BVMC-SJX33GT O-Rings Replacement, Rubber Hose: step 5, image 3 of 3
      • Locate the metal clamps.

      • Using a pair of pliers or your fingers, slide clamps away from tube opening.

      • All following steps regarding the rubber hoses should be completed for both hoses.

      Ask FixBot

      Add Comment

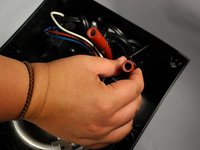
    2. Mr. Coffee BVMC-SJX33GT O-Rings Replacement: step 6, image 1 of 3 Mr. Coffee BVMC-SJX33GT O-Rings Replacement: step 6, image 2 of 3 Mr. Coffee BVMC-SJX33GT O-Rings Replacement: step 6, image 3 of 3
      • Using a plastic opening tool, loosen rubber hose from metal tubing.

      • Once loosened, grip the hose and pull it from the metal tubing.

      Ask FixBot
      Add Comment

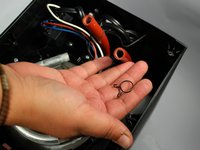
    3. Mr. Coffee BVMC-SJX33GT O-Rings Replacement: step 7, image 1 of 2 Mr. Coffee BVMC-SJX33GT O-Rings Replacement: step 7, image 2 of 2
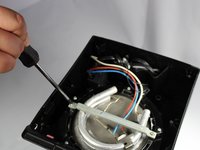
      • Slide metal clamps off hoses.

      Ask FixBot
      Add Comment

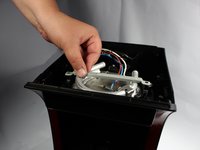
    4. Mr. Coffee BVMC-SJX33GT O-Rings Replacement: step 8, image 1 of 2 Mr. Coffee BVMC-SJX33GT O-Rings Replacement: step 8, image 2 of 2
      • Locate the other set of metal clamps.

      • Using needle nose pliers or your fingers remove these clamps by pinching the clamps and sliding them up the tubes.

      Ask FixBot
      Add Comment

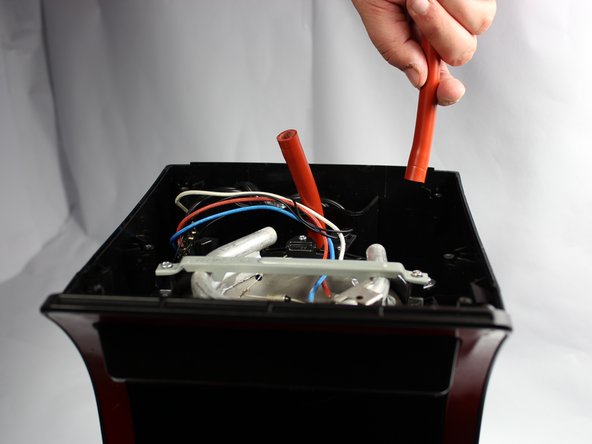
    5. Mr. Coffee BVMC-SJX33GT O-Rings Replacement: step 9, image 1 of 2 Mr. Coffee BVMC-SJX33GT O-Rings Replacement: step 9, image 2 of 2
      • Grip the hoses and pull them straight up and out.

      Ask FixBot

      Add Comment

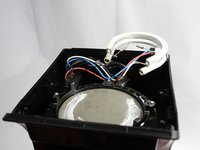
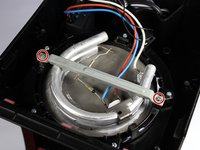
    1. Mr. Coffee BVMC-SJX33GT O-Rings Replacement, Heating Plate: step 10, image 1 of 3 Mr. Coffee BVMC-SJX33GT O-Rings Replacement, Heating Plate: step 10, image 2 of 3 Mr. Coffee BVMC-SJX33GT O-Rings Replacement, Heating Plate: step 10, image 3 of 3
      • Locate the two 17mm screws securing the bracing bar.

      • Unscrew the screws with a #2 Phillip's head screwdriver and remove the bracing bar

      Ask FixBot

      Add Comment
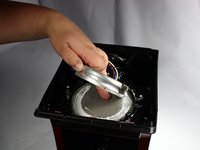
    2. Mr. Coffee BVMC-SJX33GT O-Rings Replacement: step 11, image 1 of 2 Mr. Coffee BVMC-SJX33GT O-Rings Replacement: step 11, image 2 of 2
      • Using a finger to keep the heating plate in place, grip the metal tubing and gently pull it away from the plate.

      • Set the metal tubing aside.

      Ask FixBot

      Add Comment

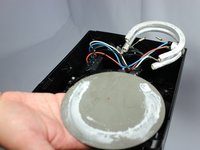
    3. Mr. Coffee BVMC-SJX33GT O-Rings Replacement: step 12, image 1 of 2 Mr. Coffee BVMC-SJX33GT O-Rings Replacement: step 12, image 2 of 2
      • Push the heating plate up from below and remove.

      Ask FixBot

      Add Comment

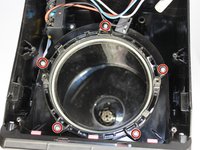
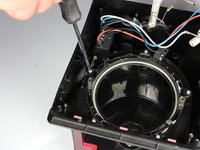
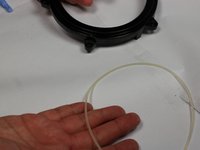
    1. Mr. Coffee BVMC-SJX33GT O-Rings Replacement, O-Rings: step 13, image 1 of 2 Mr. Coffee BVMC-SJX33GT O-Rings Replacement, O-Rings: step 13, image 2 of 2
      • Locate the five 11.5mm screws securing the plastic ring to the coffee maker.

      • Unscrew the screws using a #2 Phillip's head screwdriver.

      Ask FixBot

      Add Comment

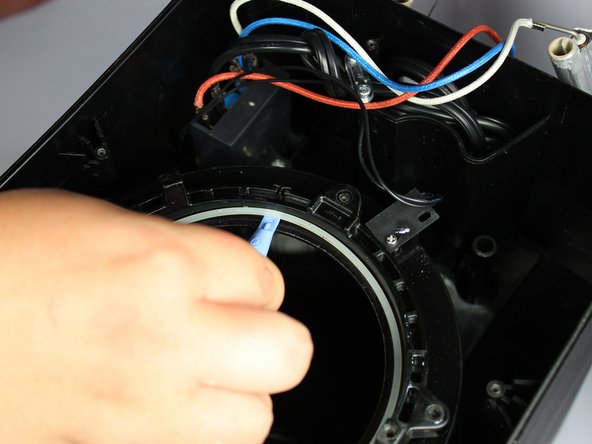
    2. Mr. Coffee BVMC-SJX33GT O-Rings Replacement: step 14, image 1 of 3 Mr. Coffee BVMC-SJX33GT O-Rings Replacement: step 14, image 2 of 3 Mr. Coffee BVMC-SJX33GT O-Rings Replacement: step 14, image 3 of 3
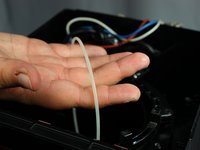
      • Using a plastic opening tool, pry the first o-ring out of the plastic ring.

      • If you happen to mix up the o-rings, note that this o-ring is thicker than the second.

      Ask FixBot

      Add Comment

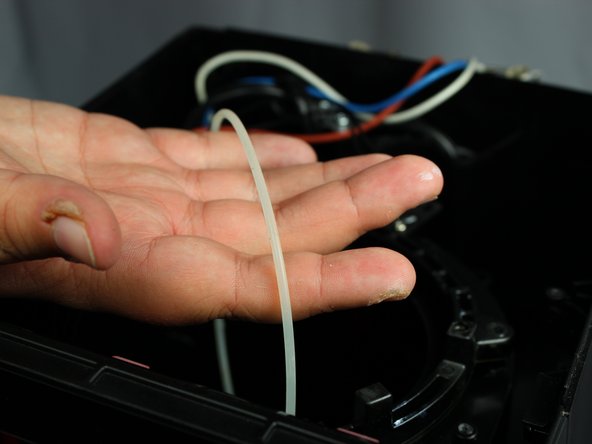
    3. Mr. Coffee BVMC-SJX33GT O-Rings Replacement: step 15, image 1 of 2 Mr. Coffee BVMC-SJX33GT O-Rings Replacement: step 15, image 2 of 2
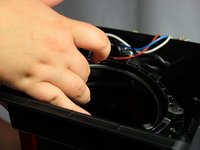
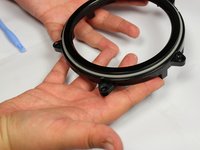
      • Gripping the plastic ring, pull it free from the coffee maker.

      • Flip the plastic ring over.

      Ask FixBot

      Add Comment

    4. Mr. Coffee BVMC-SJX33GT O-Rings Replacement: step 16, image 1 of 2 Mr. Coffee BVMC-SJX33GT O-Rings Replacement: step 16, image 2 of 2
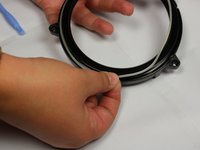
      • Using your fingers, pry the other o-ring free from the plastic ring.

      • If you happen to mix up the o-rings, note that this o-ring is thinner than the first.

      Ask FixBot

      Add Comment

Conclusion

To reassemble your device, follow these instructions in reverse order.

Cancel: I did not complete this guide.

One other person completed this guide.

Mackenzie Aiken

Member since: 01/27/15

1,556 Reputation

6 Guides authored

Team

0 Guide Comments

Add Comment

View Statistics:

Past 24 Hours: 5

Past 7 Days: 12

Past 30 Days: 45

All Time: 2,924