
Motorola i886 Screen Replacement

Felicita Correa and 2 other contributors
Last updated on May 7, 2024
Views: 696
View statistics:
- Past 24 Hours:
- 1
- Past 7 Days:
- 16
- Past 30 Days:
- 93
- All Time:
- 696
Comments: 0
No one has left comments on this guide. Will you be first?
Go to guide commentsCompleted: 0 1
No one has marked this guide "completed." Will you be the first?
1 person has marked this guide "completed." It's you — great job!
Favorites: 0 1
No one has favorited (and subscribed to) this guide. Will you be the first?
1 person has favorited (and subscribed to) this guide — and that's you!
Introduction
Go to step 1 ↓This guide shows how to open the Motorola i866 and replace the screen.
What you need
Tools


-
-
-
Undo the headphone jack and USB port cover with your fingertip. Place your middle finger in the indent on the upper left side of the back of the phone.
 Ask FixBot
-
-
-
Locate battery and use your index finger to grasp the upper left side of the battery and pull back to remove. Set battery aside.
-
-
-
-
-
Locate and use your thumb to slide the SIM card to the right until it is removed and set it aside.
-
-
-
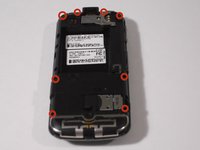
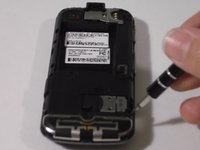
Remove eight black .4 centimeter screws on the top, bottom, and sides of the phone with a T5 Torx screwdriver by inserting it into the screws and turning it to the left. Set screws aside.
-
-
-
Loosen four fastener pieces on the side and bottom with a plastic opening tool to pry them backwards.
-
Insert the plastic opening tool between the loosened casing and the rest of the phone and pry the two pieces apart to remove the casing.
-
-
-
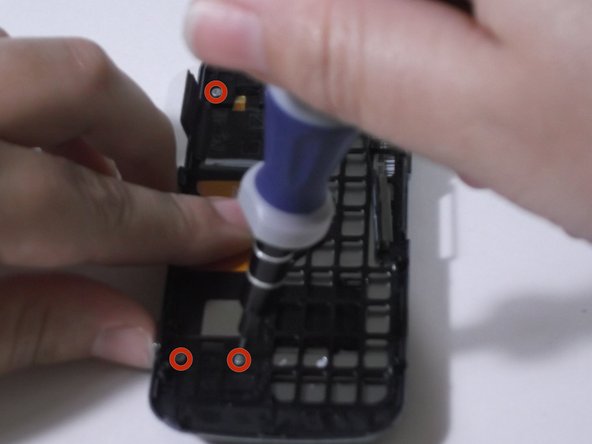
Remove the .3 centimeter silver screw with the T5 Torx screwdriver.
-
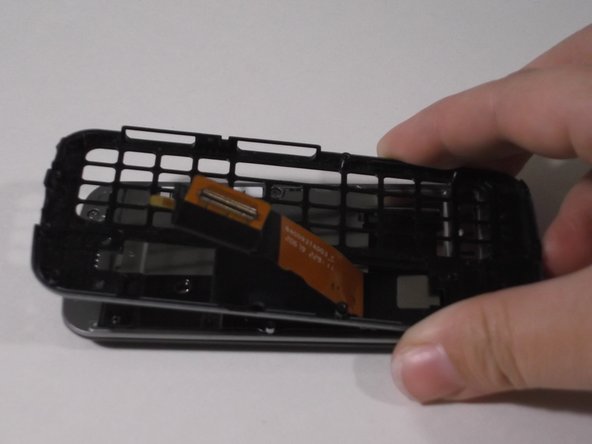
Use your fingertips to lift up the circuit board and lay it on the side of the phone. Note that the two pieces are attached by a gold and black strip.
-
-
-
Locate and grip the black, white, and blue keyboard layer with your fingernail, lift up to remove it.
-
-
-
-
-
Disconnect piece connecting the two parts of the phone by using your index finger and thumb to pry them apart, you will hear a soft click.
-
Set aside the part of the phone without the strip.
-
-
-
Remove the loose volume, speaker, and camera buttons.
-
Remove four silver .2 centimeter screws above and below the gold and black strip with a T4 Torx screwdriver.
-
Separate the two parts of the phone by holding one side in each hand and pulling them apart. Set the part that held the slide-out keyboard aside.
-
-
Tool used on this step:Tweezers$4.99
-
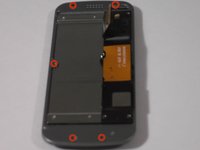
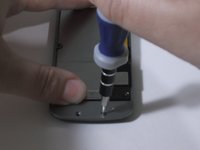
Remove six silver .3 centimeter screws from the top, bottom, and sides with the T4 Torx screwdriver.
-
-
-
Insert the flat end of a Spudger in between these two pieces of the phone and move it along the sides to loosen and pry apart.
-
-
-
-
There will be a short, wide, black strip connecting the two parts. Separate in the same manner as the black and gold strip. Set aside the piece with the strip attached.
-
-
-
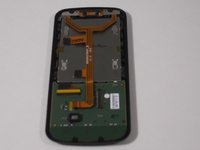
Peel back the yellow tape on the side of the screen using tweezers or your fingernails. Lift away screen and board.
-
-
-
-
Tool used on this step:Tweezers$4.99
-
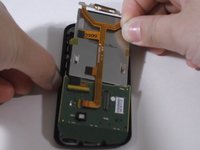
Lift the yellow strip away from the back of the screen by gently gripping with tweezers and detaching the two, black, square, contact points.
-
-
-
Pry the bar connecting the screen and circuit board by prying it gently upwards with tweezers to detach, separate, and remove the screen.
-
-




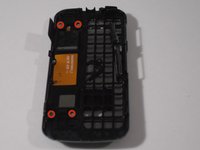
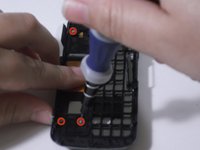
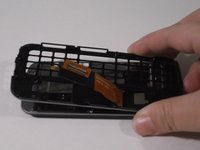


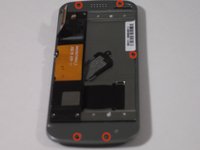




To reassemble your device, follow these instructions in reverse order.

Team

USF Sarasota-Manatee, Team 1-2, Stewart Fall 2014 Member of USF Sarasota-Manatee, Team 1-2, Stewart Fall 2014
USFSM-STEWART-F14S1G2
3 Members
120 Guides authored
