Introduction
Once the back casing has been removed, the charger cover will be accessible for replacement.
What you need
-
-
-
Slide the cover release button towards the bottom of the phone
-
Once the battery cover pops up, slide the cover towards the top of the phone and lift up.
 Ask FixBot
-
-
-
-
-
-
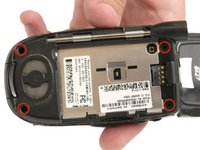
With a T5 screwdriver, unscrew the four T5 sized screws that hold the case back cover onto the rest of the case.
-
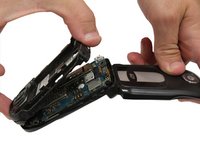
Remove the plastic case back cover by gently pulling it away from the body of the phone, starting at one edge and working your way down to the other.
-
-
-
-
-
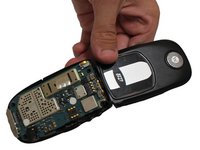
Once you have taken off the back cover of the phone, the charger tab can be lifted out of position on the back cover.
-
-



To reassemble your device, follow these instructions in reverse order.

Team

Clemson, Team 14-2, Benson Fall 2012 Member of Clemson, Team 14-2, Benson Fall 2012
CLEM-BENSON-F12S14G2
4 Members
143 Guides authored
