Free Shipping on Domestic Orders $75+

Motorola i560 Metal Support Plate Replacement

What you need

  1. Motorola i560 Metal Support Plate Replacement, Battery: step 1, image 1 of 1
    • Place thumb on the rubber tab on the lower back of the phone.

    • Push away from the phone to release back panel.

    Ask FixBot

    Add Comment

  2. Motorola i560 Metal Support Plate Replacement: step 2, image 1 of 1
    • Lift the back panel of the phone to expose battery (not shown here).

    Ask FixBot

    Add Comment

  3. Motorola i560 Metal Support Plate Replacement, Side Volume Button: step 3, image 1 of 1
    • Pull antenna up, away from the phone, to reveal two of six screws.

    Ask FixBot

    Add Comment

  4. Motorola i560 Metal Support Plate Replacement: step 4, image 1 of 1
    • Unscrew all six 5.4 mm screws on the back side of the phone using the T-6 screwdriver bit.

    Ask FixBot

    Add Comment

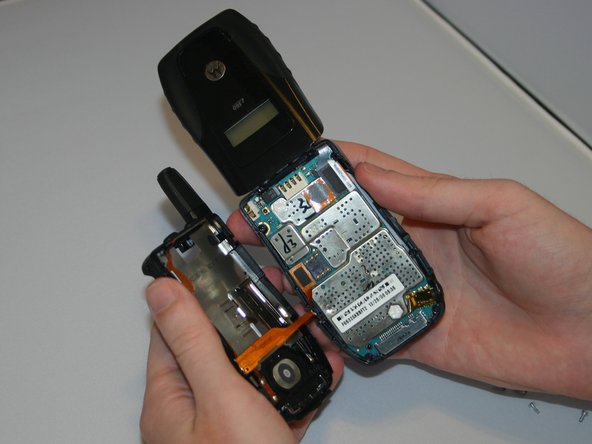
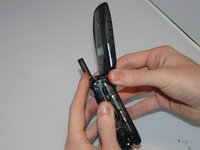
  5. Motorola i560 Metal Support Plate Replacement: step 5, image 1 of 2 Motorola i560 Metal Support Plate Replacement: step 5, image 2 of 2
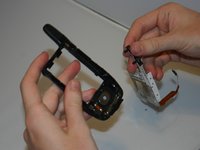
    • Gently separate the front and back sides of the phone.

    • Be careful not to break or bend the ribbon cables.

    Ask FixBot

    Add Comment

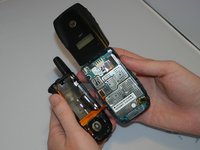
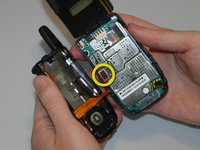
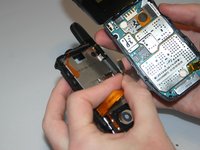
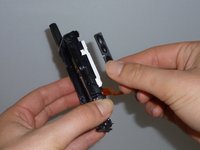
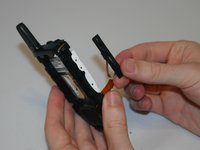
  6. Motorola i560 Metal Support Plate Replacement: step 6, image 1 of 2 Motorola i560 Metal Support Plate Replacement: step 6, image 2 of 2
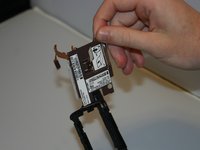
    • Detach the first ribbon cable by unplugging it from the logic board.

    Ask FixBot

    Add Comment

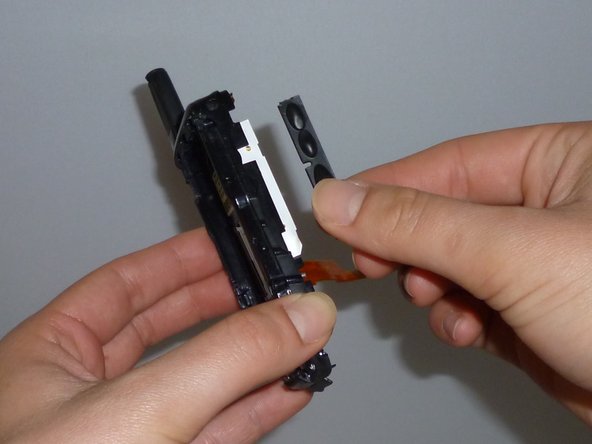
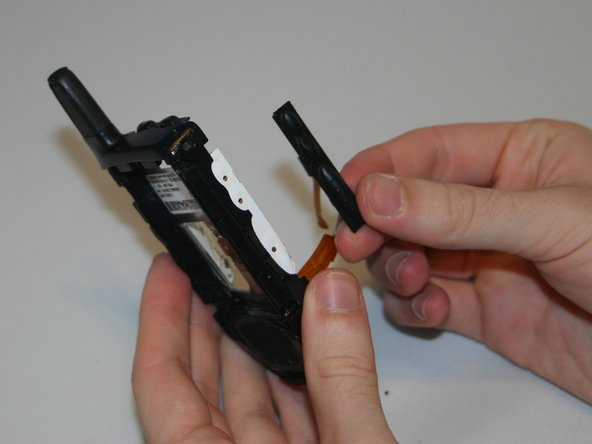
  7. Motorola i560 Metal Support Plate Replacement: step 7, image 1 of 3 Motorola i560 Metal Support Plate Replacement: step 7, image 2 of 3 Motorola i560 Metal Support Plate Replacement: step 7, image 3 of 3
    • Gently remove the side button by pulling the buttons away from the phone.

    Ask FixBot

    Add Comment

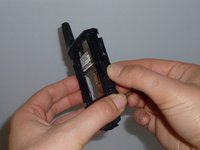
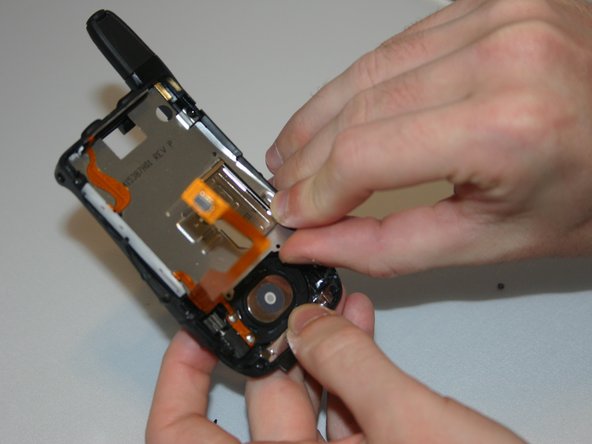
  8. Motorola i560 Metal Support Plate Replacement, Metal Support Plate: step 8, image 1 of 3 Motorola i560 Metal Support Plate Replacement, Metal Support Plate: step 8, image 2 of 3 Motorola i560 Metal Support Plate Replacement, Metal Support Plate: step 8, image 3 of 3
    • Grab the tab at the bottom of the metal plate, and pull to remove the plate from the phone.

    Ask FixBot

    Add Comment

Conclusion

To reassemble your device, follow these instructions in reverse order.

Cancel: I did not complete this guide.

Haley S

Member since: 03/11/13

10 Reputation

4 Guides authored

Team

Clemson, Team 13-6, Benson Spring 2013 Member of Clemson, Team 13-6, Benson Spring 2013

CLEM-BENSON-S13S13G6

3 Members

18 Guides authored

0 Guide Comments

Add Comment

View Statistics:

Past 24 Hours: 1

Past 7 Days: 3

Past 30 Days: 8

All Time: 275