Free Shipping on Domestic Orders $75+

Motorola Xoom Wifi Motherboard Replacement

What you need

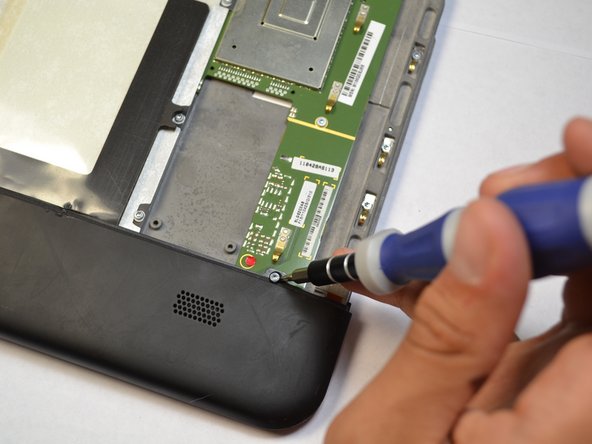
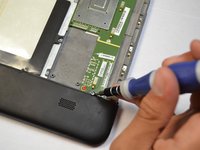
    1. Motorola Xoom Wifi Motherboard Replacement, Back Cover Disassembly: step 1, image 1 of 2 Motorola Xoom Wifi Motherboard Replacement, Back Cover Disassembly: step 1, image 2 of 2
      • There are two 6.6 mm screws that hold ports into place as well as the back panel. Remove these with a T5 Torx screwdriver.

      Ask FixBot

      Add Comment

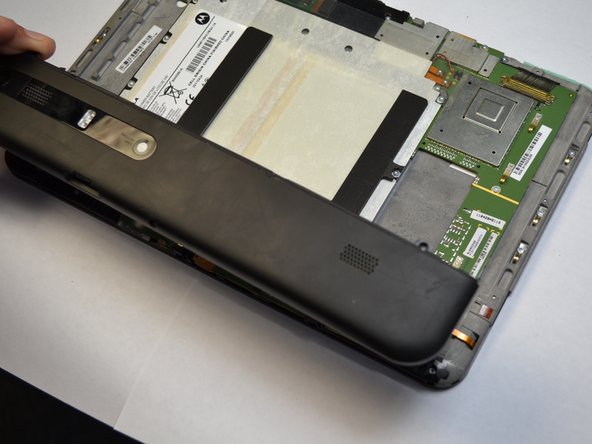
    2. Motorola Xoom Wifi Motherboard Replacement: step 2, image 1 of 2 Motorola Xoom Wifi Motherboard Replacement: step 2, image 2 of 2
      • Apply light pressure with hand and slide the back plate till it stops in this position.

      • There is a flex clip on both sides that need to be pushed down in order for the plate to slide off completely. Use a plastic opening tool to release the flex clips. They are located under the back cover near the sides.

      • As soon as the clips are released the back should slide off.

      Ask FixBot

      Add Comment

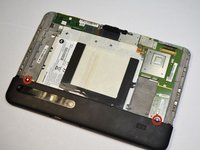
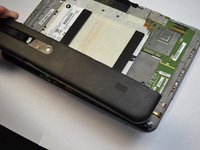
    3. Motorola Xoom Wifi Motherboard Replacement: step 3, image 1 of 3 Motorola Xoom Wifi Motherboard Replacement: step 3, image 2 of 3 Motorola Xoom Wifi Motherboard Replacement: step 3, image 3 of 3
      • Remove last two 4.2 mm screws from the remaining back piece with a T5 Torx screwdriver.

      • Once both screws are taken out, lift the rest of the backing out of the way.

      Ask FixBot

      Add Comment

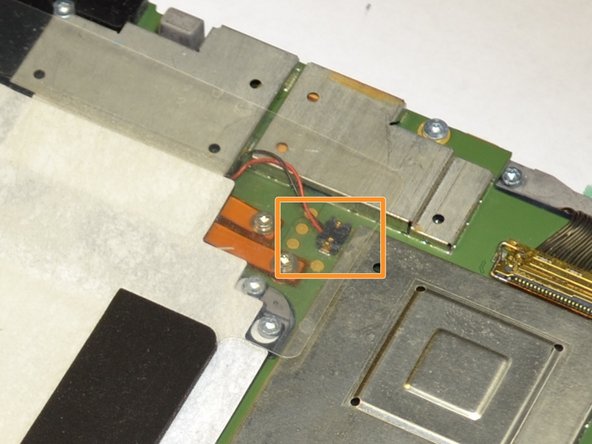
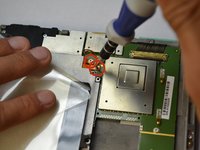
    1. Motorola Xoom Wifi Motherboard Replacement, Battery: step 4, image 1 of 2 Motorola Xoom Wifi Motherboard Replacement, Battery: step 4, image 2 of 2
      • Remove the two battery leads with a T-5 Torx screwdriver.

      • Grab the red and black wires with your fingers and gently lift to disconnect black wire connector from the motherboard.

      Ask FixBot

      Add Comment

    2. Motorola Xoom Wifi Motherboard Replacement: step 5, image 1 of 2 Motorola Xoom Wifi Motherboard Replacement: step 5, image 2 of 2
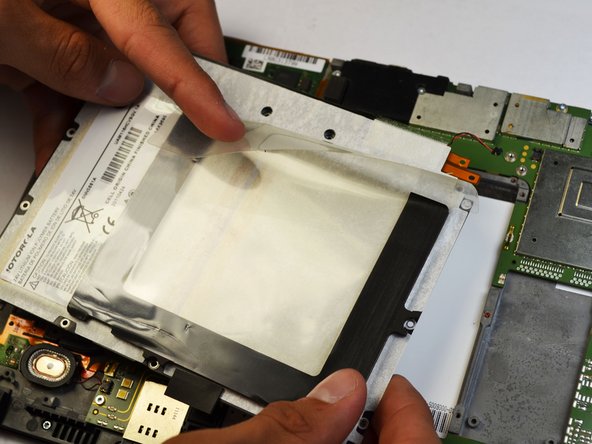
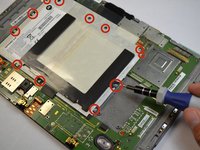
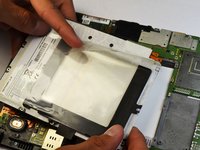
      • All that holds the battery in are twelve screws. Remove them with a T-6 Torx screwdriver.

      • The battery should lift out easily.

      Ask FixBot

      Add Comment

    1. Motorola Xoom Wifi Motherboard Replacement, Speakers: step 6, image 1 of 2 Motorola Xoom Wifi Motherboard Replacement, Speakers: step 6, image 2 of 2
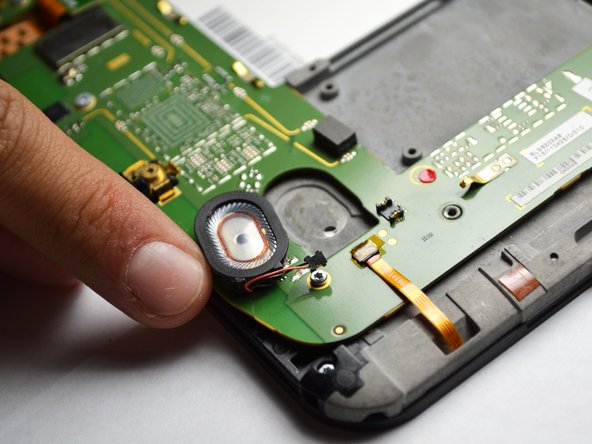
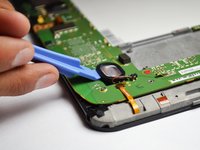
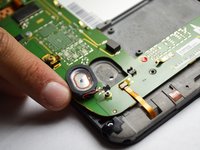
      • Use a plastic opening tool to pop out the speaker. Make sure to carefully pull off the wire as well.

      • Replace speaker if necessary.

      Ask FixBot

      Add Comment

    1. Motorola Xoom Wifi Motherboard Replacement, Back-Facing Camera: step 7, image 1 of 2 Motorola Xoom Wifi Motherboard Replacement, Back-Facing Camera: step 7, image 2 of 2
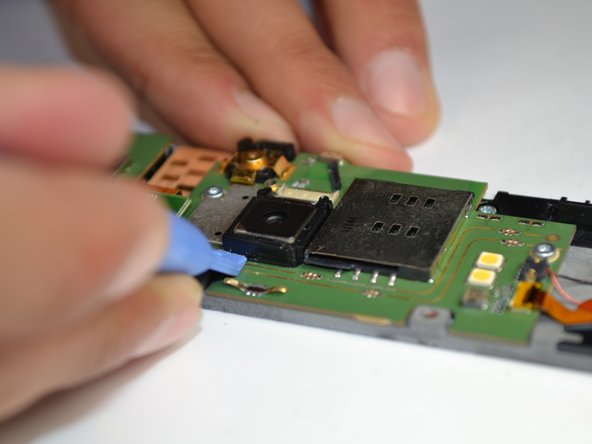
      • Use a spudger or a fine tip to lift the black tab to a vertical position.

      • A spudger is needed to remove the plastic border around the camera.

      Ask FixBot

      Add Comment

    2. Motorola Xoom Wifi Motherboard Replacement: step 8, image 1 of 2 Motorola Xoom Wifi Motherboard Replacement: step 8, image 2 of 2
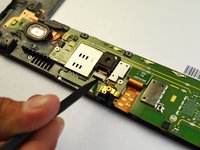
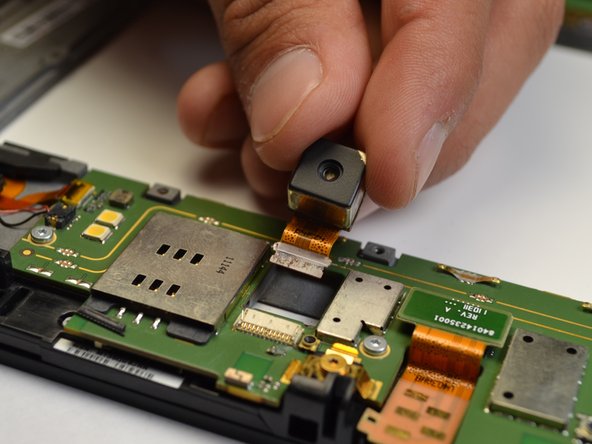
      • When lifting the camera out, be sure to pull the orange ribbon cable as well.

      Ask FixBot

      Add Comment

    1. Motorola Xoom Wifi Motherboard Replacement, Motherboard: step 9, image 1 of 3 Motorola Xoom Wifi Motherboard Replacement, Motherboard: step 9, image 2 of 3 Motorola Xoom Wifi Motherboard Replacement, Motherboard: step 9, image 3 of 3
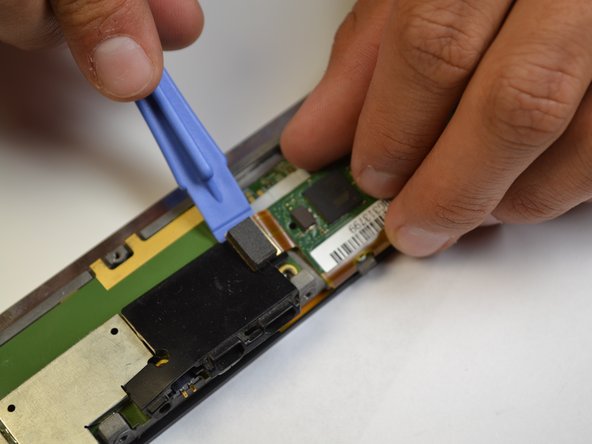
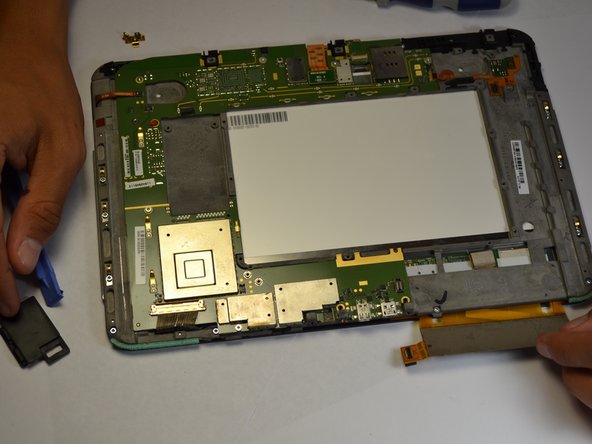
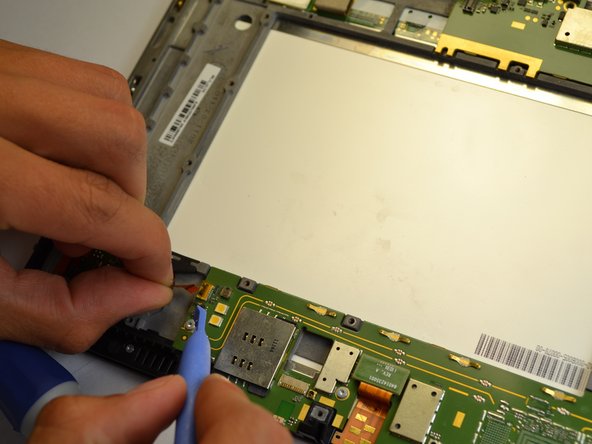
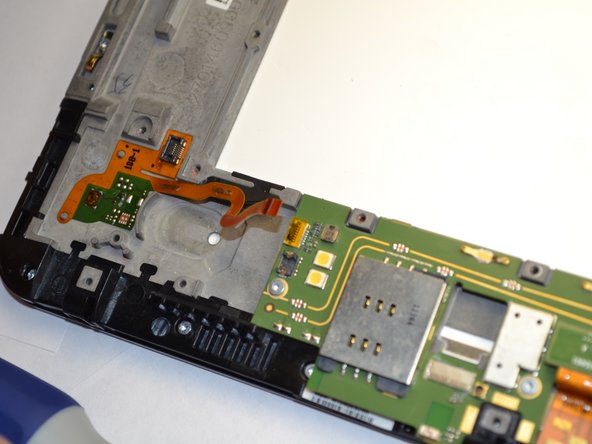
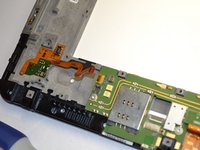
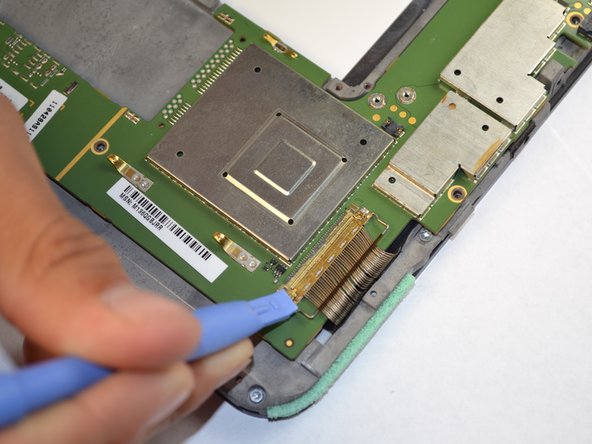
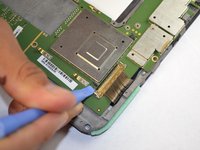
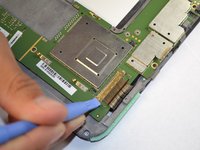
      • Take a plastic opening tool and carefully pry off the touch screen controller connection.

      • Be careful with the black cover under the connection.

      Ask FixBot

      Add Comment

    2. Motorola Xoom Wifi Motherboard Replacement: step 10, image 1 of 3 Motorola Xoom Wifi Motherboard Replacement: step 10, image 2 of 3 Motorola Xoom Wifi Motherboard Replacement: step 10, image 3 of 3
      • There are two relay wires that must be disconnected.

      • Pull both relay wires out of their connection ports.

      • Make sure to flip up the small black tab before you pull out the wire.

      Ask FixBot

      Add Comment

    3. Motorola Xoom Wifi Motherboard Replacement: step 11, image 1 of 2 Motorola Xoom Wifi Motherboard Replacement: step 11, image 2 of 2
      • Using a plastic opener, lift the metal bar clasping the wire harness to the motherboard.

      Ask FixBot

      Add Comment

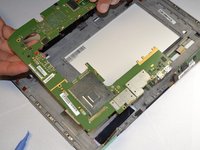
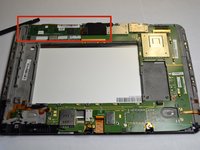
    4. Motorola Xoom Wifi Motherboard Replacement: step 12, image 1 of 3 Motorola Xoom Wifi Motherboard Replacement: step 12, image 2 of 3 Motorola Xoom Wifi Motherboard Replacement: step 12, image 3 of 3
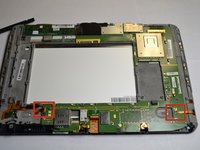
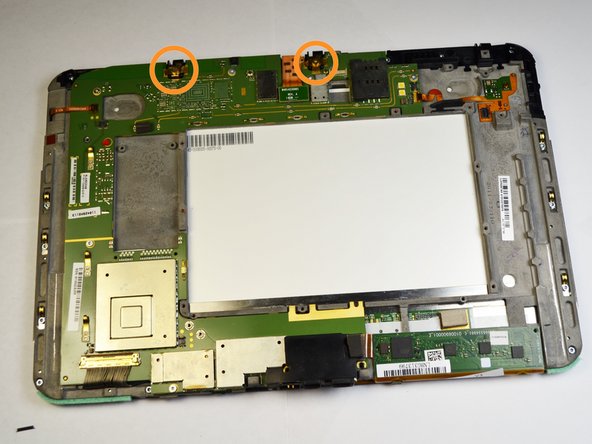
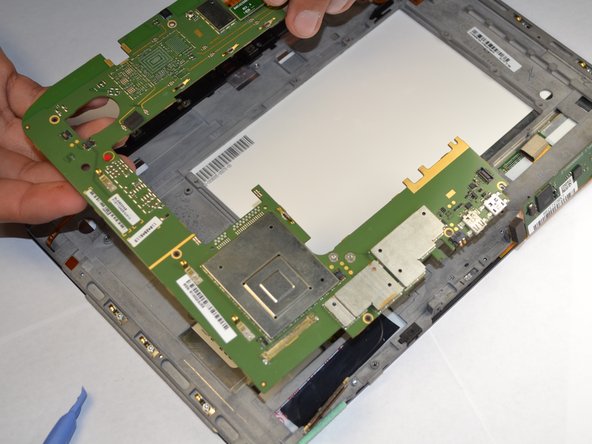
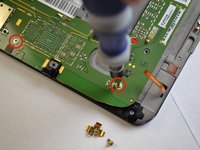
      • There are eight 3.5mm screws that hold the motherboard in. Use a T-5 Torx screwdriver to take the screws loose. These screws are outlined in a gold color on the motherboard.

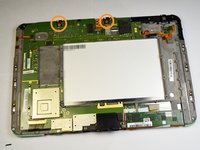
      • Two gold colored screws with brackets are located in the orange circles. A T-5 Torx screwdriver is needed to take these 3.1mm screws.

      • Motherboard should lift out easily and completely.

      Ask FixBot

      Add Comment

Conclusion

To reassemble your device, follow these instructions in reverse order.

Cancel: I did not complete this guide.

2 other people completed this guide.

William Prins

Member since: 04/14/14

604 Reputation

3 Guides authored

Team

Cal Poly, Team 3-39, Maness Spring 2014 Member of Cal Poly, Team 3-39, Maness Spring 2014

CPSU-MANESS-S14S3G39

4 Members

96 Guides authored

1 Guide Comment

Is the hdmi port replaceable or part of the motherboard?

uvawalls - Reply Share
Add Comment

View Statistics:

Past 24 Hours: 5

Past 7 Days: 22

Past 30 Days: 66

All Time: 1,640