Free Shipping on Domestic Orders $75+

Motorola Xoom Wifi Display Assembly Replacement

What you need

  1. Motorola Xoom Wifi Display Assembly Replacement, Back Cover Disassembly: step 1, image 1 of 2 Motorola Xoom Wifi Display Assembly Replacement, Back Cover Disassembly: step 1, image 2 of 2
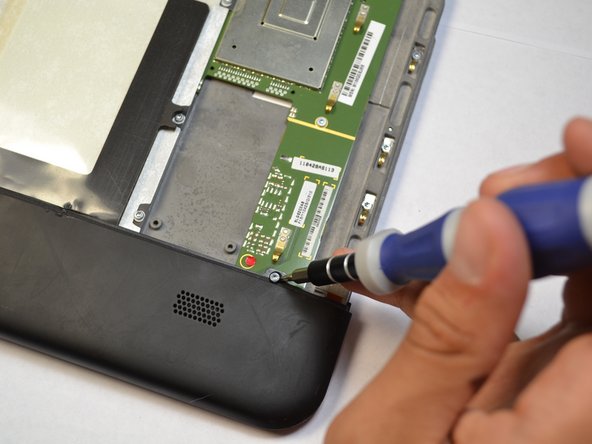
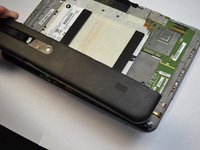
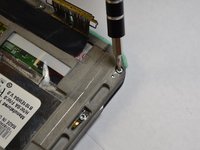
    • There are two 6.6 mm screws that hold ports into place as well as the back panel. Remove these with a T5 Torx screwdriver.

    Ask FixBot

    Add Comment

  2. Motorola Xoom Wifi Display Assembly Replacement: step 2, image 1 of 2 Motorola Xoom Wifi Display Assembly Replacement: step 2, image 2 of 2
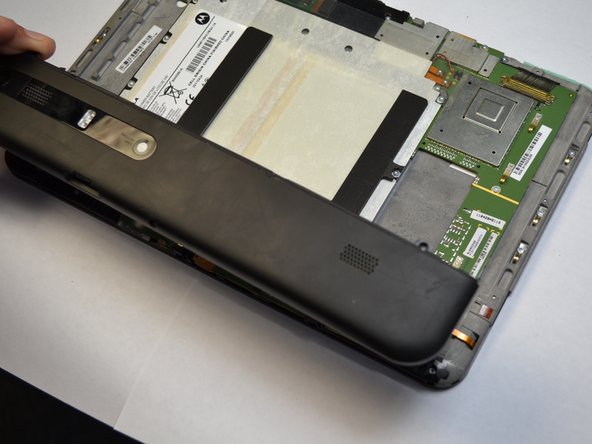
    • Apply light pressure with hand and slide the back plate till it stops in this position.

    • There is a flex clip on both sides that need to be pushed down in order for the plate to slide off completely. Use a plastic opening tool to release the flex clips. They are located under the back cover near the sides.

    • As soon as the clips are released the back should slide off.

    Ask FixBot

    Add Comment

  3. Motorola Xoom Wifi Display Assembly Replacement: step 3, image 1 of 3 Motorola Xoom Wifi Display Assembly Replacement: step 3, image 2 of 3 Motorola Xoom Wifi Display Assembly Replacement: step 3, image 3 of 3
    • Remove last two 4.2 mm screws from the remaining back piece with a T5 Torx screwdriver.

    • Once both screws are taken out, lift the rest of the backing out of the way.

    Ask FixBot

    Add Comment

  4. Motorola Xoom Wifi Display Assembly Replacement, Battery: step 4, image 1 of 2 Motorola Xoom Wifi Display Assembly Replacement, Battery: step 4, image 2 of 2
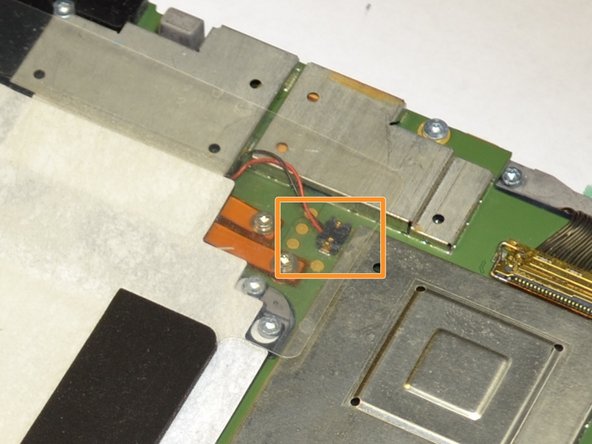
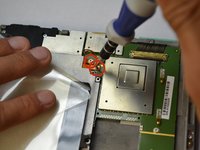
    • Remove the two battery leads with a T-5 Torx screwdriver.

    • Grab the red and black wires with your fingers and gently lift to disconnect black wire connector from the motherboard.

    Ask FixBot

    Add Comment

  5. Motorola Xoom Wifi Display Assembly Replacement: step 5, image 1 of 2 Motorola Xoom Wifi Display Assembly Replacement: step 5, image 2 of 2
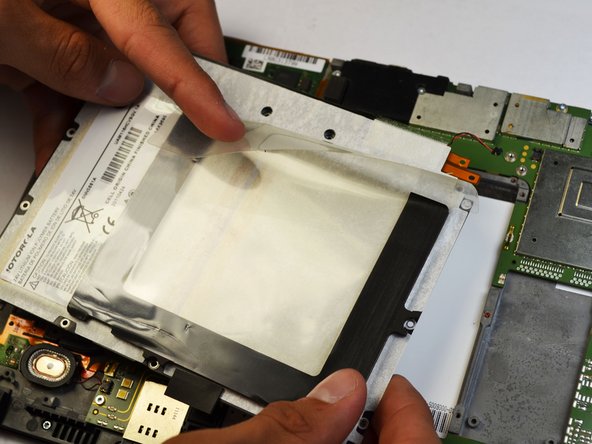
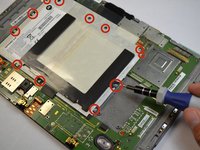
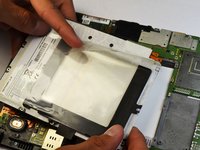
    • All that holds the battery in are twelve screws. Remove them with a T-6 Torx screwdriver.

    • The battery should lift out easily.

    Ask FixBot

    Add Comment

  6. Motorola Xoom Wifi Display Assembly Replacement, Speakers: step 6, image 1 of 2 Motorola Xoom Wifi Display Assembly Replacement, Speakers: step 6, image 2 of 2
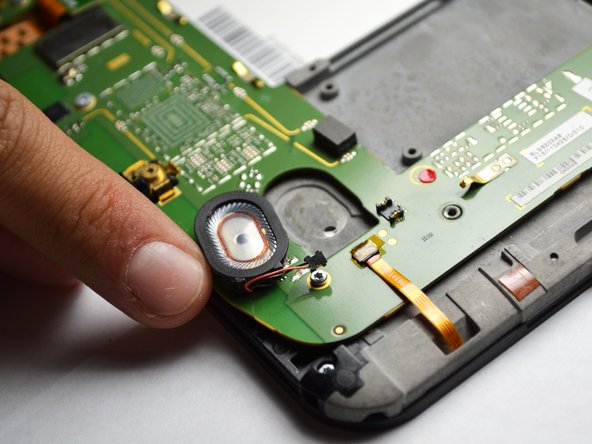
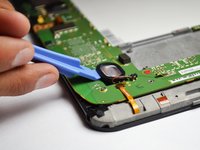
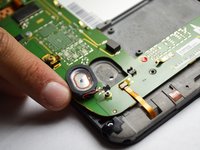
    • Use a plastic opening tool to pop out the speaker. Make sure to carefully pull off the wire as well.

    • Replace speaker if necessary.

    Ask FixBot

    Add Comment

  7. Motorola Xoom Wifi Display Assembly Replacement, Back-Facing Camera: step 7, image 1 of 2 Motorola Xoom Wifi Display Assembly Replacement, Back-Facing Camera: step 7, image 2 of 2
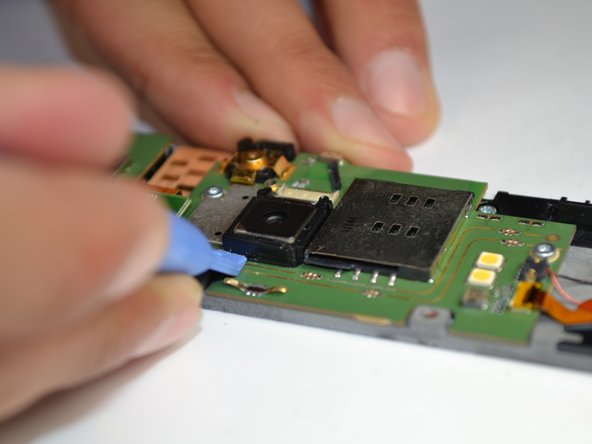
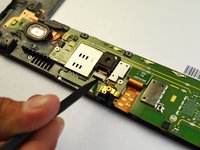
    • Use a spudger or a fine tip to lift the black tab to a vertical position.

    • A spudger is needed to remove the plastic border around the camera.

    Ask FixBot

    Add Comment

  8. Motorola Xoom Wifi Display Assembly Replacement: step 8, image 1 of 2 Motorola Xoom Wifi Display Assembly Replacement: step 8, image 2 of 2
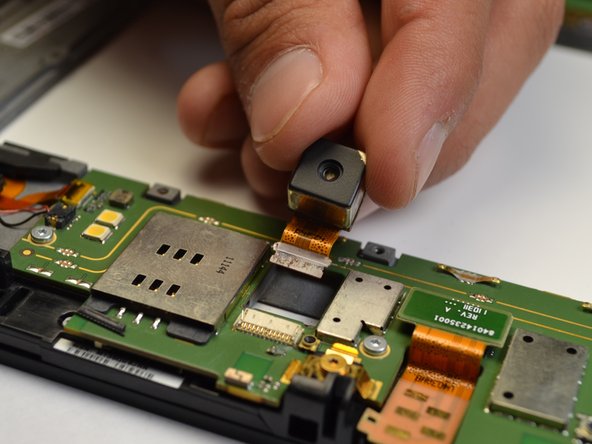
    • When lifting the camera out, be sure to pull the orange ribbon cable as well.

    Ask FixBot

    Add Comment

  9. Motorola Xoom Wifi Display Assembly Replacement, Motherboard: step 9, image 1 of 3 Motorola Xoom Wifi Display Assembly Replacement, Motherboard: step 9, image 2 of 3 Motorola Xoom Wifi Display Assembly Replacement, Motherboard: step 9, image 3 of 3
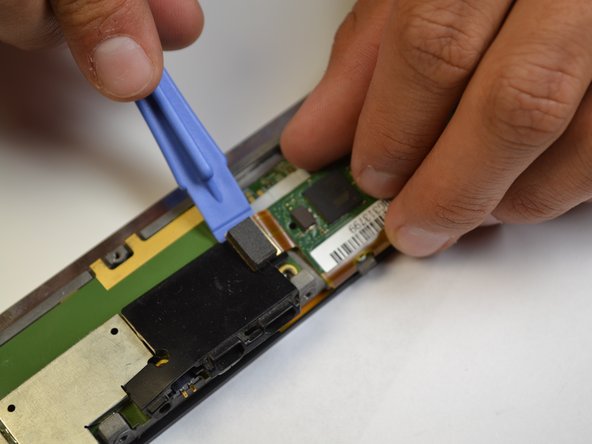
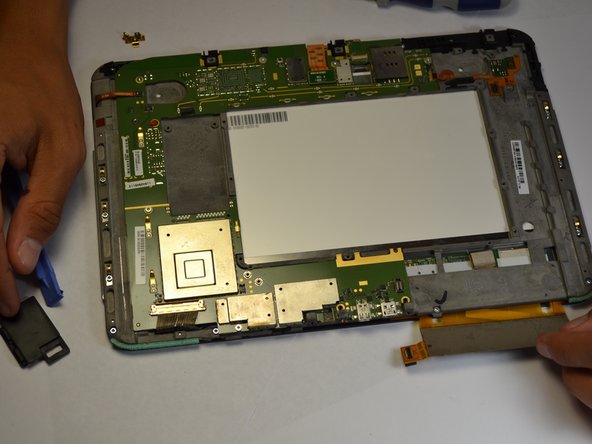
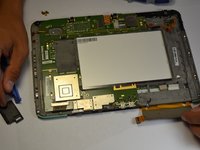
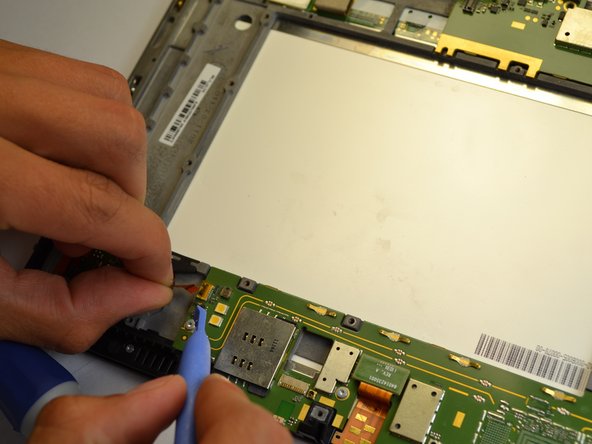
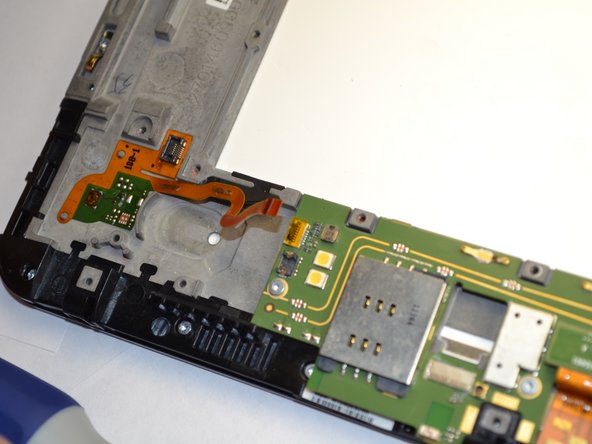
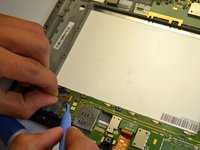
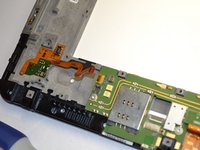
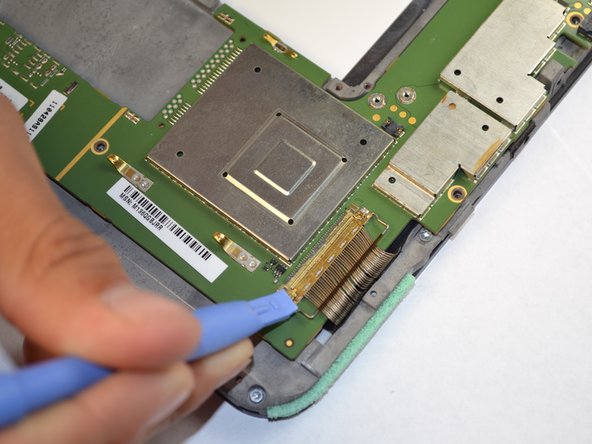
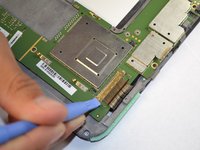
    • Take a plastic opening tool and carefully pry off the touch screen controller connection.

    • Be careful with the black cover under the connection.

    Ask FixBot

    Add Comment

  10. Motorola Xoom Wifi Display Assembly Replacement: step 10, image 1 of 3 Motorola Xoom Wifi Display Assembly Replacement: step 10, image 2 of 3 Motorola Xoom Wifi Display Assembly Replacement: step 10, image 3 of 3
    • There are two relay wires that must be disconnected.

    • Pull both relay wires out of their connection ports.

    • Make sure to flip up the small black tab before you pull out the wire.

    Ask FixBot

    Add Comment

  11. Motorola Xoom Wifi Display Assembly Replacement: step 11, image 1 of 2 Motorola Xoom Wifi Display Assembly Replacement: step 11, image 2 of 2
    • Using a plastic opener, lift the metal bar clasping the wire harness to the motherboard.

    Ask FixBot

    Add Comment

  12. Motorola Xoom Wifi Display Assembly Replacement: step 12, image 1 of 3 Motorola Xoom Wifi Display Assembly Replacement: step 12, image 2 of 3 Motorola Xoom Wifi Display Assembly Replacement: step 12, image 3 of 3
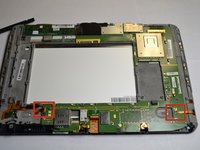
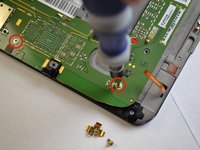
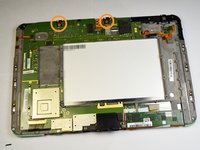
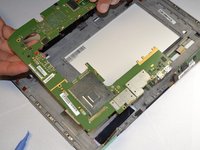
    • There are eight 3.5mm screws that hold the motherboard in. Use a T-5 Torx screwdriver to take the screws loose. These screws are outlined in a gold color on the motherboard.

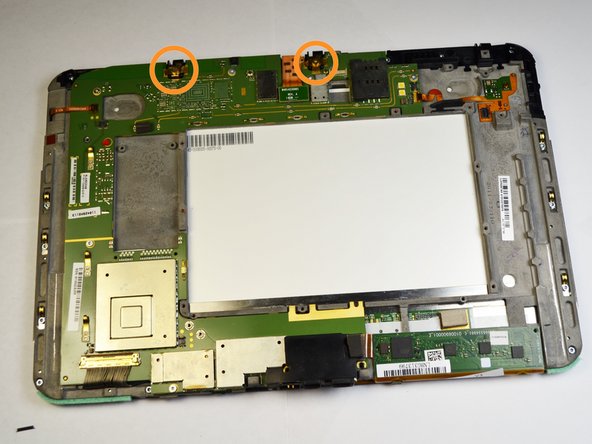
    • Two gold colored screws with brackets are located in the orange circles. A T-5 Torx screwdriver is needed to take these 3.1mm screws.

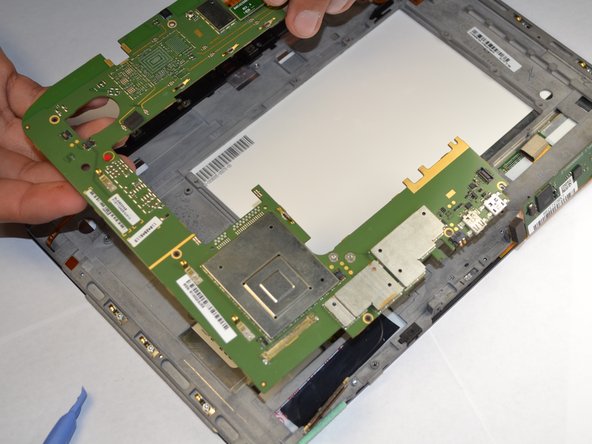
    • Motherboard should lift out easily and completely.

    Ask FixBot

    Add Comment

  13. Motorola Xoom Wifi Display Assembly Replacement, Display Assembly: step 13, image 1 of 2 Motorola Xoom Wifi Display Assembly Replacement, Display Assembly: step 13, image 2 of 2
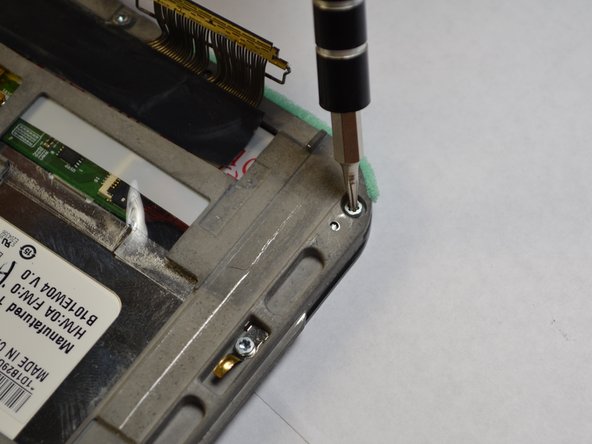
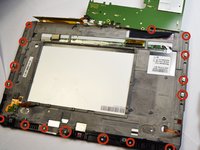
    • Using the T-6 Torx screwdriver, unscrew the 17 4mm screws along the edge of the screen frame.

    Ask FixBot

    Add Comment

  14. Motorola Xoom Wifi Display Assembly Replacement: step 14, image 1 of 2 Motorola Xoom Wifi Display Assembly Replacement: step 14, image 2 of 2
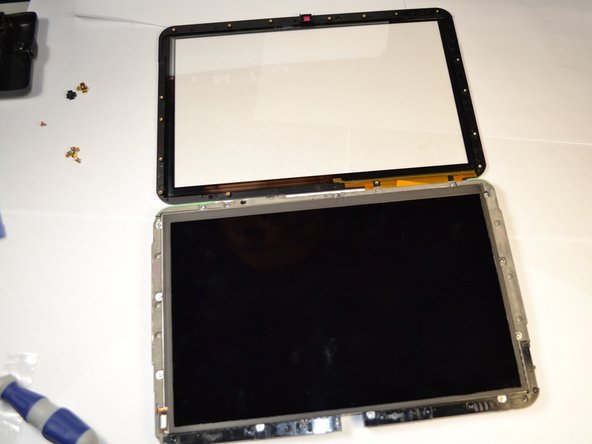
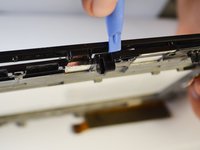
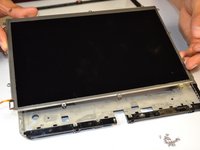
    • Take the small plastic opening tool and separate the front glass from the screen frame.

    • Unfold the glass and the frame flat on the table.

    Ask FixBot

    Add Comment

  15. Motorola Xoom Wifi Display Assembly Replacement: step 15, image 1 of 3 Motorola Xoom Wifi Display Assembly Replacement: step 15, image 2 of 3 Motorola Xoom Wifi Display Assembly Replacement: step 15, image 3 of 3
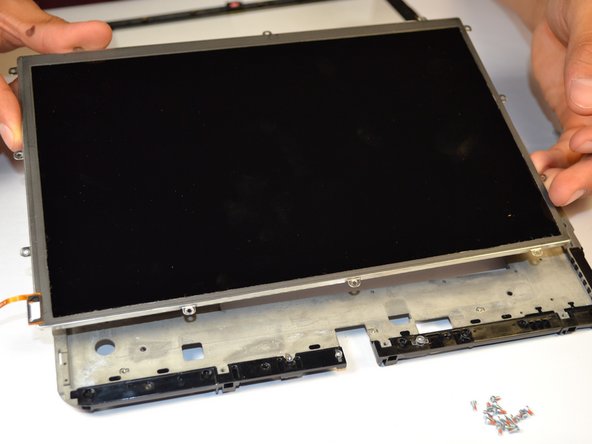
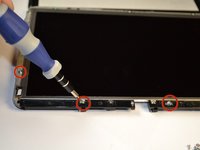
    • Using the T-5 Torx screwdriver, unscrew the 12 4.1mm screws along the edge of the screen.

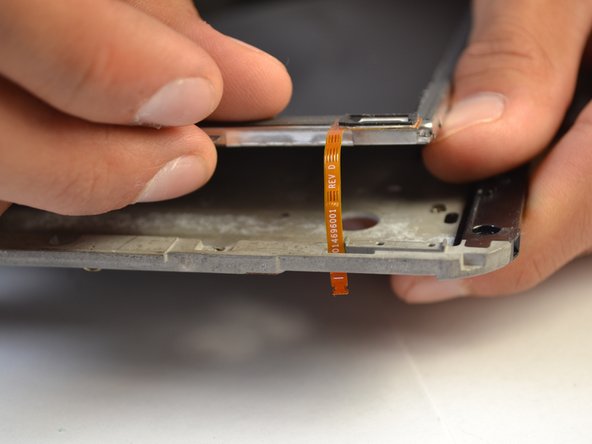
    • Pull ribbon wire out of slot in the frame to pull the screen off of the frame.

    Ask FixBot

    Add Comment

Conclusion

To reassemble your device, follow these instructions in reverse order.

Cancel: I did not complete this guide.

5 other people completed this guide.

Andrew Mercier

Member since: 04/14/14

532 Reputation

3 Guides authored

Team

Cal Poly, Team 3-39, Maness Spring 2014 Member of Cal Poly, Team 3-39, Maness Spring 2014

CPSU-MANESS-S14S3G39

4 Members

16 Guides authored

0 Guide Comments

Add Comment

View Statistics:

Past 24 Hours: 0

Past 7 Days: 5

Past 30 Days: 30

All Time: 1,996