Free Shipping on Domestic Orders $75+

Motorola V710 Logic Board Replacement

What you need

    1. Motorola V710 Logic Board Replacement, Battery: step 1, image 1 of 3 Motorola V710 Logic Board Replacement, Battery: step 1, image 2 of 3 Motorola V710 Logic Board Replacement, Battery: step 1, image 3 of 3
      • Press down on the back button while pulling away from the body of the phone to release the back cover.

      Ask FixBot

      Add Comment

    2. Motorola V710 Logic Board Replacement: step 2, image 1 of 3 Motorola V710 Logic Board Replacement: step 2, image 2 of 3 Motorola V710 Logic Board Replacement: step 2, image 3 of 3
      • Remove the battery from the phone by gently pulling upward on the battery with your fingers.

      Ask FixBot

      Add Comment

    1. Motorola V710 Logic Board Replacement, Logic Board: step 3, image 1 of 2 Motorola V710 Logic Board Replacement, Logic Board: step 3, image 2 of 2
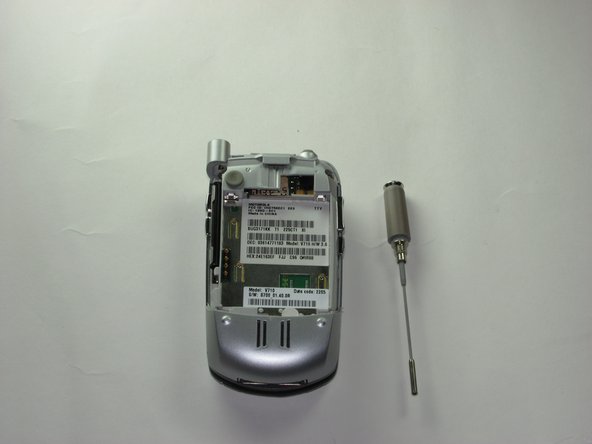
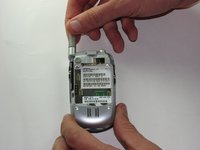
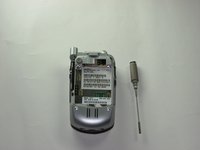
      • Unscrew and remove the antenna by gripping the base and twisting clockwise.

      • Once the antenna has passed the threading, pull out.

      Ask FixBot

      Add Comment

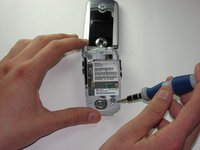
    2. Motorola V710 Logic Board Replacement: step 4, image 1 of 2 Motorola V710 Logic Board Replacement: step 4, image 2 of 2
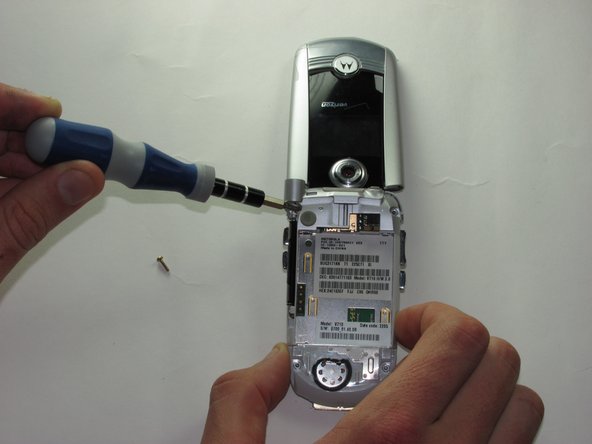
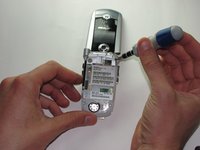
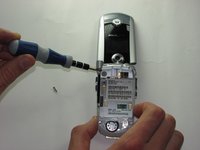
      • Remove the screws from the upper side of the phone with the T6 Torx screwdriver.

      • The first screw is underneath where the antenna was and the other is visible to the right.

      Ask FixBot

      Add Comment

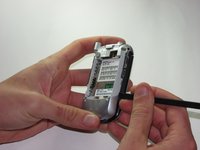
    3. Motorola V710 Logic Board Replacement: step 5, image 1 of 3 Motorola V710 Logic Board Replacement: step 5, image 2 of 3 Motorola V710 Logic Board Replacement: step 5, image 3 of 3
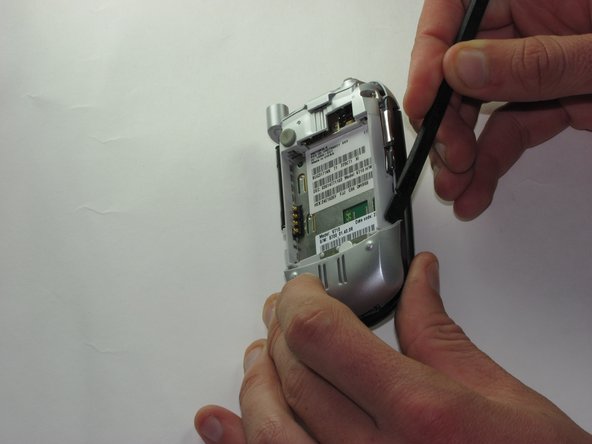
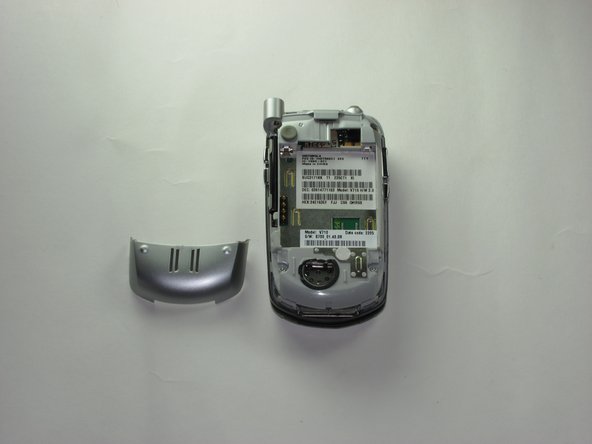
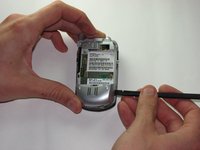
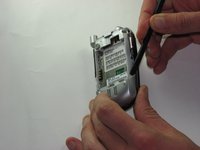
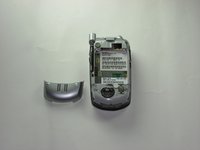
      • Insert the spudger under the left corner of the bottom plate.

      • Using a twist and pry motion seperate the bottom plate and work your way to the right.

      • This can be somewhat difficult and require a good deal of work.

      Ask FixBot

      Add Comment

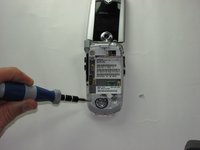
    4. Motorola V710 Logic Board Replacement: step 6, image 1 of 2 Motorola V710 Logic Board Replacement: step 6, image 2 of 2
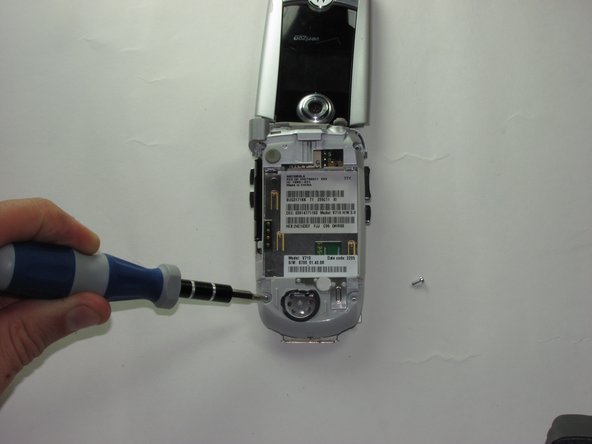
      • Use the T6 Torx screwdriver to remove the bottom two screws.

      Ask FixBot

      Add Comment

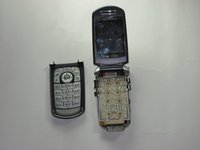
    5. Motorola V710 Logic Board Replacement: step 7, image 1 of 2 Motorola V710 Logic Board Replacement: step 7, image 2 of 2
      • Insert the spudger between the key plate and the back of the phone and work your way around the edge of the phone to pop keys off.

      • There is one clasp on either side that needs to be removed before the keys come off.

      • This step is extremely hard and may require time, strength, endurance, and multiple spudgers.

      Ask FixBot

      Add Comment

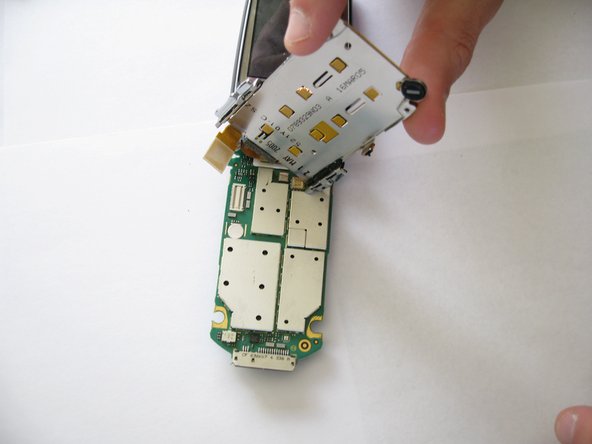
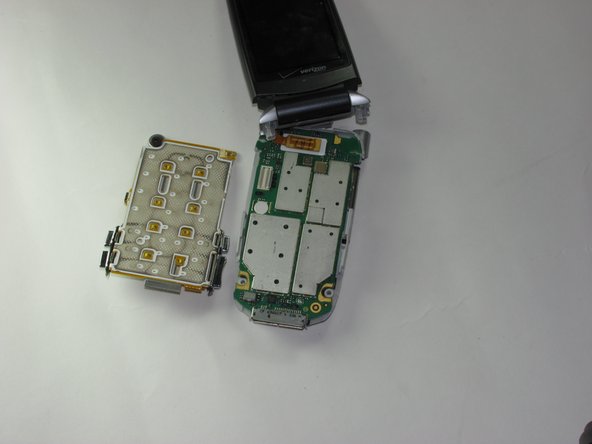
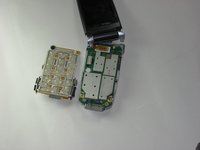
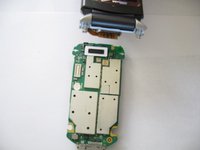
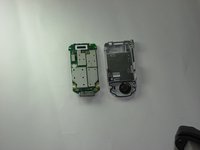
    6. Motorola V710 Logic Board Replacement: step 8, image 1 of 3 Motorola V710 Logic Board Replacement: step 8, image 2 of 3 Motorola V710 Logic Board Replacement: step 8, image 3 of 3
      • Pull the pressure plate forward to expose the logic board.

      • Use the spludger to pry off the plug that connects pressure pad to the logic board.

      • Remove the pressure pad.

      Ask FixBot

      Add Comment

    7. Motorola V710 Logic Board Replacement: step 9, image 1 of 1
      • Use the spudger to pry off the plug that connects logic board to the screen.

      Ask FixBot

      Add Comment

    8. Motorola V710 Logic Board Replacement: step 10, image 1 of 2 Motorola V710 Logic Board Replacement: step 10, image 2 of 2
      • Remove the logic board.

      Ask FixBot

      Add Comment

Conclusion

To reassemble your device, follow these instructions in reverse order.

Cancel: I did not complete this guide.

One other person completed this guide.

Karl Sanders

Member since: 01/26/10

8 Reputation

7 Guides authored

Team

Cal Poly, Team 8-49, Regan Winter 2010 Member of Cal Poly, Team 8-49, Regan Winter 2010

CPSU-REGAN-W10S8G49

5 Members

96 Guides authored

0 Guide Comments

Add Comment

View Statistics:

Past 24 Hours: 2

Past 7 Days: 9

Past 30 Days: 20

All Time: 2,404