Free Shipping on Domestic Orders $75+

Motorola V60s Button Key Pad Replacement

Views: 3.4K

View statistics:

Past 24 Hours:
0
Past 7 Days:
5
Past 30 Days:
33
All Time:
3,381
Comments: 0

No one has left comments on this guide. Will you be first?

Go to guide comments
Completed: 0

No one has marked this guide "completed." Will you be the first?

Favorites: 0

No one has favorited (and subscribed to) this guide. Will you be the first?

Time Required: No estimate
Difficulty: Moderate
Incorrect Tools

Help make this guide better by using the correct tools in images and/or text.

Bullets!

Better coordination with markups and the color/type of bullets will help make this guide more clear!

Missing Details

Some of this guide's details are missing. Help users by adding tools, difficulty, or time.

Motorola V60s Button Key Pad Replacement

Introduction

Go to step 1 ↓

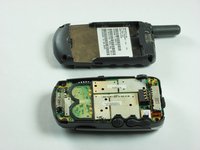
This guide will describe how to replace the numbered cover buttons in the in-hand partition of the Motorola V60.

What you need

Tools

    1. Motorola V60s Button Key Pad Replacement, Battery: step 1, image 1 of 3 Motorola V60s Button Key Pad Replacement, Battery: step 1, image 2 of 3 Motorola V60s Button Key Pad Replacement, Battery: step 1, image 3 of 3
      • Push in release lever towards top of phone, then use blue spudger to pry case off.

      • After case is removed from the back of the phone, you can simply use your hands to take it the rest of the way off.

      • Set cover aside in a safe location.

      Ask FixBot

      Add Comment

    2. Motorola V60s Button Key Pad Replacement: step 2, image 1 of 2 Motorola V60s Button Key Pad Replacement: step 2, image 2 of 2
      • Carefully grab battery towards bottom of phone.

      • Lift from bottom and take out of phone, set aside in a safe location.

      Ask FixBot

      Add Comment

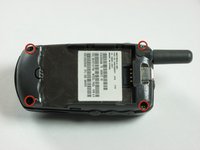
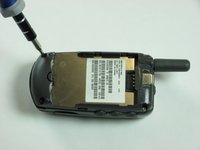
    1. Motorola V60s Button Key Pad Replacement, Motherboard: step 3, image 1 of 2 Motorola V60s Button Key Pad Replacement, Motherboard: step 3, image 2 of 2
      • Remove the four corner screws with a T6 screwdriver.

      • The two top screws are short and silver. The two bottom screws are black and long.

      Ask FixBot

      Add Comment

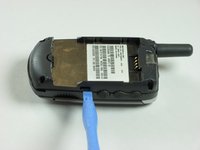
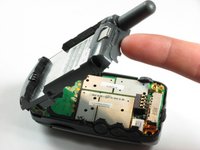
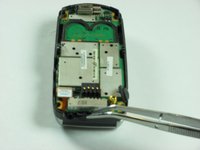
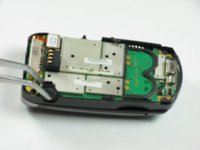
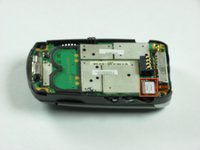
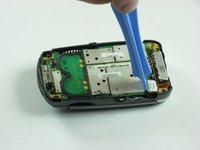
    2. Motorola V60s Button Key Pad Replacement: step 4, image 1 of 3 Motorola V60s Button Key Pad Replacement: step 4, image 2 of 3 Motorola V60s Button Key Pad Replacement: step 4, image 3 of 3
      • Use a spudger to gently pry off back chassis. Wedge the spudger in crevice between back panel and phone and lift.

      Ask FixBot

      Add Comment

    3. Motorola V60s Button Key Pad Replacement: step 5, image 1 of 3 Motorola V60s Button Key Pad Replacement: step 5, image 2 of 3 Motorola V60s Button Key Pad Replacement: step 5, image 3 of 3
      • Starting from left side of phone, remove side buttons and place aside.

      • There are three buttons. One on each side, and the top.

      • Return phone to starting orientation when done.

      Ask FixBot

      Add Comment

    4. Motorola V60s Button Key Pad Replacement: step 6, image 1 of 3 Motorola V60s Button Key Pad Replacement: step 6, image 2 of 3 Motorola V60s Button Key Pad Replacement: step 6, image 3 of 3
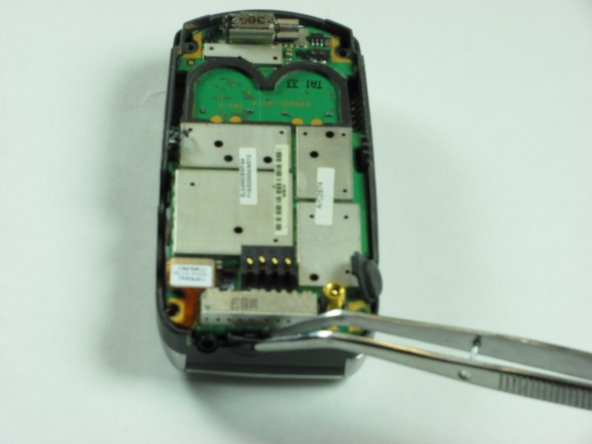
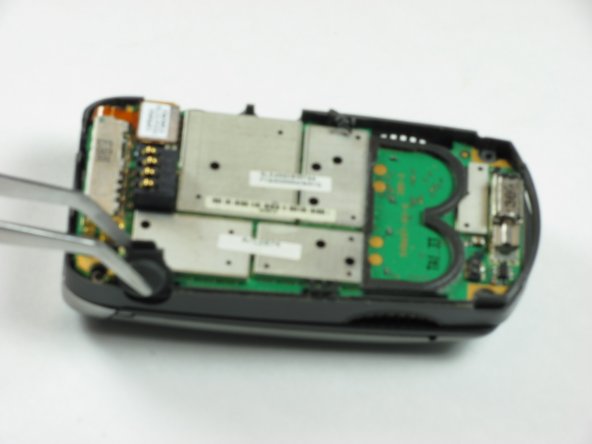
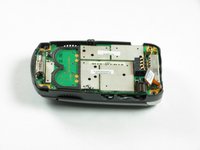
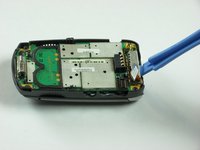
      • Gently remove orange ribbon cable by prying up with spudger.

      Ask FixBot

      Add Comment

    5. Motorola V60s Button Key Pad Replacement: step 7, image 1 of 2 Motorola V60s Button Key Pad Replacement: step 7, image 2 of 2
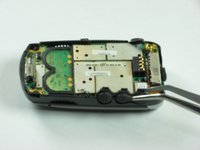
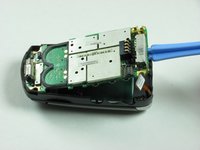
      • Use a spudger to pry up logic board by wedging in between logic board and chassis and lifting.

      • Orange ribbon cable is fragile and can be broken.

      Ask FixBot

      Add Comment

    1. Motorola V60s Button Key Pad Replacement, Button Key Board: step 8, image 1 of 2 Motorola V60s Button Key Pad Replacement, Button Key Board: step 8, image 2 of 2
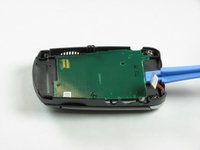
      • Insert an opening tool under the button board and gently lift.

      Ask FixBot

      Add Comment

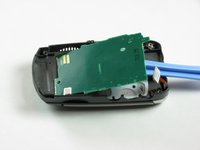
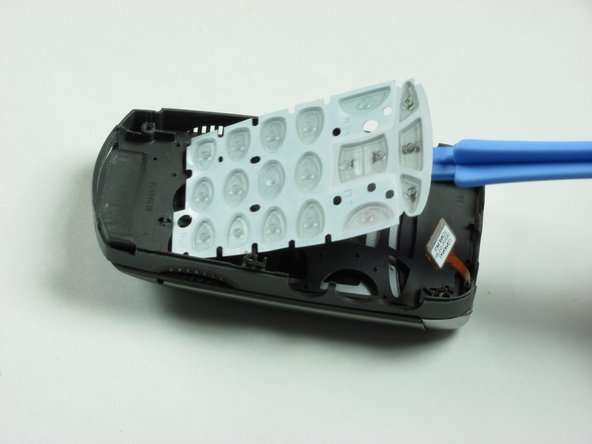
    1. Motorola V60s Button Key Pad Replacement, Button Key Pad: step 9, image 1 of 2 Motorola V60s Button Key Pad Replacement, Button Key Pad: step 9, image 2 of 2
      • Life button keypad with spudger and set aside.

      Ask FixBot

      Add Comment

Conclusion

To reassemble your device, follow these instructions in reverse order.

Cancel: I did not complete this guide.

Eric Freeman

Member since: 01/26/10

12 Reputation

7 Guides authored

Team

Cal Poly, Team 8-48, Regan Winter 2010 Member of Cal Poly, Team 8-48, Regan Winter 2010

CPSU-REGAN-W10S8G48

4 Members

84 Guides authored

0 Guide Comments

Add Comment

View Statistics:

Past 24 Hours: 0

Past 7 Days: 5

Past 30 Days: 33

All Time: 3,381