
Motorola V325 External Casing Replacement

Minh Tran and 4 other contributors
Last updated on Feb 19, 2016
Views: 2.4K
View statistics:
- Past 24 Hours:
- 0
- Past 7 Days:
- 6
- Past 30 Days:
- 30
- All Time:
- 2,435
Comments: 0
No one has left comments on this guide. Will you be first?
Go to guide commentsCompleted: 0 1
No one has marked this guide "completed." Will you be the first?
1 person has marked this guide "completed." It's you — great job!
Favorites: 1 2
1 person has favorited (and subscribed to) this guide. Will you be next?
2 people have favorited (and subscribed to) this guide — including you!
Introduction
Go to step 1 ↓The outer housing can be removed to be cleaned or swapped to a custom housing.
What you need
Tools

-
-
-
Remove the rearmost panel by pushing down on the silver button, then simultaneously pulling downward on the panel.
-
Lift the panel off of the phone.
 Ask FixBot
-
-
-
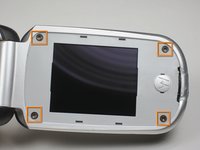
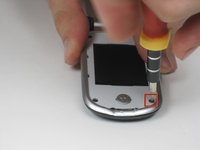
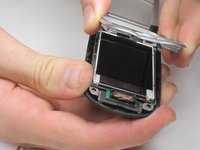
Using your thumbnail or a thin flat head screwdriver, peel back the screen protector on the inside of the phone: It is only held on by glue but may take a good amount of force to be removed.
-
-
-
-
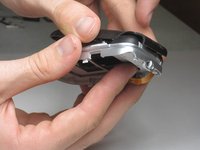
Peel back the screen protector frame. Close phone at the hinge, then pull off the front outer casing.
-
-




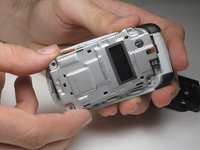
To reassemble your device, follow these instructions in reverse order.

Team

Cal Poly, Team 4-15, Forte Winter 2010 Member of Cal Poly, Team 4-15, Forte Winter 2010
CPSU-FORTE-W10S4G15
5 Members
96 Guides authored
