Free Shipping on Domestic Orders $75+

Motorola V2397 Motherboard/Screen Replacement

What you need

  1. Motorola V2397 Motherboard/Screen Replacement, Battery: step 1, image 1 of 3 Motorola V2397 Motherboard/Screen Replacement, Battery: step 1, image 2 of 3 Motorola V2397 Motherboard/Screen Replacement, Battery: step 1, image 3 of 3
    • Press and hold the button on the battery cover

    • Pull the battery cover down and out to remove it

    Ask FixBot

    Add Comment

  2. Motorola V2397 Motherboard/Screen Replacement: step 2, image 1 of 2 Motorola V2397 Motherboard/Screen Replacement: step 2, image 2 of 2
    • Remove the batteries by pulling them away from the phone

    Ask FixBot

    Add Comment

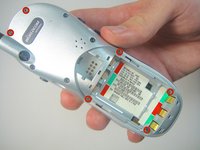
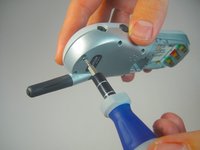
  3. Motorola V2397 Motherboard/Screen Replacement, Back Cover: step 3, image 1 of 2 Motorola V2397 Motherboard/Screen Replacement, Back Cover: step 3, image 2 of 2
    • Using the Torx T4 screwdriver remove the six screws highlighted in the picture to the left

    Ask FixBot

    Add Comment

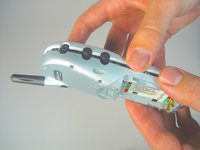
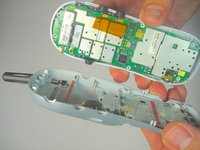
  4. Motorola V2397 Motherboard/Screen Replacement: step 4, image 1 of 2 Motorola V2397 Motherboard/Screen Replacement: step 4, image 2 of 2
    • Use your fingers or a spudger to remove the back cover

    Ask FixBot

    Add Comment

  5. Motorola V2397 Motherboard/Screen Replacement, Phone: step 5, image 1 of 2 Motorola V2397 Motherboard/Screen Replacement, Phone: step 5, image 2 of 2
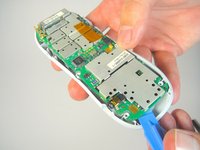
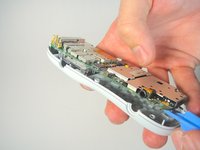
    • Place your plastic opening tool in between the motherboard and the front cover of the phone

    • Apply a small force to lift the motherboard away from the front cover

    Ask FixBot

    Add Comment

  6. Motorola V2397 Motherboard/Screen Replacement, Motherboard/Screen: step 6, image 1 of 2 Motorola V2397 Motherboard/Screen Replacement, Motherboard/Screen: step 6, image 2 of 2
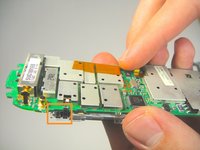
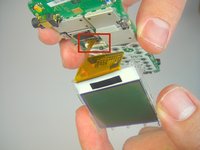
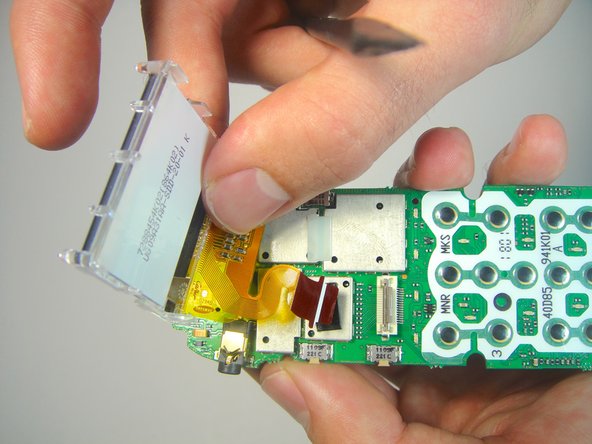
    • Use your fingers to unhook the highlighted plastic frame of the screen from motherboard

    • Carefully separate the screen from the motherboard

    • Note the cable connecting the screen to the motherboard. Do not pull the screen too far from the motherboard or you may damage the cable

    Ask FixBot

    Add Comment

  7. Motorola V2397 Motherboard/Screen Replacement: step 7, image 1 of 2 Motorola V2397 Motherboard/Screen Replacement: step 7, image 2 of 2
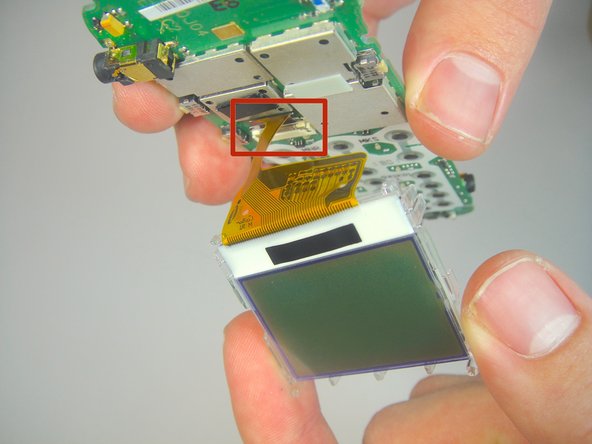
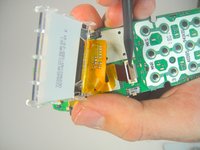
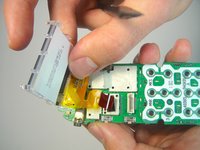
    • Lift the flap of the connector on the motherboard using a spudger

    • Carefully remove the FFC cable from the connector

    • The screen should now be free from the motherboard

    Ask FixBot

    Add Comment

Conclusion

To reassemble your device, follow these instructions in reverse order.

Cancel: I did not complete this guide.

Chris

Member since: 01/13/15

501 Reputation

5 Guides authored

Team

USF Tampa, Team 1-6, Sullivan Winter 2015 Member of USF Tampa, Team 1-6, Sullivan Winter 2015

USFT-SULLIVAN-W15S1G6

4 Members

24 Guides authored

0 Guide Comments

Add Comment

View Statistics:

Past 24 Hours: 0

Past 7 Days: 3

Past 30 Days: 15

All Time: 387