Free Shipping on Domestic Orders $75+

Motorola Razr V3c Lower Casing (CDMA) Replacement

What you need

  1. Motorola Razr V3c Lower Casing (CDMA) Replacement, Battery (CDMA): step 1, image 1 of 3 Motorola Razr V3c Lower Casing (CDMA) Replacement, Battery (CDMA): step 1, image 2 of 3 Motorola Razr V3c Lower Casing (CDMA) Replacement, Battery (CDMA): step 1, image 3 of 3
    • Press down on the the rear panel release button while simultaneously prying the rear panel straight away from the V3c.

    • Lift and remove the rear panel away from the V3c.

    Ask FixBot

    Add Comment

  2. Motorola Razr V3c Lower Casing (CDMA) Replacement: step 2, image 1 of 2 Motorola Razr V3c Lower Casing (CDMA) Replacement: step 2, image 2 of 2
    • Remove the battery by pushing in the top of the battery and lifting it away from the phone.

    Ask FixBot

    Add Comment

  3. Motorola Razr V3c Lower Casing (CDMA) Replacement, Speaker (CDMA): step 3, image 1 of 1
    • Unscrew the two screws in the back using the T6.

    Ask FixBot

    Add Comment

  4. Motorola Razr V3c Lower Casing (CDMA) Replacement: step 4, image 1 of 1
    • Use the plastic opening tool to pop the bottom and the sides off the back casing.

    • Be careful not to pull the back lower cover off too far as it is connected to the phone body by a ribbon.

    Ask FixBot

    Add Comment

  5. Motorola Razr V3c Lower Casing (CDMA) Replacement: step 5, image 1 of 1
    • Peel off the connector between the motherboard and the body of the phone.

    Ask FixBot

    Add Comment

  6. Motorola Razr V3c Lower Casing (CDMA) Replacement: step 6, image 1 of 2 Motorola Razr V3c Lower Casing (CDMA) Replacement: step 6, image 2 of 2
    Tool used on this step:
    Tweezers
    $4.99
    Buy
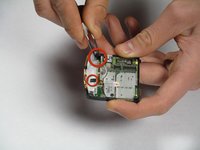
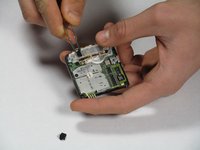
    • Pull out the two black rubber covers using tweezers.

    • The second rubber cover is much harder to get out.

    Ask FixBot

    Add Comment

  7. Motorola Razr V3c Lower Casing (CDMA) Replacement: step 7, image 1 of 2 Motorola Razr V3c Lower Casing (CDMA) Replacement: step 7, image 2 of 2
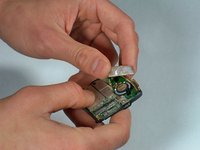
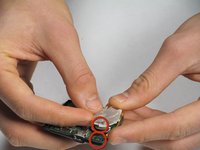
    • Pull out the white plastic cover by unclipping the two plastic pieces shown.

    Ask FixBot

    Add Comment

  8. Motorola Razr V3c Lower Casing (CDMA) Replacement: step 8, image 1 of 1
    • Pull out the speaker.

    Ask FixBot

    Add Comment

  9. Motorola Razr V3c Lower Casing (CDMA) Replacement, Motherboard (CDMA): step 9, image 1 of 2 Motorola Razr V3c Lower Casing (CDMA) Replacement, Motherboard (CDMA): step 9, image 2 of 2
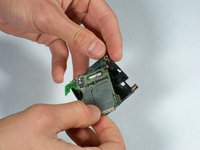
    • Pull out the motherboard.

    • You may also now replace the bottom lower casing

    Ask FixBot

    Add Comment

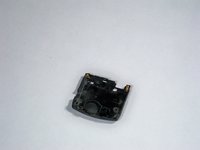
  10. Motorola Razr V3c Lower Casing (CDMA) Replacement, Lower Casing (CDMA): step 10, image 1 of 1
    • Unscrew the two screws holding the plastic speaker cover to the phone with a T5 screwdriver

    Ask FixBot

    Add Comment

  11. Motorola Razr V3c Lower Casing (CDMA) Replacement: step 11, image 1 of 1
    • Pull off and replace the lower front casing

    • The metallic grounding grid will come off when the lower front casing is removed

    • Make sure to reinsert the metallic grounding unit when re-screwing the new lower bottom casing

    Ask FixBot

    Add Comment

Conclusion

To reassemble your device, follow these instructions in reverse order.

Cancel: I did not complete this guide.

One other person completed this guide.

krisko

Member since: 01/14/10

104 Reputation

4 Guides authored

Team

Cal Poly, Team 11-4, Forte Winter 2010 Member of Cal Poly, Team 11-4, Forte Winter 2010

CPSU-FORTE-W10S11G4

3 Members

16 Guides authored

0 Guide Comments

Add Comment

View Statistics:

Past 24 Hours: 1

Past 7 Days: 6

Past 30 Days: 32

All Time: 6,675