Free Shipping on Domestic Orders $75+

Motorola RIZR Z3 LCD Replacement

What you need

  1. Motorola RIZR Z3 LCD Replacement, Battery: step 1, image 1 of 2 Motorola RIZR Z3 LCD Replacement, Battery: step 1, image 2 of 2
    • Press the panel release button on the top of the phone and simultaneously pull the rear panel away from the phone.

    Ask FixBot

    Add Comment

  2. Motorola RIZR Z3 LCD Replacement: step 2, image 1 of 2 Motorola RIZR Z3 LCD Replacement: step 2, image 2 of 2
    • Tilt the battery by lifting at the exposed notch.

    • Slide the battery out of its casing.

    Ask FixBot

    Add Comment

  3. Motorola RIZR Z3 LCD Replacement, Motherboard: step 3, image 1 of 1
    • Use a T4 screwdriver to unscrew all six of the .216 inch screws that attach the housing to the case.

    Ask FixBot

    Add Comment

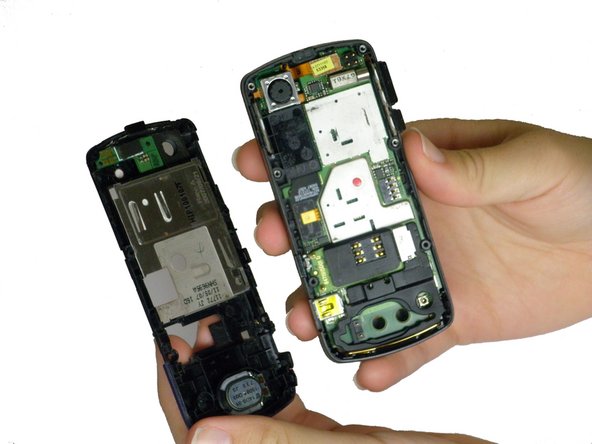
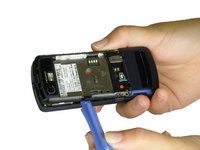
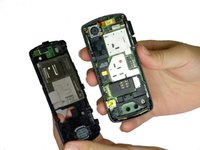
  4. Motorola RIZR Z3 LCD Replacement: step 4, image 1 of 2 Motorola RIZR Z3 LCD Replacement: step 4, image 2 of 2
    • Use a plastic opening tool to lift the plastic casing.

    • Pull the plastic casing directly away from the phone.

    Ask FixBot

    Add Comment

  5. Motorola RIZR Z3 LCD Replacement: step 5, image 1 of 1
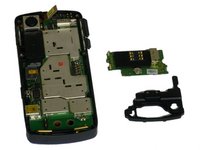
    • Lift the black rubber loudspeaker housing up and out of the plastic casing.

    Ask FixBot

    Add Comment

  6. Motorola RIZR Z3 LCD Replacement: step 6, image 1 of 2 Motorola RIZR Z3 LCD Replacement: step 6, image 2 of 2
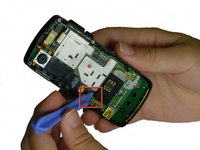
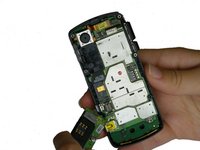
    • Use a plastic opening tool to gently lift up the SIM card reader, located above the rubber antenna casing. You should hear a click as it releases.

    • Caution: Remove carefully, if broken, the phone will not be able to make calls.

    Ask FixBot

    Add Comment

  7. Motorola RIZR Z3 LCD Replacement: step 7, image 1 of 2 Motorola RIZR Z3 LCD Replacement: step 7, image 2 of 2
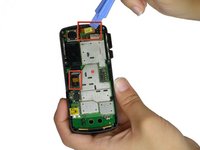
    • Use a plastic opening tool to pry the two ribbon cable connectors, unclipping them from their sockets on the motherboard.

    • Caution: Remove carefully, if broken, the phone will not function properly.

    Ask FixBot

    Add Comment

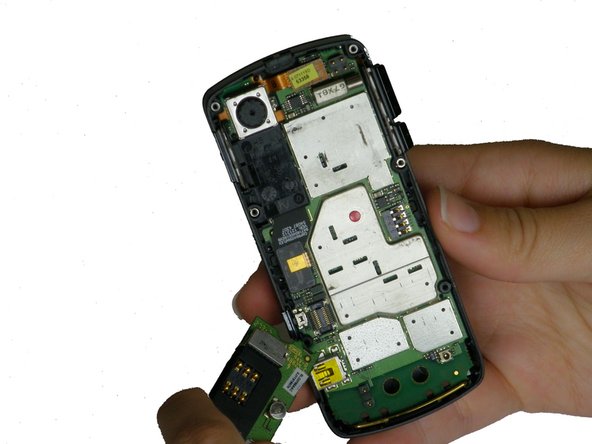
  8. Motorola RIZR Z3 LCD Replacement: step 8, image 1 of 2 Motorola RIZR Z3 LCD Replacement: step 8, image 2 of 2
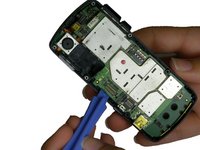
    • Use a plastic opening tool to gently pry the motherboard up until you can tilt it with your fingers. Unhook it from the casing and slowly pull it out.

    • Caution: Do this gently Unclipping too fast may cause damage to your phone.

    Ask FixBot

    Add Comment

  9. Motorola RIZR Z3 LCD Replacement, LCD: step 9, image 1 of 1
    • Turn the phone to the front.

    • Push the keypad out through the plastic casing.

    Ask FixBot

    Add Comment

  10. Motorola RIZR Z3 LCD Replacement: step 10, image 1 of 1
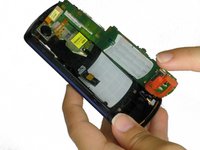
    • Turn the phone to the side.

    • Thread the hinges of the slider through their holes in the casing and pull the slider down and away from the casing.

    Ask FixBot

    Add Comment

  11. Motorola RIZR Z3 LCD Replacement: step 11, image 1 of 1
    • Use a T4 screwdriver to unscrew the two .15 inch screws holding the LCD to the faceplate.

    Ask FixBot

    Add Comment

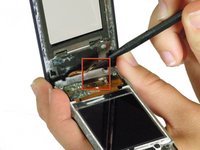
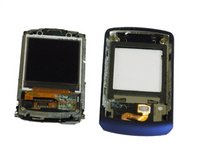
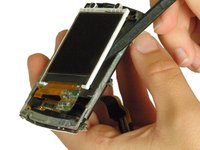
  12. Motorola RIZR Z3 LCD Replacement: step 12, image 1 of 3 Motorola RIZR Z3 LCD Replacement: step 12, image 2 of 3 Motorola RIZR Z3 LCD Replacement: step 12, image 3 of 3
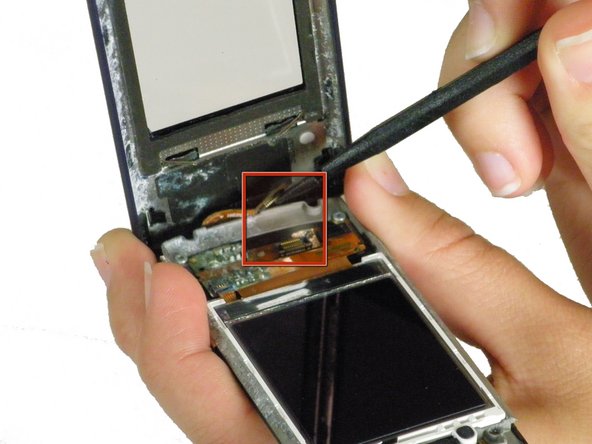
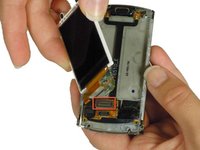
    • Use a spudger to pry the plastic screen casing partially up from the LCD unit.

    • Use the spudger to pry the ribbon cable away from its clip on the LCD unit.

    • Caution: Do this carefully, damage to this ribbon cable will cause a blank screen.

    • Pull the plastic screen casing directly away from the LCD unit.

    Ask FixBot

    Add Comment

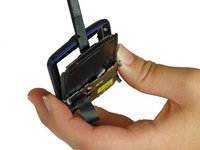
  13. Motorola RIZR Z3 LCD Replacement: step 13, image 1 of 2 Motorola RIZR Z3 LCD Replacement: step 13, image 2 of 2
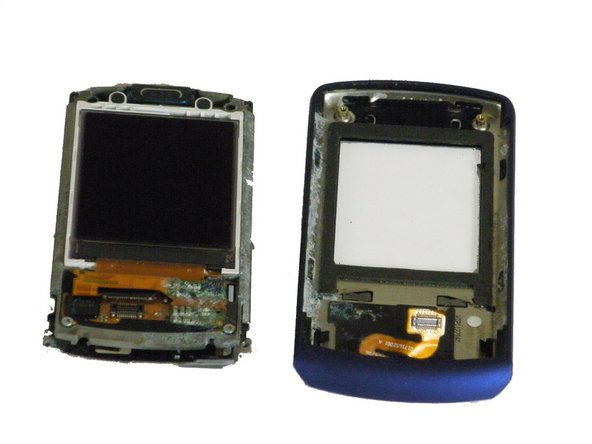
    • Use a spudger to lift the LCD partially away from the metal casing.

    • Use the spudger to pry the ribbon cable directly up from its clip on the metal casing.

    • Caution: Damage to the ribbon cable here will cause screen damage.

    • Pull the LCD completely away from the metal casing.

    Ask FixBot

    Add Comment

Conclusion

To reassemble your device, follow these instructions in reverse order.

Cancel: I did not complete this guide.

Brooke Shuford

Member since: 10/10/11

65 Reputation

3 Guides authored

Team

Cal Poly, Team 5-34, Amido Fall 2011 Member of Cal Poly, Team 5-34, Amido Fall 2011

CPSU-AMIDO-F11S5G34

4 Members

12 Guides authored

0 Guide Comments

Add Comment

View Statistics:

Past 24 Hours: 1

Past 7 Days: 3

Past 30 Days: 32

All Time: 1,305