Free Shipping on Domestic Orders $75+

Motorola Moto Q LCD Display Replacment

What you need

  1. Motorola Moto Q LCD Display Replacment, Back Casing: step 1, image 1 of 1
    • Use the Push Pin to remove the rubber screw covers by pushing the needle into the rubber and pulling up.

    • Be careful not to poke yourself when handling the push pin because it is very sharp.

    Ask FixBot

    Add Comment

  2. Motorola Moto Q LCD Display Replacment: step 2, image 1 of 1
    • Use the T6 screwdriver to remove the four screws holding the casing together.

    • Note: they are in the same place where you removed the four rubber coverings

    Ask FixBot

    Add Comment

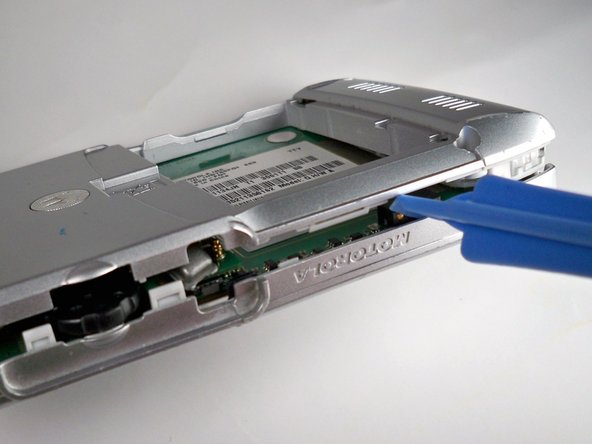
  3. Motorola Moto Q LCD Display Replacment: step 3, image 1 of 2 Motorola Moto Q LCD Display Replacment: step 3, image 2 of 2
    • Wedge the plastic opening tool in between the top and bottom cases. This may require a little or a lot of force so be careful.

    • Note: the phone should be face up and the plastic opening tool should be face downwards

    • Once you get the plastic opening tool in, slide it across the side of the phone, making sure to keep the plastic opening tool wedged in between the two casings.

    • Repeat the 3 steps above for the top, bottom, and opposite side.

    Ask FixBot

    Add Comment

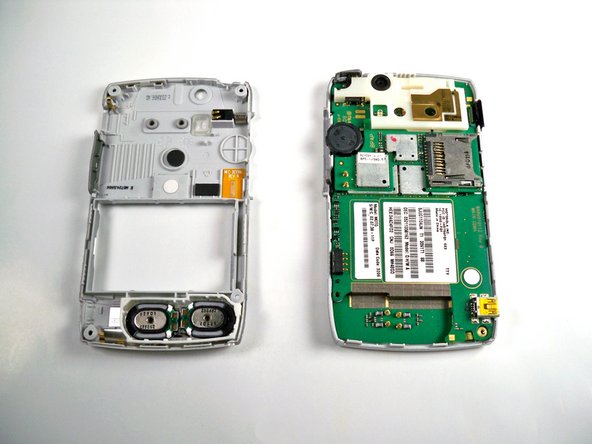
  4. Motorola Moto Q LCD Display Replacment: step 4, image 1 of 2 Motorola Moto Q LCD Display Replacment: step 4, image 2 of 2
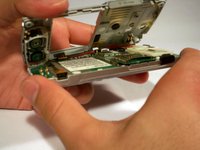
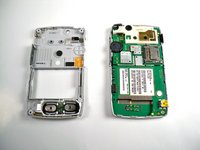
    • Gently lift and remove the back casing.

    Ask FixBot

    Add Comment

  5. Motorola Moto Q LCD Display Replacment, Camera: step 5, image 1 of 2 Motorola Moto Q LCD Display Replacment, Camera: step 5, image 2 of 2
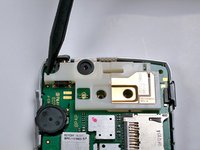
    • Remove the plastic inner cover by placing the spudger under the left-most side and pry to the left and upwards.

    • Gently rotate/wiggle the cover until you can pull it off the phone.

    Ask FixBot

    Add Comment

  6. Motorola Moto Q LCD Display Replacment: step 6, image 1 of 2 Motorola Moto Q LCD Display Replacment: step 6, image 2 of 2
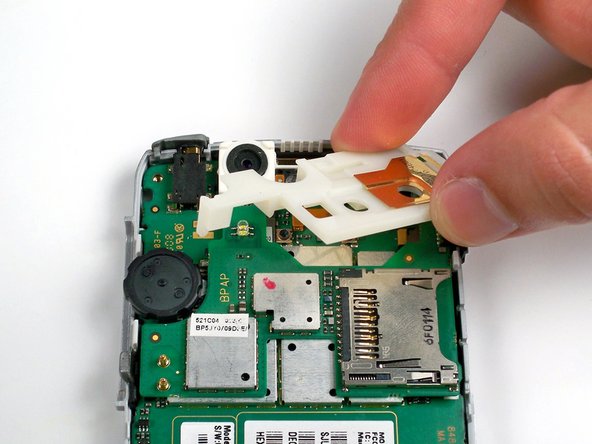
    • Using your fingers, remove the plastic piece that holds the camera in place.

    Ask FixBot

    Add Comment

  7. Motorola Moto Q LCD Display Replacment: step 7, image 1 of 2 Motorola Moto Q LCD Display Replacment: step 7, image 2 of 2
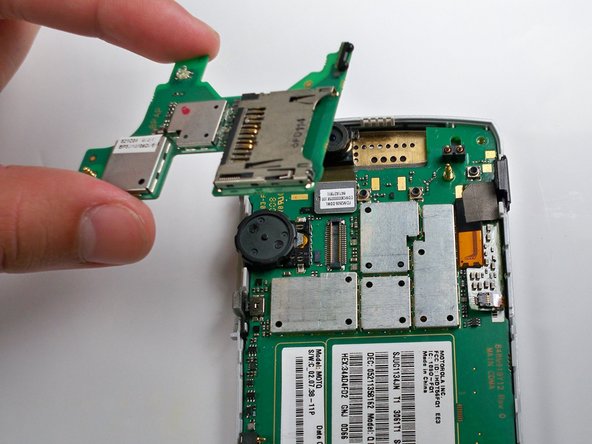
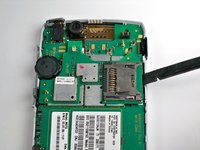
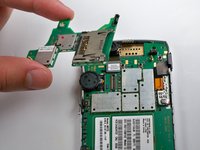
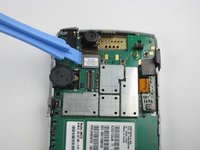
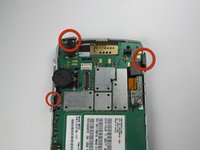
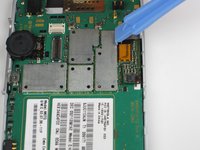
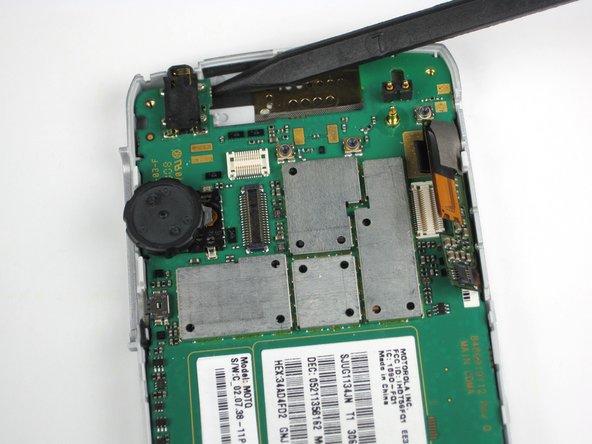
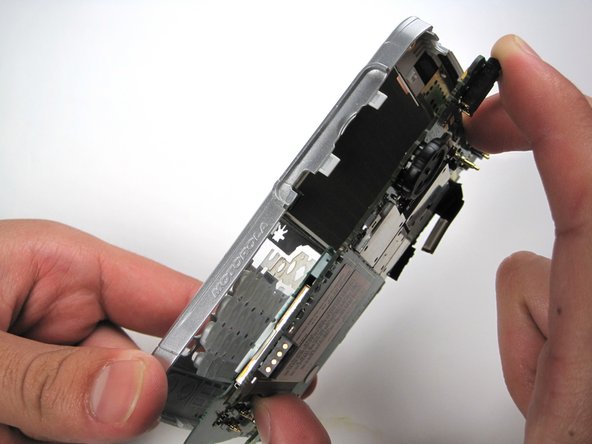
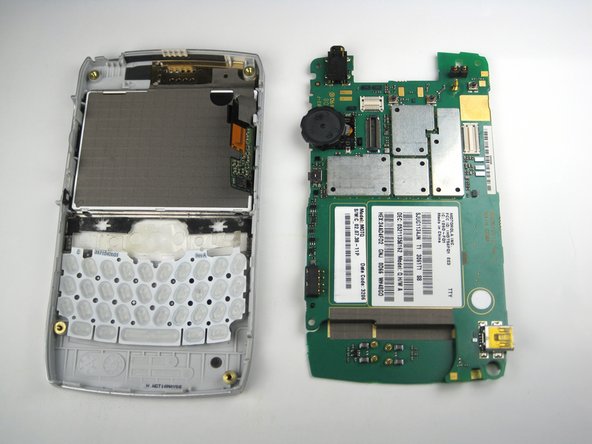
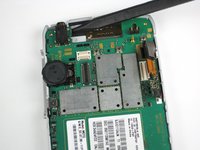
    • Carefully pry up the upper circuit board with the spudger.

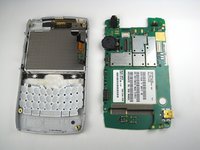
    • The second picture shows what your phone should look like when the upper circuit board is removed.

    Ask FixBot

    Add Comment

  8. Motorola Moto Q LCD Display Replacment: step 8, image 1 of 2 Motorola Moto Q LCD Display Replacment: step 8, image 2 of 2
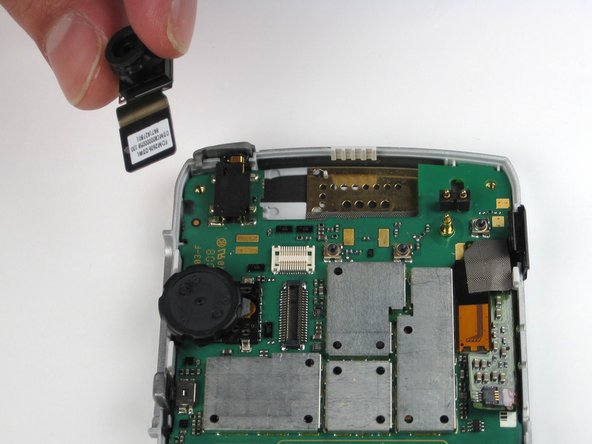
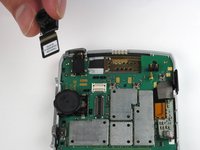
    • Take out the camera and attached chip with the iPod removal tool. Carefully pry the chip off its connection and the camera will come out too.

    Ask FixBot

    Add Comment

  9. Motorola Moto Q LCD Display Replacment, LCD Display: step 9, image 1 of 2 Motorola Moto Q LCD Display Replacment, LCD Display: step 9, image 2 of 2
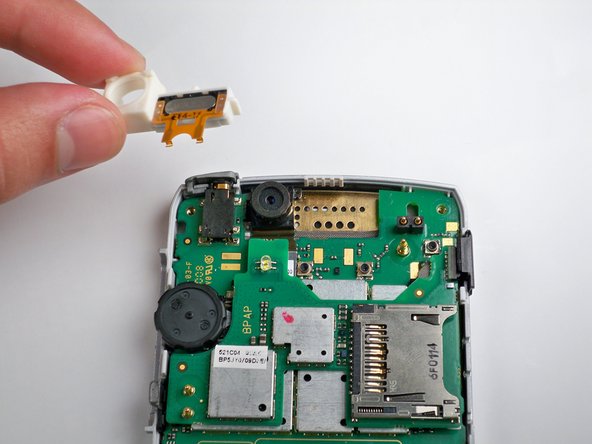
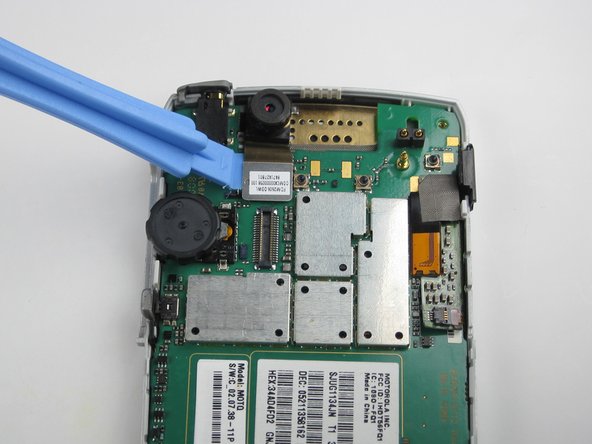
    • Remove the infra red plastic covering,the button on the left side of the phone, and the earphone cover lid by pulling straight up on them with your fingers.

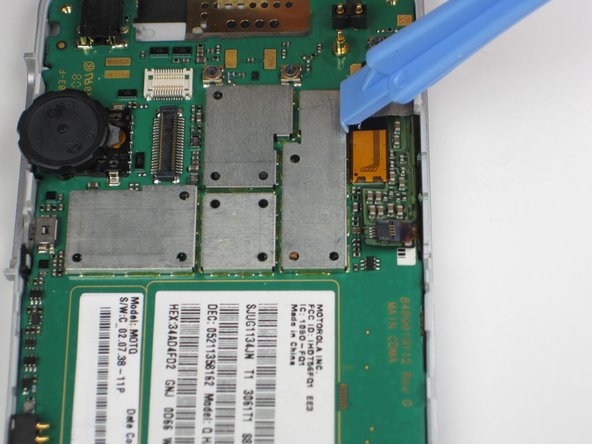
    • Wedge the plastic opening tool in between the logic board and the small orange band and gently pry upwards.

    • Note: the orange band is connected to the logic board by a small connector.

    Ask FixBot

    Add Comment

  10. Motorola Moto Q LCD Display Replacment: step 10, image 1 of 3 Motorola Moto Q LCD Display Replacment: step 10, image 2 of 3 Motorola Moto Q LCD Display Replacment: step 10, image 3 of 3
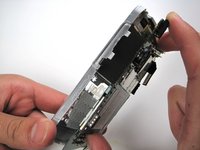
    • Wedge the spudger in between the logic board and the front casing and gently lift while pulling away from the orange ribbon.

    • Note: it is easier to remove the logic board by prying upwards near the top of left corner phone.

    Ask FixBot

    Add Comment

  11. Motorola Moto Q LCD Display Replacment: step 11, image 1 of 3 Motorola Moto Q LCD Display Replacment: step 11, image 2 of 3 Motorola Moto Q LCD Display Replacment: step 11, image 3 of 3
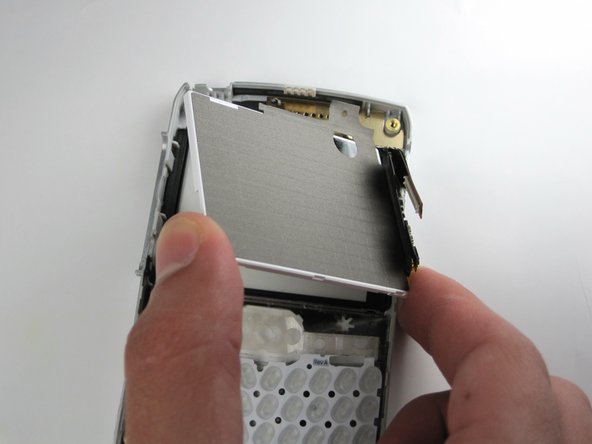
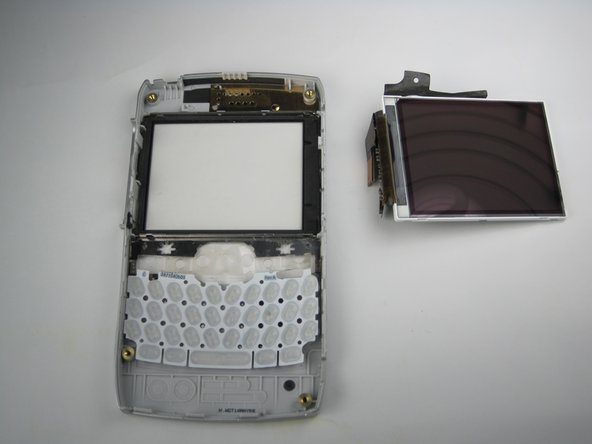
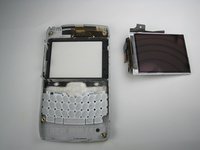
    • Wedge the plastic opening tool between the LCD screen and the metal casing holding it in and lift gently.

    • Note: the LCD screen is also held in place by a silver tape. Simply pull the screen from one side to other to remove the screen completely.

    Ask FixBot

    Add Comment

Conclusion

To reassemble your device, follow these instructions in reverse order.

Cancel: I did not complete this guide.

2 other people completed this guide.

Luis Herrera

Member since: 01/21/10

91 Reputation

4 Guides authored

Team

Cal Poly, Team 16-33, Maness Winter 2010 Member of Cal Poly, Team 16-33, Maness Winter 2010

CPSU-MANESS-W10S16G33

4 Members

10 Guides authored

0 Guide Comments

Add Comment

View Statistics:

Past 24 Hours: 2

Past 7 Days: 5

Past 30 Days: 41

All Time: 3,259