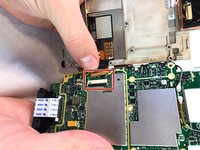
Free Shipping on Domestic Orders $75+

Motorola MC5590 LCD Screen Replacement

What you need

    1. Motorola MC5590 LCD Screen Replacement, Battery: step 1, image 1 of 1
      • Push in the battery release button.

      Ask FixBot

      Add Comment

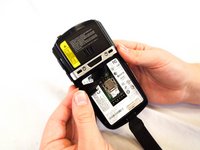
    2. Motorola MC5590 LCD Screen Replacement: step 2, image 1 of 1
      • Pull out battery.

      Ask FixBot
      Add Comment

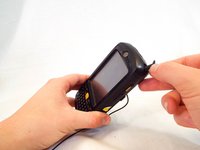
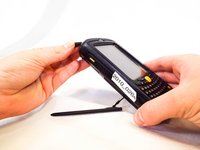
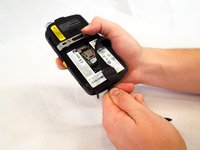
    1. Motorola MC5590 LCD Screen Replacement, Keyboard: step 3, image 1 of 2 Motorola MC5590 LCD Screen Replacement, Keyboard: step 3, image 2 of 2
      • Remove the two rubber plugs on the top of the device by pushing them up and out of the phone.

      Ask FixBot
      Add Comment

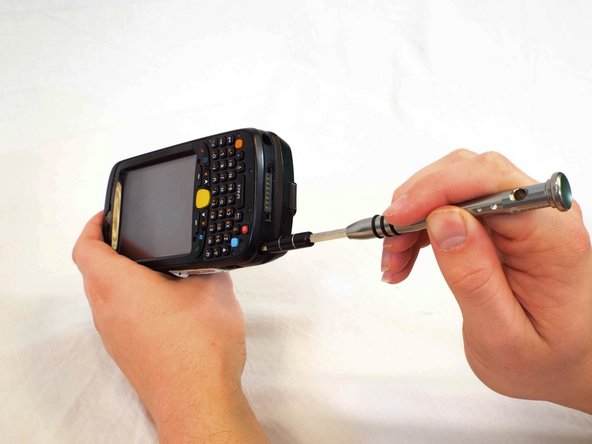
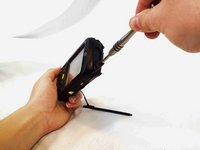
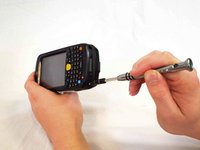
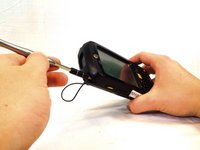
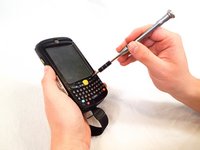
    2. Motorola MC5590 LCD Screen Replacement: step 4, image 1 of 3 Motorola MC5590 LCD Screen Replacement: step 4, image 2 of 3 Motorola MC5590 LCD Screen Replacement: step 4, image 3 of 3
      • Remove the four 1cm Phillips #0 screws from the top and bottom of the phone.

      Ask FixBot

      Add Comment

    3. Motorola MC5590 LCD Screen Replacement: step 5, image 1 of 1
      • Use a plastic opening tool to remove the keyboard cover by prying up on its perimeter.

      Ask FixBot

      Add Comment

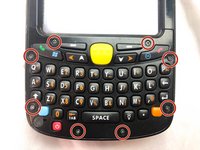
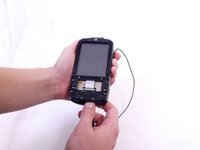
    4. Motorola MC5590 LCD Screen Replacement: step 6, image 1 of 2 Motorola MC5590 LCD Screen Replacement: step 6, image 2 of 2
      • Remove the eight 4mm Phillips #00 screws from the keyboard cover.

      Ask FixBot
      Add Comment

    5. Motorola MC5590 LCD Screen Replacement: step 7, image 1 of 1
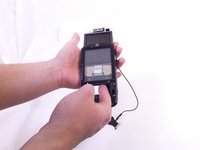
      • Remove the keyboard cover.

      Ask FixBot
      Add Comment

    6. Motorola MC5590 LCD Screen Replacement: step 8, image 1 of 3 Motorola MC5590 LCD Screen Replacement: step 8, image 2 of 3 Motorola MC5590 LCD Screen Replacement: step 8, image 3 of 3
      • Use a spudger to flip up the retaining flap on the keyboard ribbon cable ZIF socket.

      • Pull the ribbon cable out of the socket.

      Ask FixBot

      Add Comment

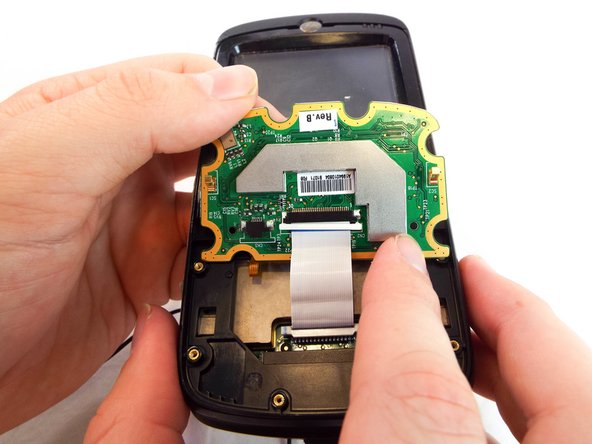
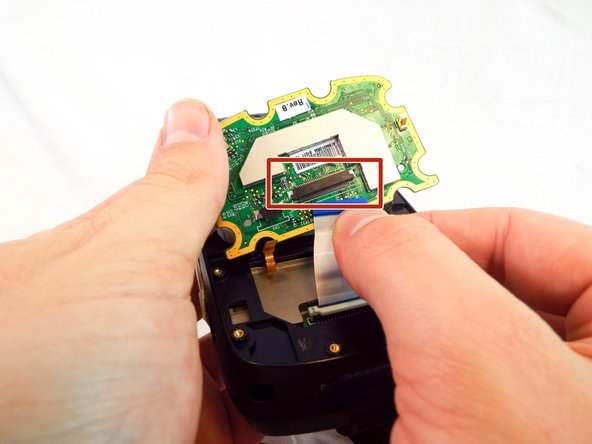
    7. Motorola MC5590 LCD Screen Replacement: step 9, image 1 of 2 Motorola MC5590 LCD Screen Replacement: step 9, image 2 of 2
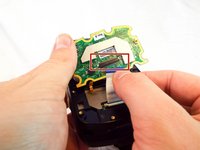
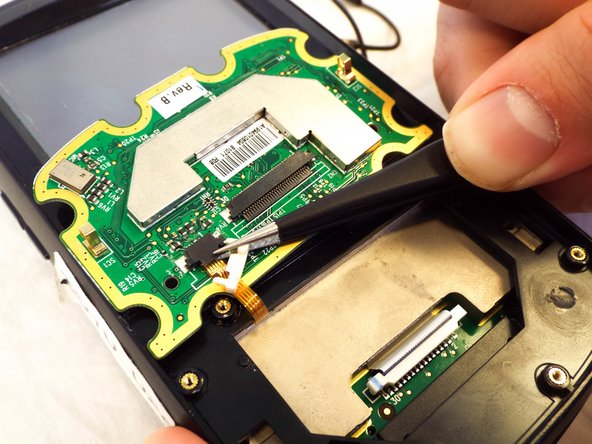
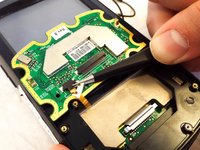
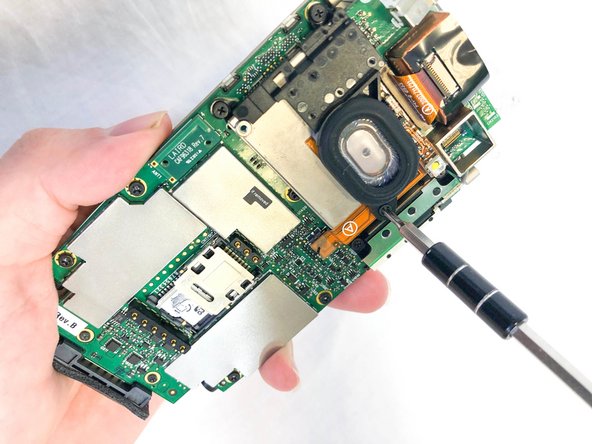
      • Use a spudger to flip up the retaining flap on the display ribbon cable ZIF socket.

      • Remove the keyboard from the device.

      Ask FixBot
      Add Comment

    1. Motorola MC5590 LCD Screen Replacement, Speaker: step 10, image 1 of 2 Motorola MC5590 LCD Screen Replacement, Speaker: step 10, image 2 of 2
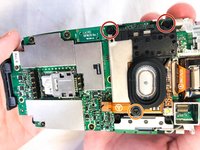
      • Pull the black rubber tabs up gently and remove them.

      Ask FixBot
      Add Comment
    2. Motorola MC5590 LCD Screen Replacement: step 11, image 1 of 2 Motorola MC5590 LCD Screen Replacement: step 11, image 2 of 2
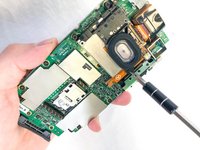
      • Using your finger, or spudger, push the motherboard out from the bottom.

      Ask FixBot

      Add Comment

    3. Motorola MC5590 LCD Screen Replacement: step 12, image 1 of 2 Motorola MC5590 LCD Screen Replacement: step 12, image 2 of 2
      • Remove the three Phillips #00 screws from the motherboard:

      • Two 3mm screws.

      • One 1mm screw.

      Ask FixBot

      Add Comment

    4. Motorola MC5590 LCD Screen Replacement: step 13, image 1 of 2 Motorola MC5590 LCD Screen Replacement: step 13, image 2 of 2
      • Disconnect the speaker from the motherboard.

      Ask FixBot

      Add Comment

    1. Motorola MC5590 LCD Screen Replacement, LCD Screen: step 14, image 1 of 3 Motorola MC5590 LCD Screen Replacement, LCD Screen: step 14, image 2 of 3 Motorola MC5590 LCD Screen Replacement, LCD Screen: step 14, image 3 of 3
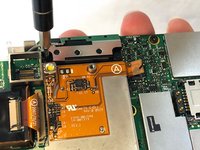
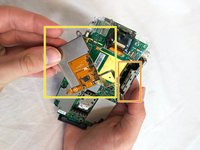
      • Remove the the 3mm Phillips #00 screws from the flex cable cover and antenna.

      • Remove the antenna.

      • Remove the flex cable cover.

      Ask FixBot

      Add Comment

    2. Motorola MC5590 LCD Screen Replacement: step 15, image 1 of 2 Motorola MC5590 LCD Screen Replacement: step 15, image 2 of 2
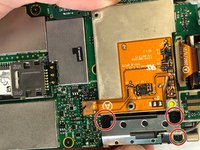
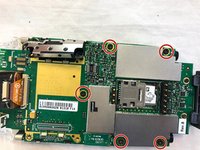
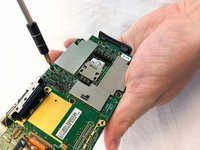
      • Remove the five 3mm Phillips #00 screws from the motherboard.

      Ask FixBot

      Add Comment

    3. Motorola MC5590 LCD Screen Replacement: step 16, image 1 of 2 Motorola MC5590 LCD Screen Replacement: step 16, image 2 of 2
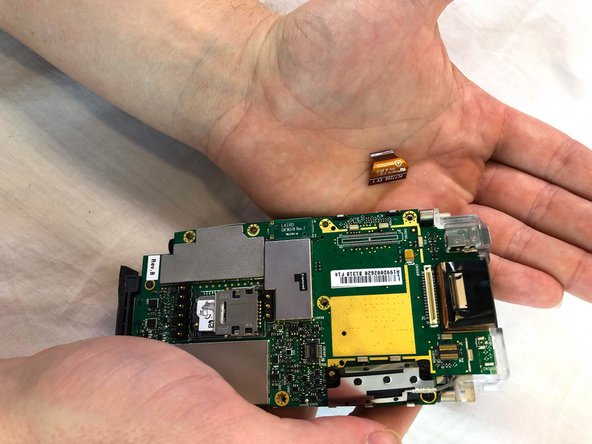
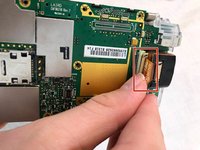
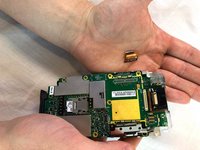
      • Remove the scanner ribbon cable by pulling straight up and out.

      Ask FixBot

      Add Comment

    4. Motorola MC5590 LCD Screen Replacement: step 17, image 1 of 2 Motorola MC5590 LCD Screen Replacement: step 17, image 2 of 2
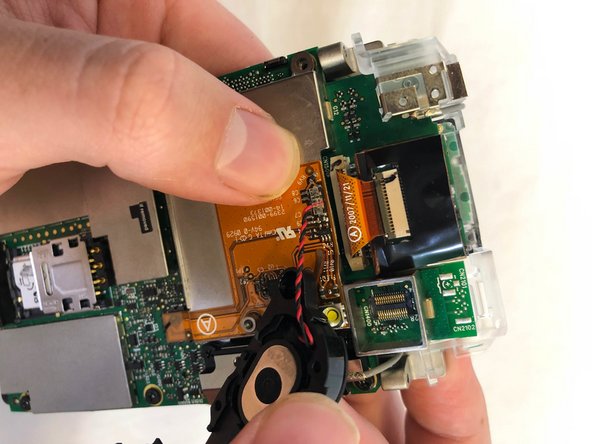
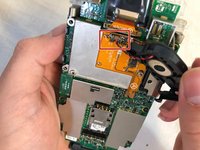
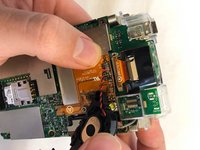
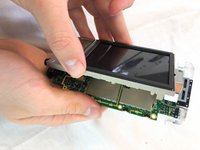
      • Flip open the motherboard and the LCD screen.

      • Open the LCD connector and remove the cable.

      • Pull the LCD Screen and its metal bracket apart.

      Ask FixBot

      Add Comment

Conclusion

To reassemble your device, follow these instructions in reverse order.

Cancel: I did not complete this guide.

Tyler Jean

Member since: 02/22/18

555 Reputation

5 Guides authored

Team

USF Tampa, Team S1-G6, Cagle Spring 2018 Member of USF Tampa, Team S1-G6, Cagle Spring 2018

USFT-CAGLE-S18S1G6

4 Members

72 Guides authored

0 Guide Comments

Add Comment

View Statistics:

Past 24 Hours: 1

Past 7 Days: 2

Past 30 Days: 23

All Time: 1,109