Introduction
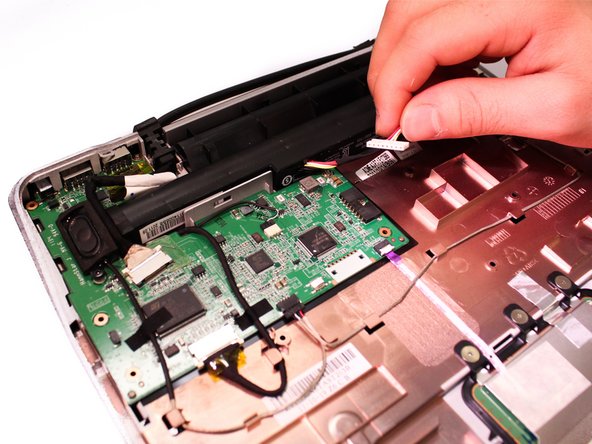
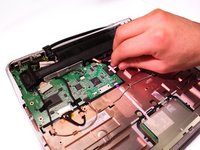
This is one of the more complicated procedures for the lapdock replacement guides. To start you will need to remove the bottom case of the lapdock. Then you will follow by removing the lapdock battery and unplugging the connections to the motherboard as directed in the guide. After doing so, you will then remove a top case of the lapdock and unfasten the screen by removing four screws that hold the screen in place.
What you need
-
-
-
To take off the Keyboard there are three tabs at the top of the Keyboard in the locations shown in the picture that you must press and unclip. They are located behind each of the keys that are removed.
 Ask FixBot
-
-
-
You can use a small metal spudger to depress each tab to avoid scratching the keyboard.
-
-
-
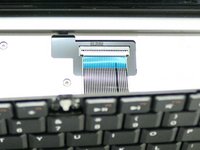
Lift up keyboard so that you are able to see the ribbon cable connected to the contact.
-
-
-
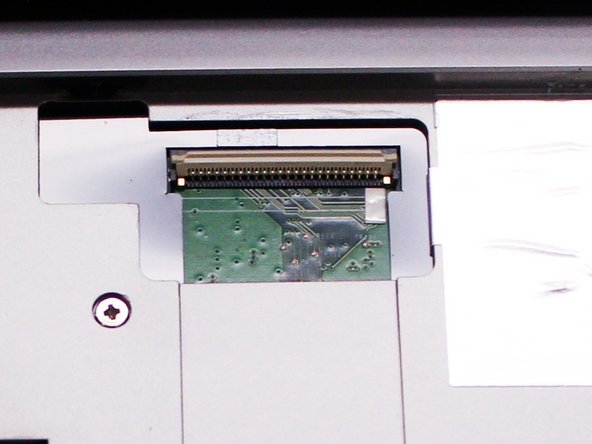
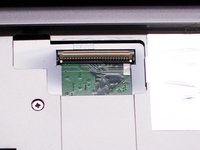
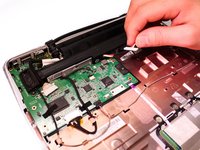
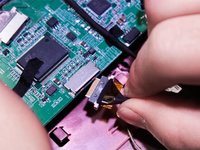
Flip up the ZIF connector holding the ribbon cable on the contact as shown in the two pictures and then gently disconnect the ribbon cable.
-
-
-
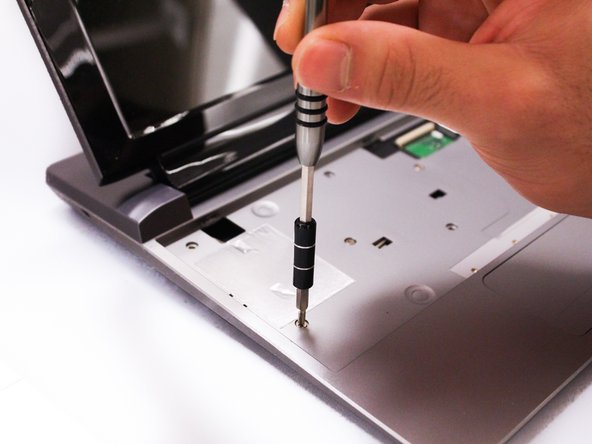
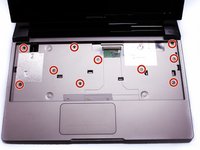
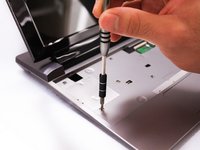
After we remove the Keyboard, you can clearly see the screws under it. Remove the ten 3mm long phillips head screws.
-
-
-
-
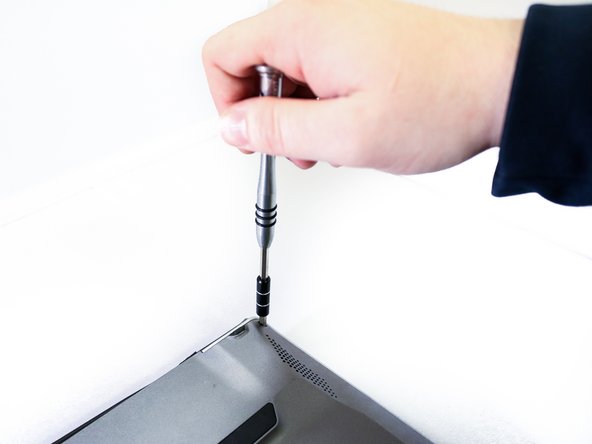
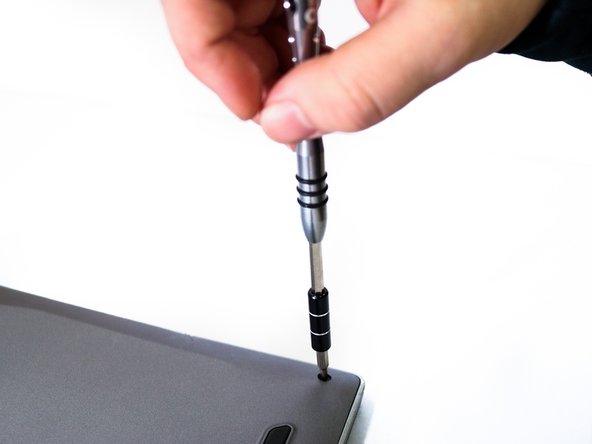
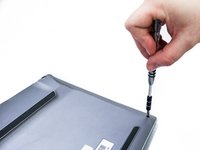
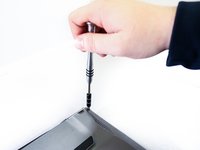
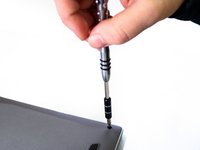
Flip over the Lapdock and remove the four 3.5mm long phillips head screws from the bottom.
-
-
-
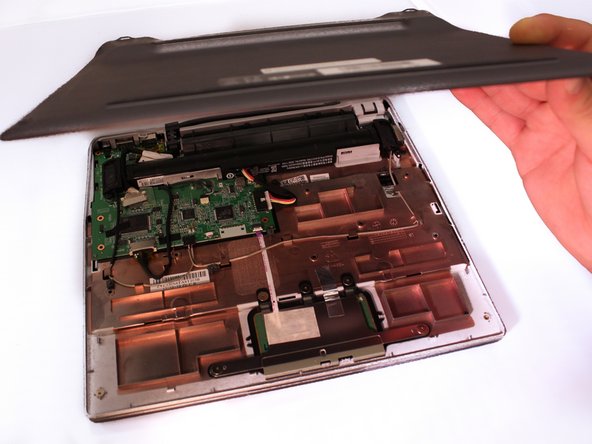
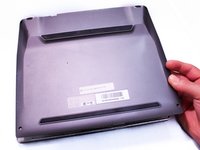
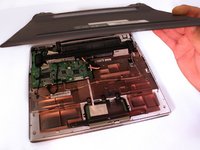
Use a plastic prying tool to take off the bottom case. Make sure that all of the clips are unclipped before trying to remove the case.
-
-
-
-
-
-
Now flip the lapdock back over. Using a plastic prying tool, unclip and remove the small plastic cover at the top of the lapdock.
-
-
-
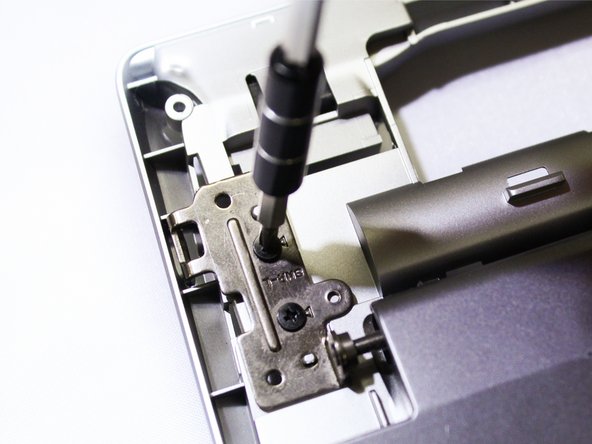
Remove the four 3.5 mm long phillips head screws from the two screen flanges holding the screen.
-












To reassemble your device, follow these instructions in reverse order.
Cancel: I did not complete this guide.
One other person completed this guide.

Team

Eastern Washington University, Team 1-3, Rowley Winter 2016 Member of Eastern Washington University, Team 1-3, Rowley Winter 2016
EWU-ROWLEY-W16S1G3
4 Members
96 Guides authored
