Free Shipping on Domestic Orders $75+

Motorola Hyper Android Phone Charging port Replacement

Views: 1.8K

View statistics:

Past 24 Hours:
0
Past 7 Days:
29
Past 30 Days:
128
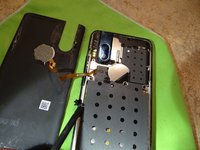
All Time:
1,829
Comments: 0

No one has left comments on this guide. Will you be first?

Go to guide comments
Completed: 4

4 people have marked this guide "completed." Will you be next?

Favorites: 0

No one has favorited (and subscribed to) this guide. Will you be the first?

Time Required: 45 minutes
Difficulty: Moderate
Bullets!

Better coordination with markups and the color/type of bullets will help make this guide more clear!

Community-Contributed Guide

An awesome member of our community made this guide. It was not created by iFixit staff.

Motorola Hyper Android Phone Charging port Replacement

What you need

Parts

  • Spudger
    4.9

Tools

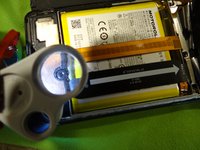
    1. Motorola Hyper Android Phone Charging port Replacement, Finding the seam  to remove.: step 1, image 1 of 1
      • Charging port replacement

      Ask FixBot
      Add Comment

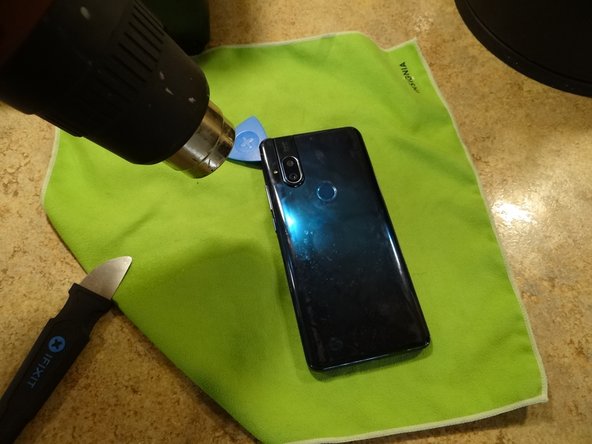
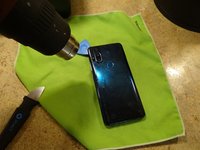
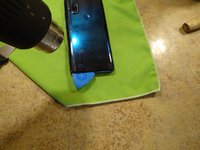
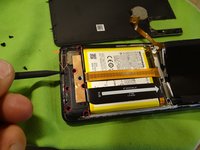
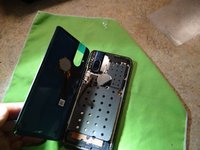
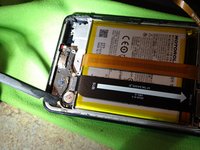
    2. Motorola Hyper Android Phone Charging port Replacement, Teardown - Remove sim tray: step 2, image 1 of 3 Motorola Hyper Android Phone Charging port Replacement, Teardown - Remove sim tray: step 2, image 2 of 3 Motorola Hyper Android Phone Charging port Replacement, Teardown - Remove sim tray: step 2, image 3 of 3
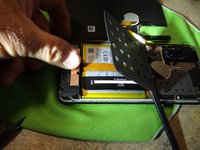
      • Use a heat gun or hair dryer to soften the adhesive on the rear cover

      Ask FixBot
      Add Comment

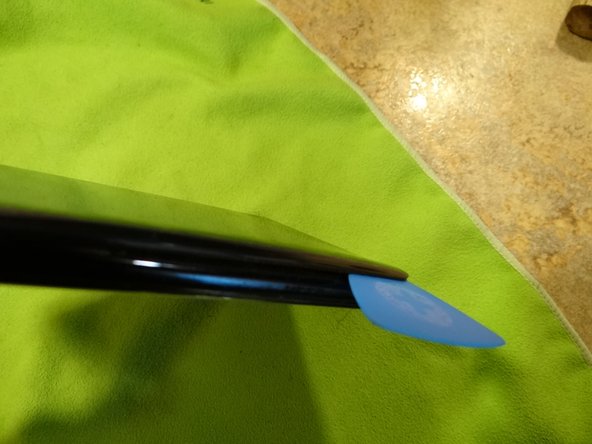
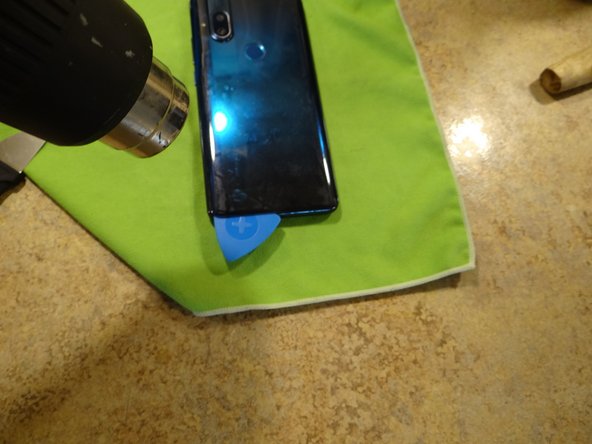
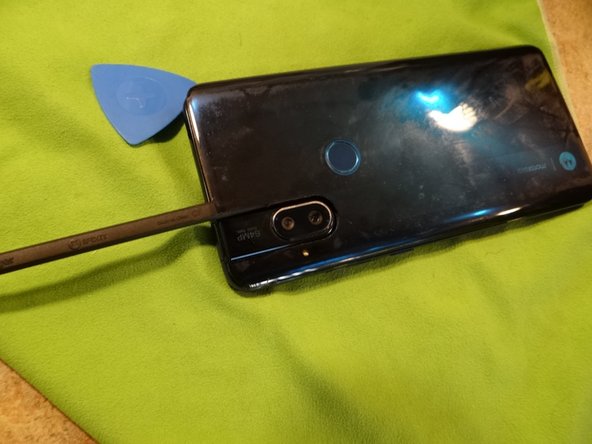
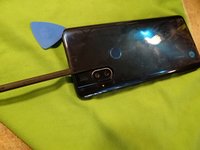
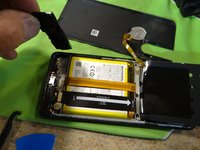
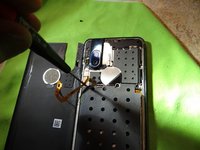
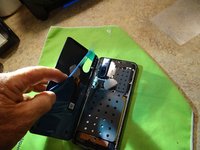
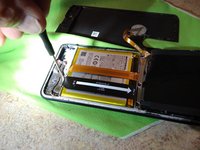
    3. Motorola Hyper Android Phone Charging port Replacement: step 3, image 1 of 3 Motorola Hyper Android Phone Charging port Replacement: step 3, image 2 of 3 Motorola Hyper Android Phone Charging port Replacement: step 3, image 3 of 3
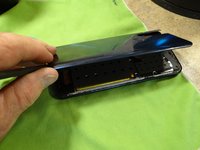
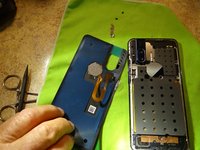
      • Start at the camera and go around the edge with an Opening Pick. Pry the last bit around the camera.

      Ask FixBot
      Add Comment

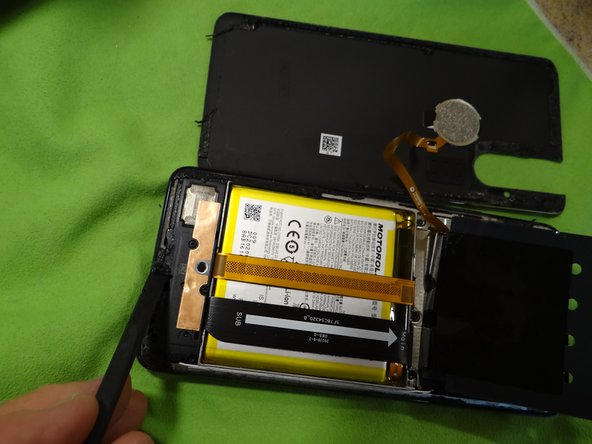
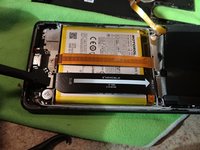
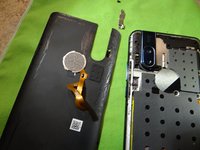
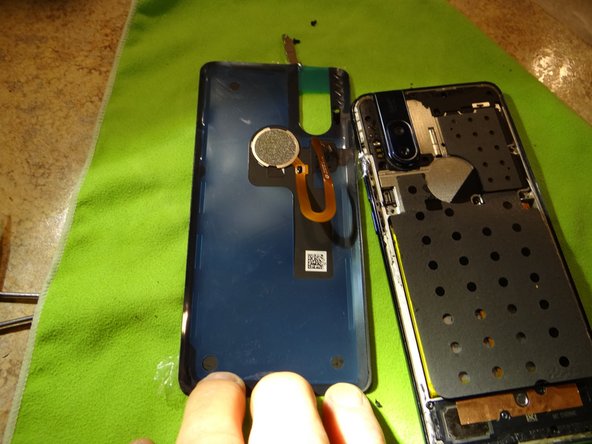
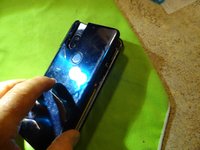
    4. Motorola Hyper Android Phone Charging port Replacement, Opening cover: step 4, image 1 of 3 Motorola Hyper Android Phone Charging port Replacement, Opening cover: step 4, image 2 of 3 Motorola Hyper Android Phone Charging port Replacement, Opening cover: step 4, image 3 of 3
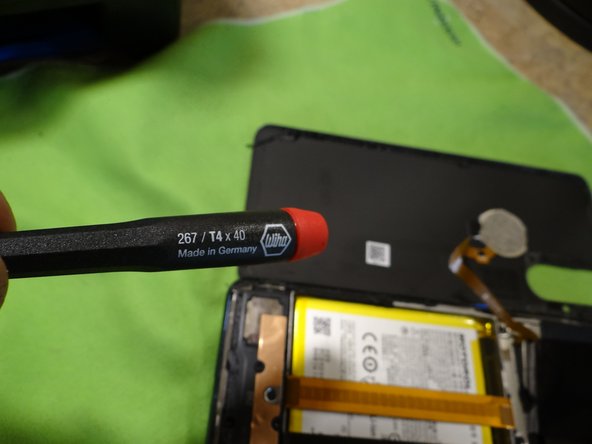
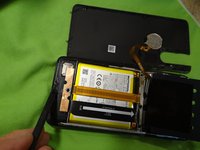
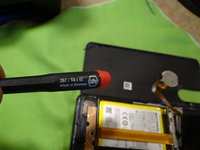
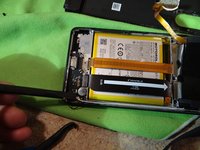
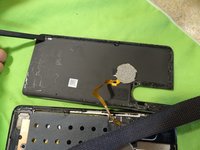
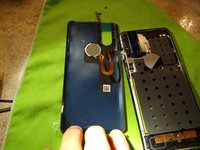
      • Open case from the on button side face down. You will need a T4 bit driver.

      Ask FixBot

      Add Comment

    5. Motorola Hyper Android Phone Charging port Replacement, Remove  screws for vent: step 5, image 1 of 3 Motorola Hyper Android Phone Charging port Replacement, Remove  screws for vent: step 5, image 2 of 3 Motorola Hyper Android Phone Charging port Replacement, Remove  screws for vent: step 5, image 3 of 3
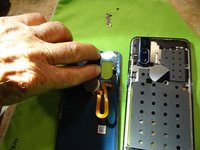
      • Remove 6 T4 screws. Remove mini fan vent.

      Ask FixBot

      Add Comment

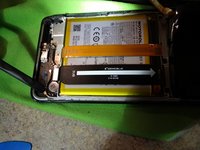
    6. Motorola Hyper Android Phone Charging port Replacement, Remove charging wires: step 6, image 1 of 3 Motorola Hyper Android Phone Charging port Replacement, Remove charging wires: step 6, image 2 of 3 Motorola Hyper Android Phone Charging port Replacement, Remove charging wires: step 6, image 3 of 3
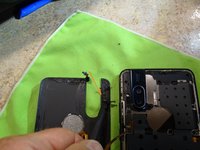
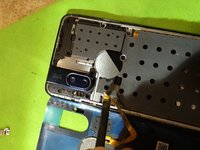
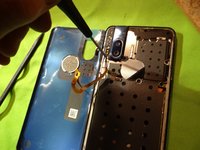
      • Pry off the black and white wires with a pry tool. Remove Philips screw.

      Ask FixBot

      Add Comment

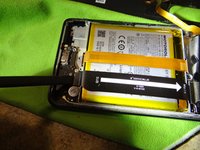
    7. Motorola Hyper Android Phone Charging port Replacement, Remove charge port: step 7, image 1 of 3 Motorola Hyper Android Phone Charging port Replacement, Remove charge port: step 7, image 2 of 3 Motorola Hyper Android Phone Charging port Replacement, Remove charge port: step 7, image 3 of 3
      • Remove and replace the charge port with new one.

      Ask FixBot
      Add Comment

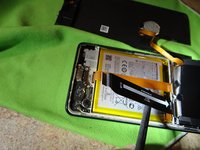
    8. Motorola Hyper Android Phone Charging port Replacement, Assembly: step 8, image 1 of 3 Motorola Hyper Android Phone Charging port Replacement, Assembly: step 8, image 2 of 3 Motorola Hyper Android Phone Charging port Replacement, Assembly: step 8, image 3 of 3
      • Install items in reverse order

      Ask FixBot
      Add Comment

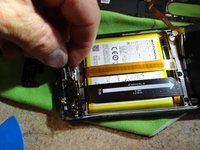
    9. Motorola Hyper Android Phone Charging port Replacement, Remove old gasket material: step 9, image 1 of 3 Motorola Hyper Android Phone Charging port Replacement, Remove old gasket material: step 9, image 2 of 3 Motorola Hyper Android Phone Charging port Replacement, Remove old gasket material: step 9, image 3 of 3
      • Clean all the gasket off.

      • There is only room for one layer, for a smooth cover fit.

      Ask FixBot
      Add Comment

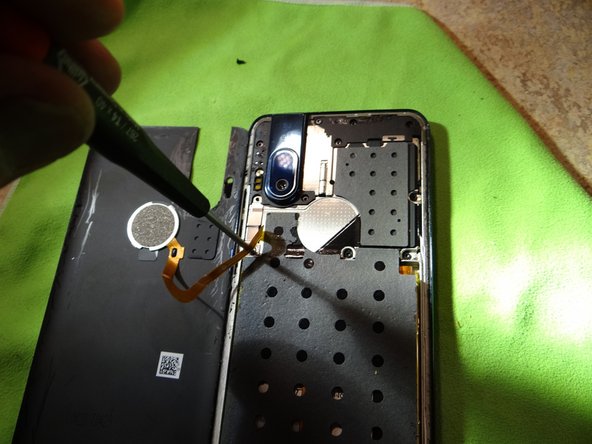
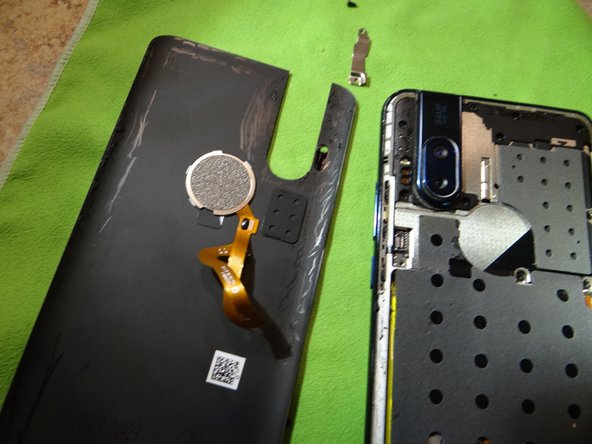
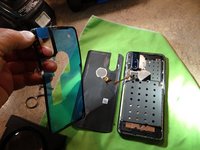
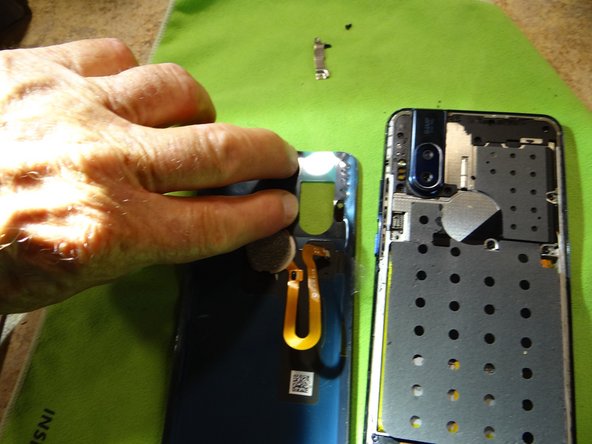
    10. Motorola Hyper Android Phone Charging port Replacement, Remove finger print reader cable: step 10, image 1 of 3 Motorola Hyper Android Phone Charging port Replacement, Remove finger print reader cable: step 10, image 2 of 3 Motorola Hyper Android Phone Charging port Replacement, Remove finger print reader cable: step 10, image 3 of 3
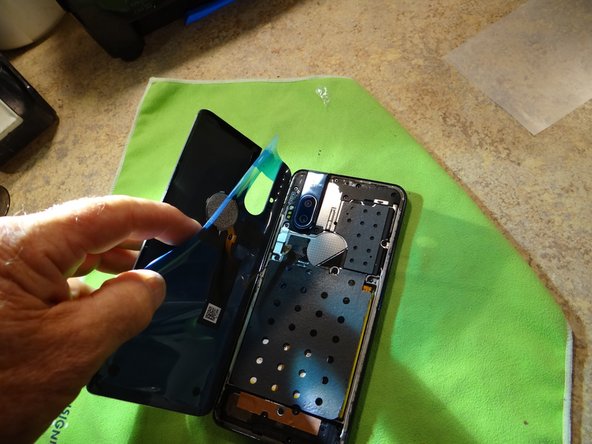
      • Remove finger print reader cable to install new cover gasket. surface must be clean so the cover sits tight with no gaps.

      Ask FixBot

      Add Comment

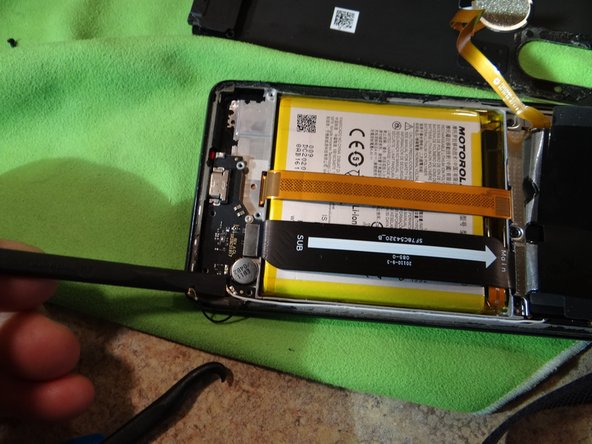
    11. Motorola Hyper Android Phone Charging port Replacement, Install gasket: step 11, image 1 of 3 Motorola Hyper Android Phone Charging port Replacement, Install gasket: step 11, image 2 of 3 Motorola Hyper Android Phone Charging port Replacement, Install gasket: step 11, image 3 of 3
      • Make sure the gasket is firmly in place.

      Ask FixBot
      Add Comment
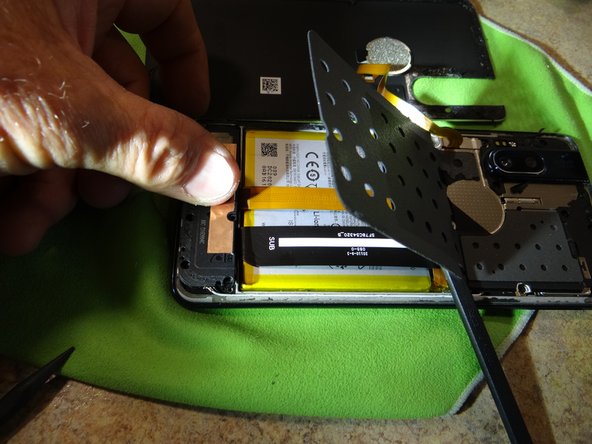
    12. Motorola Hyper Android Phone Charging port Replacement, Replace FPR cable: step 12, image 1 of 3 Motorola Hyper Android Phone Charging port Replacement, Replace FPR cable: step 12, image 2 of 3 Motorola Hyper Android Phone Charging port Replacement, Replace FPR cable: step 12, image 3 of 3
      • Install FPR cable.

      • Install the keep.

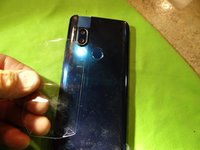
      • Put tape on the cover to align the edges.

      Ask FixBot

      Add Comment

    13. Motorola Hyper Android Phone Charging port Replacement, Finish installing cover: step 13, image 1 of 3 Motorola Hyper Android Phone Charging port Replacement, Finish installing cover: step 13, image 2 of 3 Motorola Hyper Android Phone Charging port Replacement, Finish installing cover: step 13, image 3 of 3
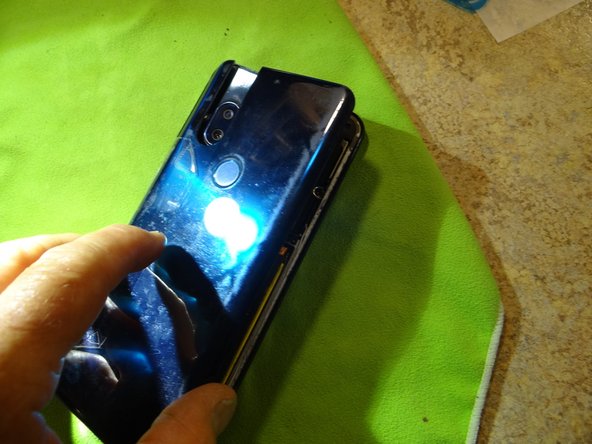
      • Tape helps align cover for a smooth install.

      • Press the cover on to seal.

      Ask FixBot

      Add Comment

Conclusion

To reassemble your device, follow these instructions in reverse order.

Cancel: I did not complete this guide.

4 other people completed this guide.

wes zab

Member since: 06/20/22

307 Reputation

1 Guide authored

0 Guide Comments

Add Comment

View Statistics:

Past 24 Hours: 0

Past 7 Days: 29

Past 30 Days: 128

All Time: 1,829